


Embossed DICHRO Color-Shift Jewelry
Create sparkling color-shifting beauty with some JUMBO Dichro-ISH Films and texture tools. You can use a single sheet or multiple layers to create depth, dimension and shine in your resin work. Embossing, Casting, Doming, Demolding, and adding findings are all demonstrated in this tutorial. Have fun!
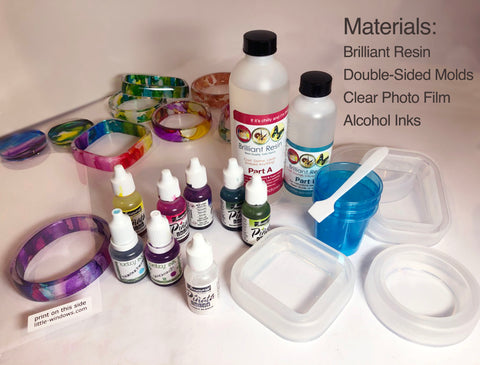
MATERIALS:
(click each item for details and to shop)
- Brilliant Resin
- JUMBO Pack Dichro-ISH Films
- Double-Sided Molds
- More Super Shiny Molds
- Silicone Doming Tray
- Spring Drill
- Sterling Silver Head Pins
- More Jewelry Findings
- Embossing Machine and Embossing Folders
Here are close-ups of the projects from this video:


Our general manager approves :)

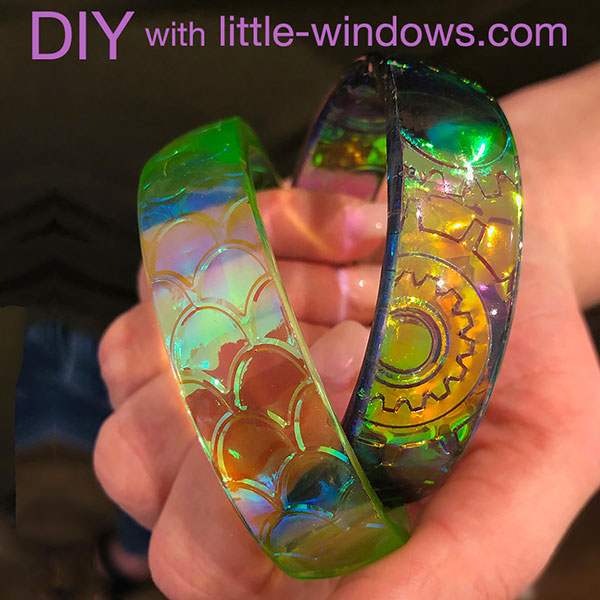
This pair of earrings looks totally different depending on the lighting. Dichro-ISH Film embossed with the gear pattern folder, then domed on both sides with jewelry findings embedded in the resin. They are long but lightweight!


Doubled-up Texture Film, domed on both sides then drilled with our Spring Drill.


This pair was also made with doubled-up Texture Film, domed on both sides, with crystals embedded as the resin set up. Holes added with our Spring Drill, ear wires were hand-formed with copper wire.


These tiny shiny beauties were made from scraps from a bracelet project, domed on both sides, with the jewelry findings (sterling silver head pins), embedded in the resin.
Dichro-ISH Film embossed with the Gear pattern, cast in Brilliant Resin in our Medium Squares Mold. This one changes from gold to green to blue, depending on the lighting and angle.

Dichro-ISH Films are too flimsy to dome if they are just a single layer. For this piece I took a piece of clear packing tape, sprinkled some chunky glitter, then pressed a sheet of Texture Film onto the tape. Then cut out my shape and domed it on both sides with Brilliant Resin. Used my Spring Drill to make holes for these super-strong sterling silver plated jumprings, and strung it onto one of our sterling plated snake chains. So simple, so sweet.


Ooooh, these are some of my favorite pieces from the embossed Dichro-ISH Films video, they're simple but the hex pattern in blue is so eye-catching as it shifts in the light. This first piece was cast in our Medium Rectangles Mold.

Here are 2 jewelry options for the same piece!

And here's what if looks like if you turn that piece sideways, and drill the corners.

Now for some deliciousness!!! Doming in progress...


Here I'm following the Twisted Resin Technique from this tutorial.


This is the very same ornament, on the left it's shown with light reflecting off it, which lets the metallic reflective coating shine. The image on the right has light BEHIND the ornament, this shows off the beautiful base colors of the film.


Have fun with this technique, and send me photos of your creations!


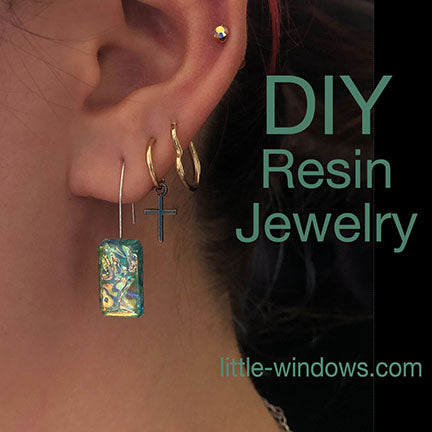
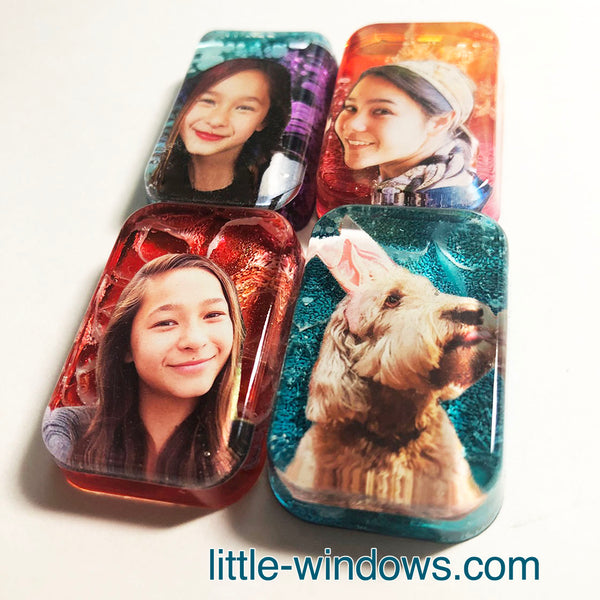
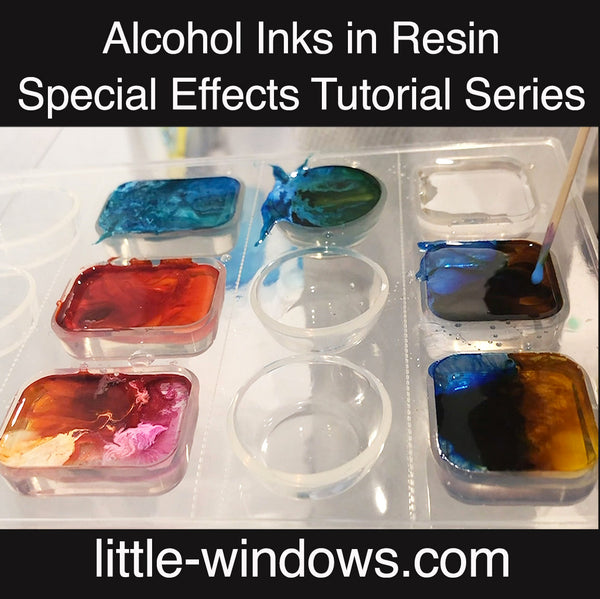
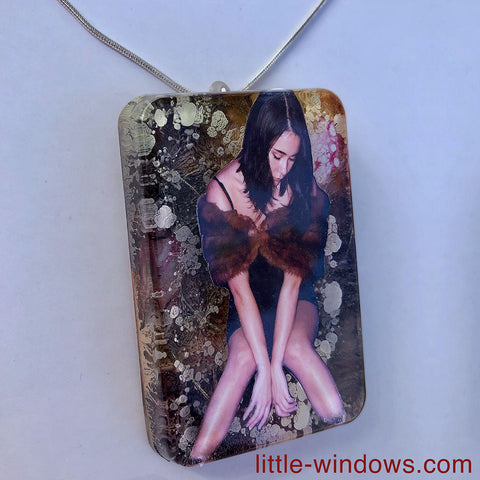
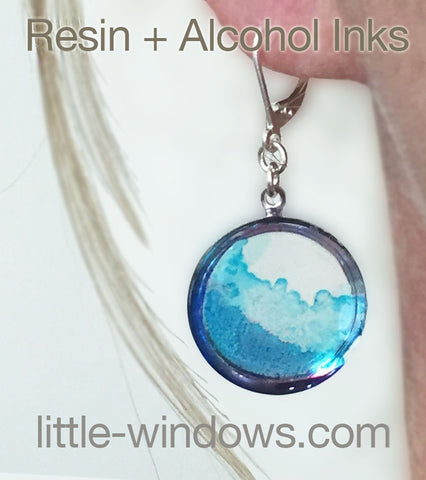
Alcohol Inks and Photo Silhouettes in Resin
SCROLL DOWN FOR DIFFERENT TECHNIQUES
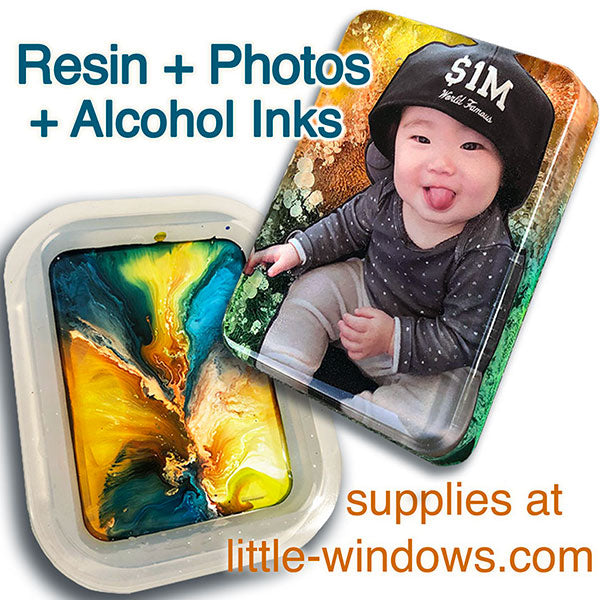
PART 1: CASTING LARGE SHAPES
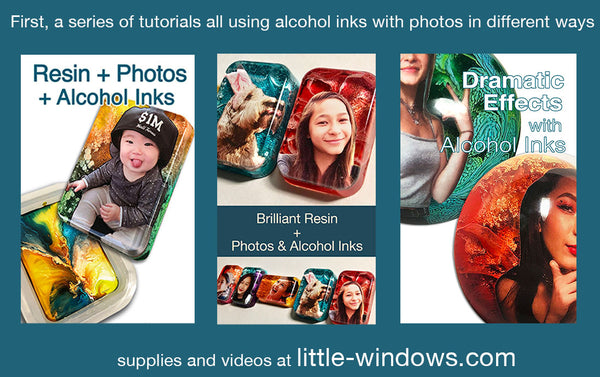
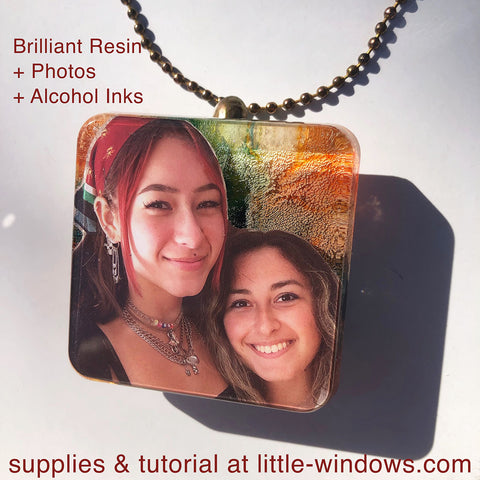
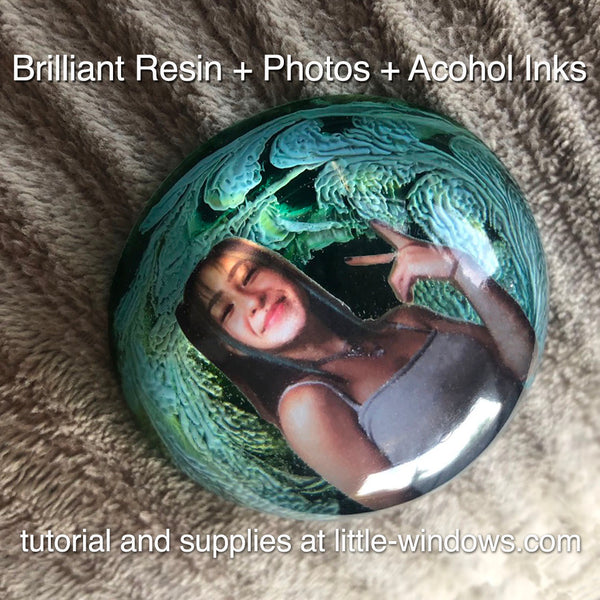
Here's the first in a series of quick tutorials showing different effects you can create when layering alcohol inks behind photo silhouettes.
For these projects you'll need:
Alcohol Inks - any colors + white CLICK HERE for recommendations
Sharp scissors
Clear Packing Tape (optional)
Whatever ribbon, chains, or other findings you want to finish your projects.
This shows the fronts and backs of these pretty ornaments:
 .
. 

Another example with another cheeky photo!

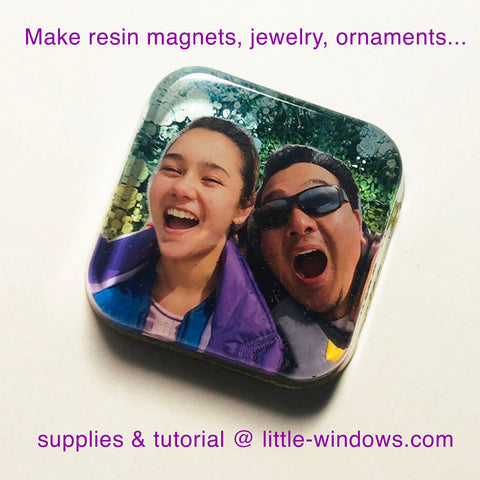
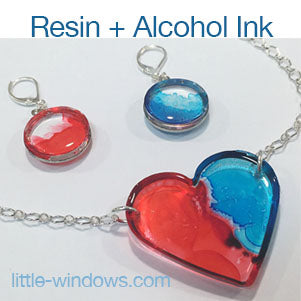
PART 2: CASTING Special Effects for JEWELRY MAKING
For these projects you'll need:
Alcohol Inks - any colors + white CLICK HERE for recommendations
Sharp scissors, straight pin and/or toothpick
Paper towels
Clear Packing Tape (optional)
Whatever pins, jumprings, keychains, chains, or other findings you want to finish your projects.
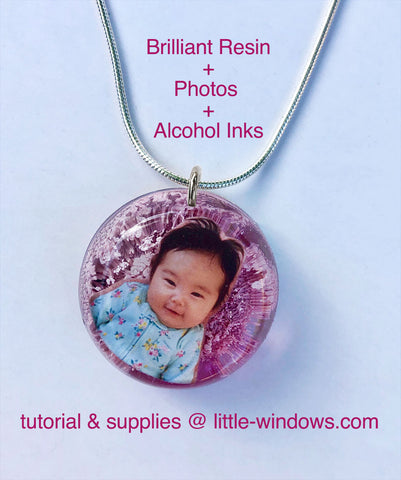
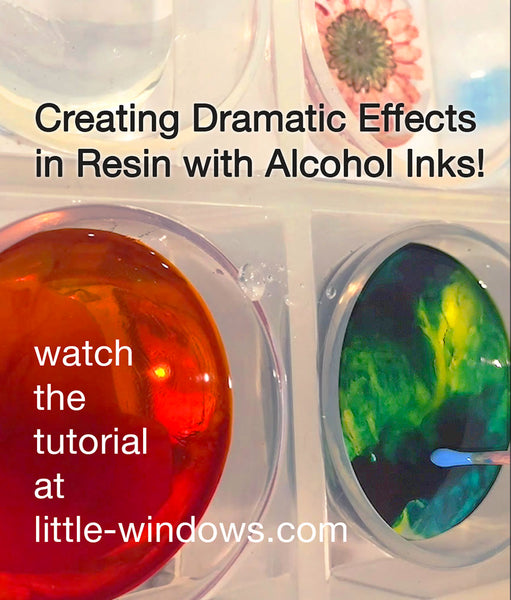
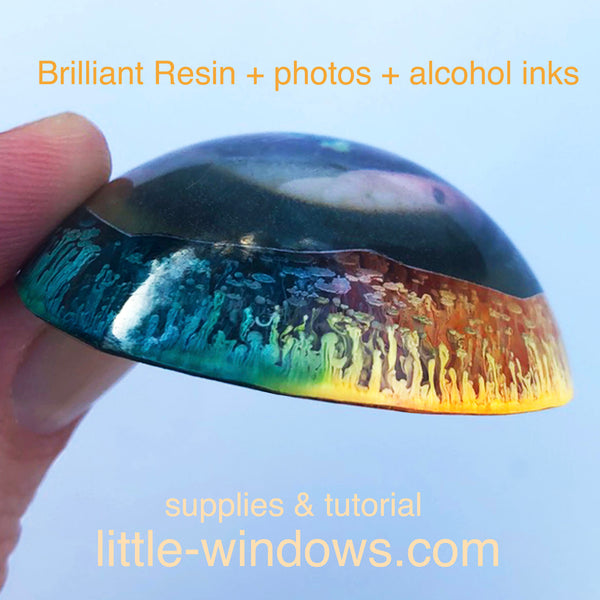
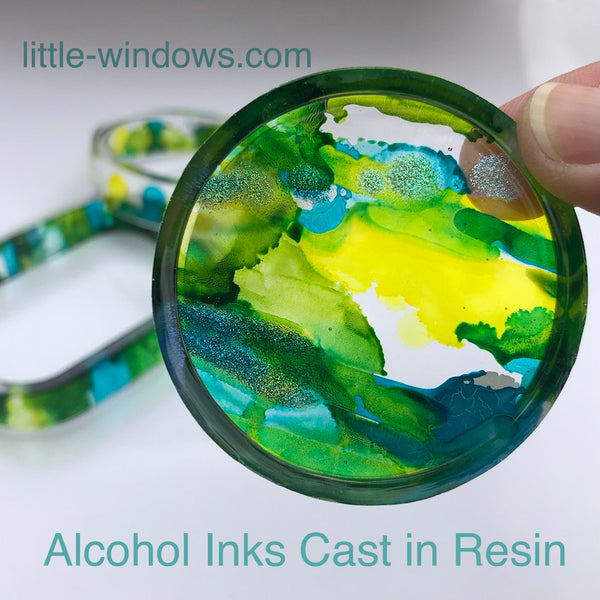
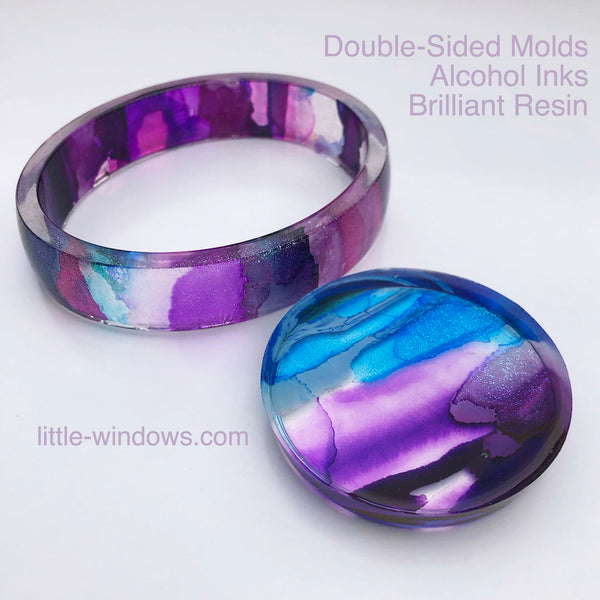
PART 3: DRAMATIC EFFECTS in Cabochon Castings
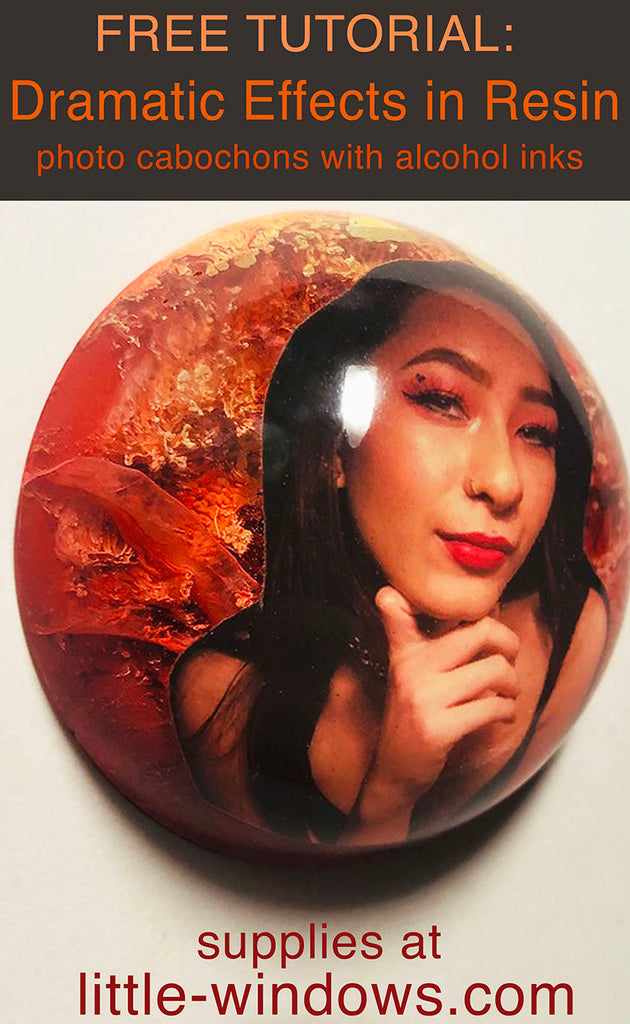
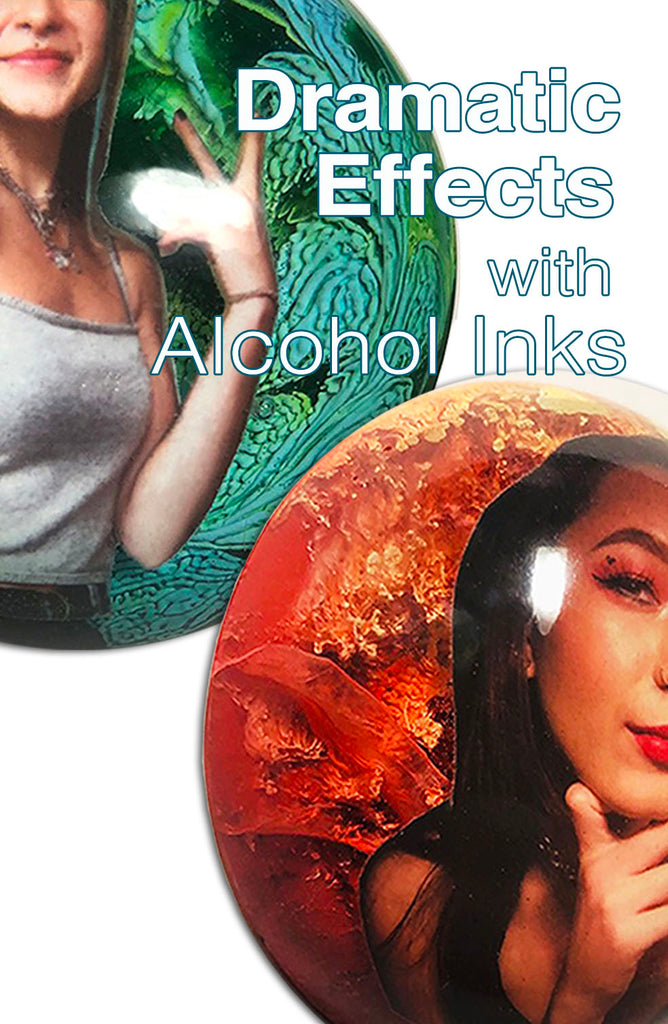
Same supplies as above, used in different ways to create amazing and dramatic color effects in resin. Try with our without photos for unique, dimensional resin castings!

Same materials as above :)
More videos to come!
ALCOHOL INK DRIP TECHNIQUE
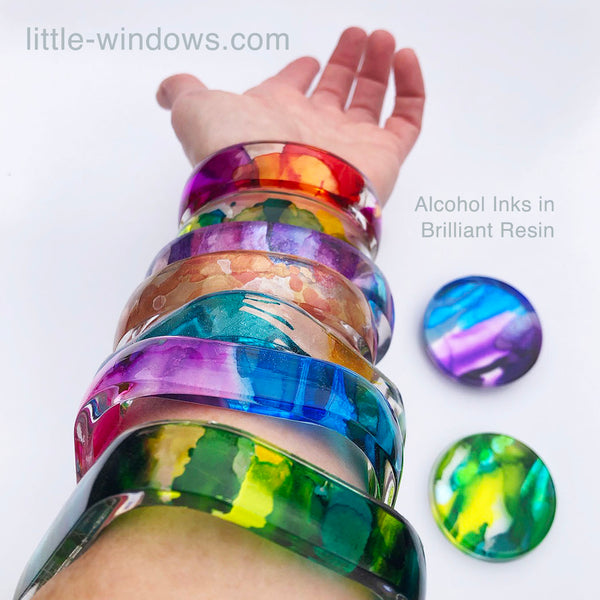
There's lots of fun to be had by incorporating alcohol inks into Brilliant Resin, here are a few techniques you can try, CLICK HERE for alcohol ink recommendations:
Simple colors
You can add color between layers of resin for beautiful organic looks, or to add dimension. Inks can be painted on, or dripped and blotted.
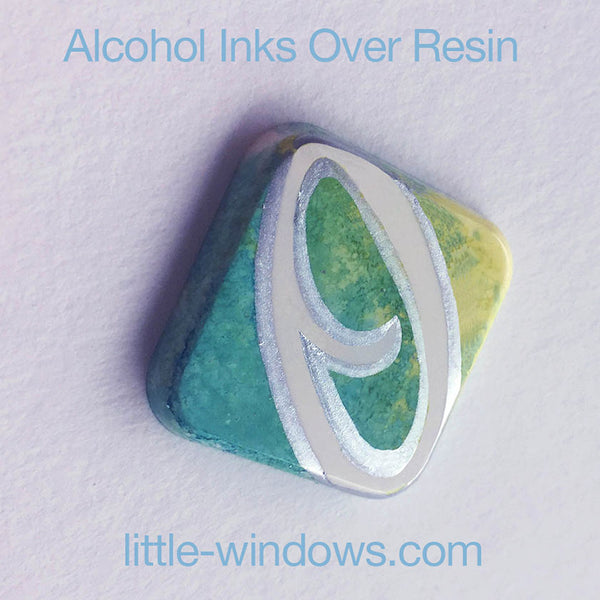
STICKER RESIST TECHNIQUE
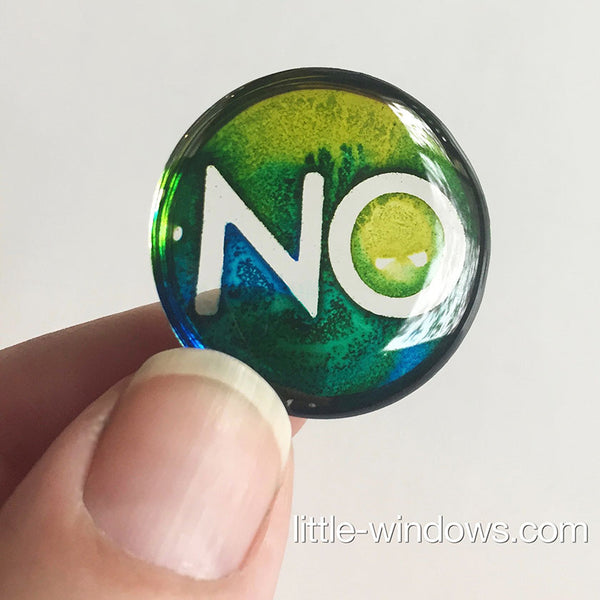
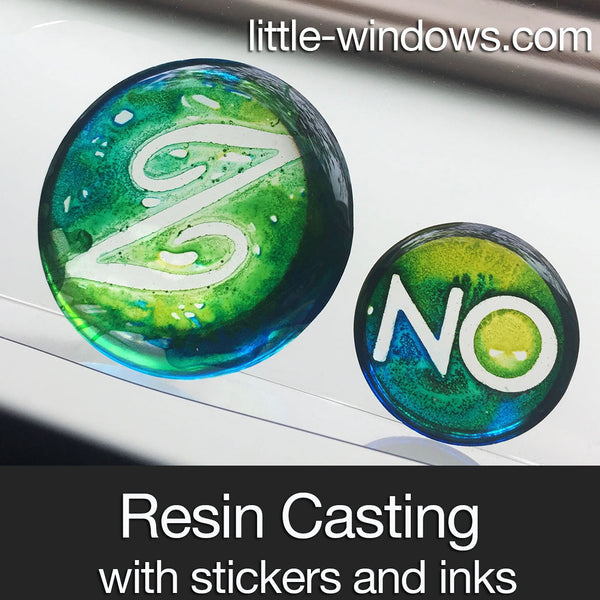
Step 1 - Cast clear layer of Brilliant Resin in any mold and allow to set up.
Step 2 - Place a monogram sticker on the resin, rub it down well, then drip, daub, or paint inks over it. Allow to dry, then remove the sticker.
Step 3 - Add a layer of clear Brilliant Resin to seal it in.
Here's one on a white cast resin piece, outlined in silver ink:
DRIPPING INKS ON CLEAR PHOTO FILM
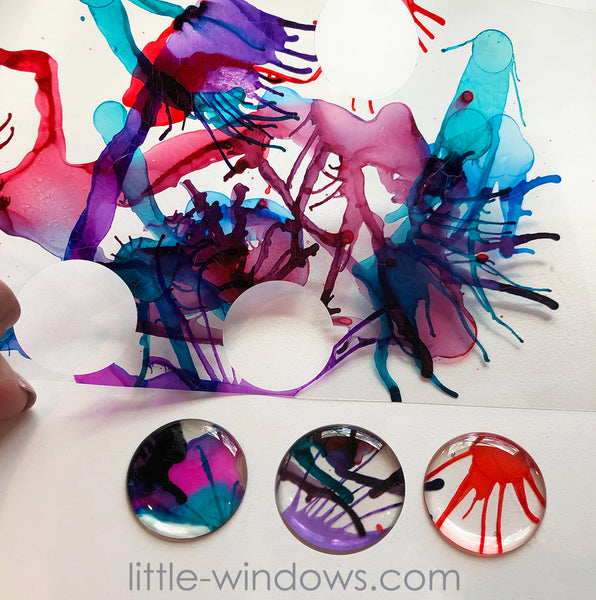
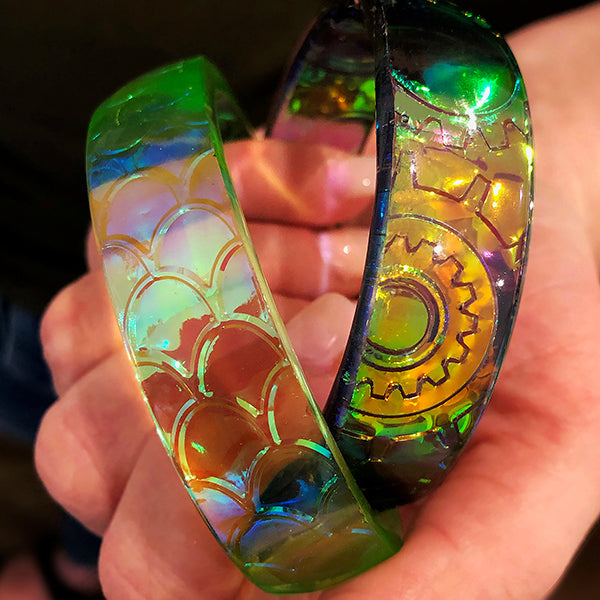
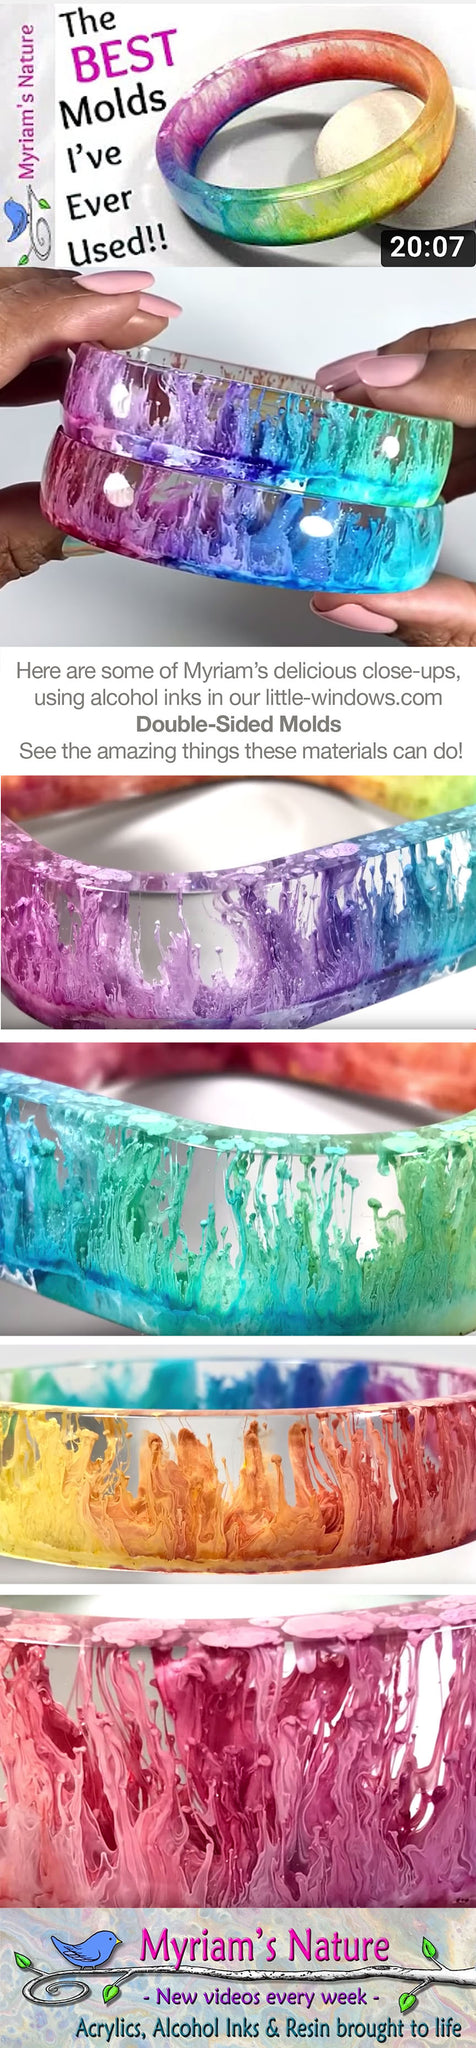
This is a fun way to create gorgeous glass-like looks. In the image above I dripped inks on a sheet of Clear Photo Film, which holds the inks very well, and then blew through a straw to splat them out.
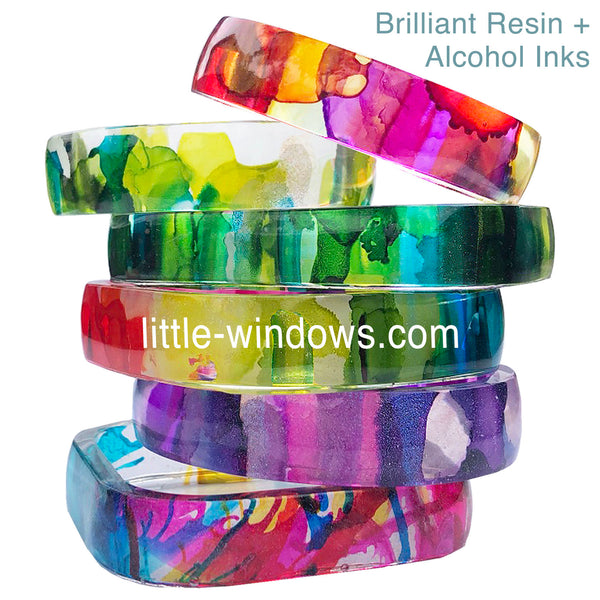
Here's what you'll need...
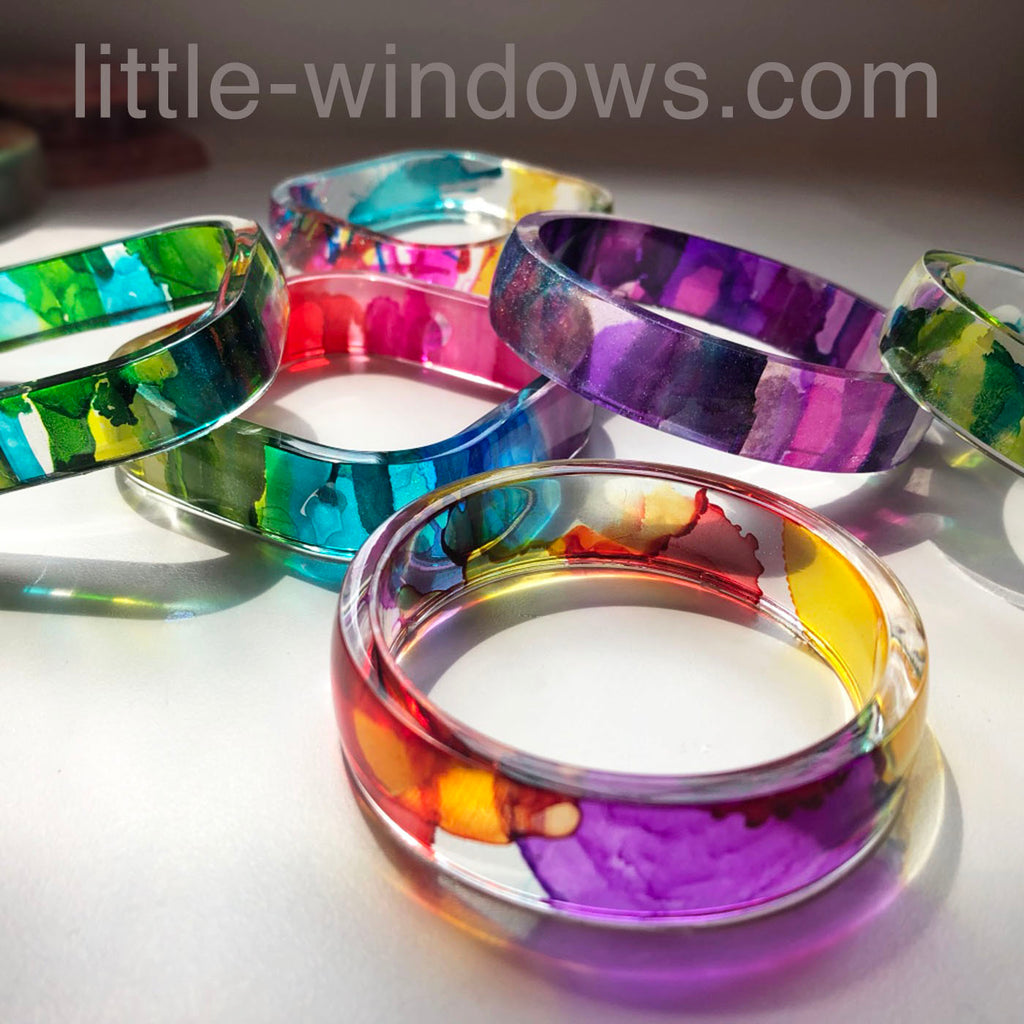
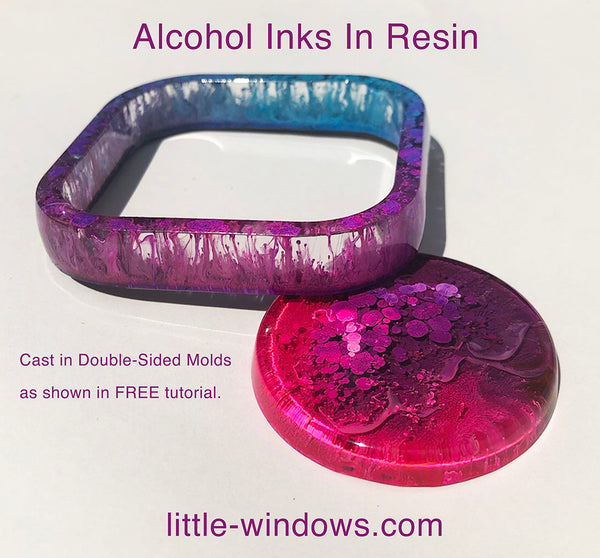
Use the guide that comes with these molds to size your strips.
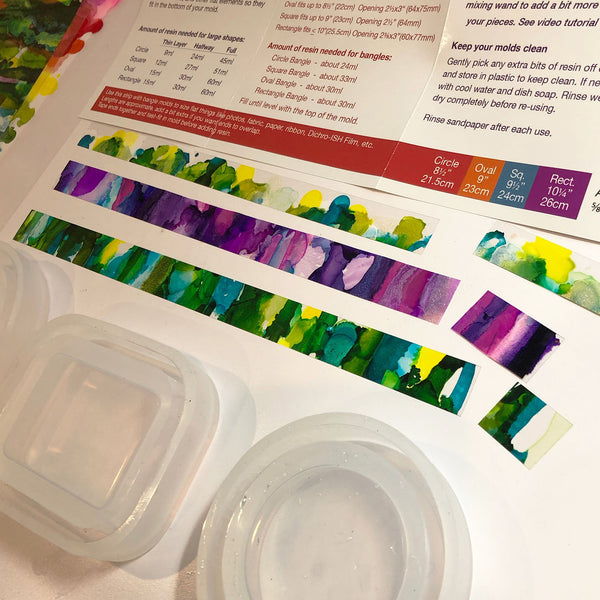
For these bangles and sun catchers, attach a sheet of Clear Photo Film to a stiff board (cardboard, a clipboard, or other white surface), prop it up at an angle and squeeze your inks at the top of the sheet, allowing them to run down. For distinct colors let each one dry before adding the next color. You can tip the sheet different ways to get all kinds of rivulet patterns, and try dripping pure alcohol in spots to create more intricate looks. CLICK HERE for alcohol ink recommendations. Have fun experimenting!
PETRI TECHNIQUES
As anyone who has tried this technique knows, it's trial and error until you figure out how to get the look you want. Our friend Myriam of Myriam's Nature has tons of well done video tutorials that can save you time and money, and give you great new ideas.
Here are some resin eyes I made using our Silicone Cabochons Mold, Brilliant Resin, White Resin Colorant, alcohol inks, and a black nail polish pen:
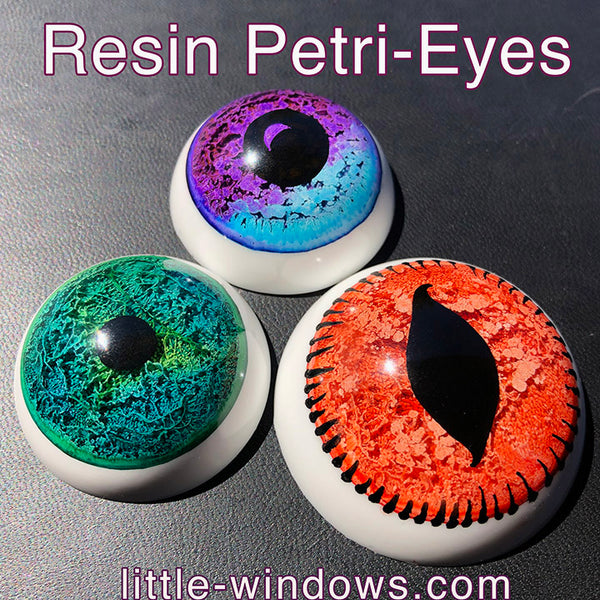
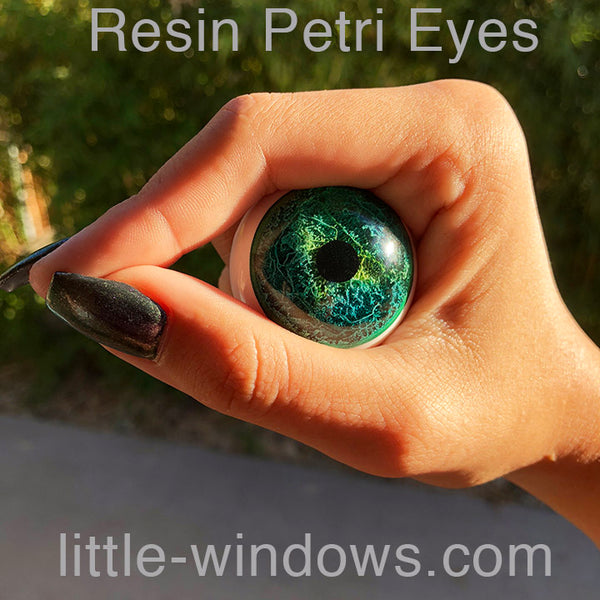
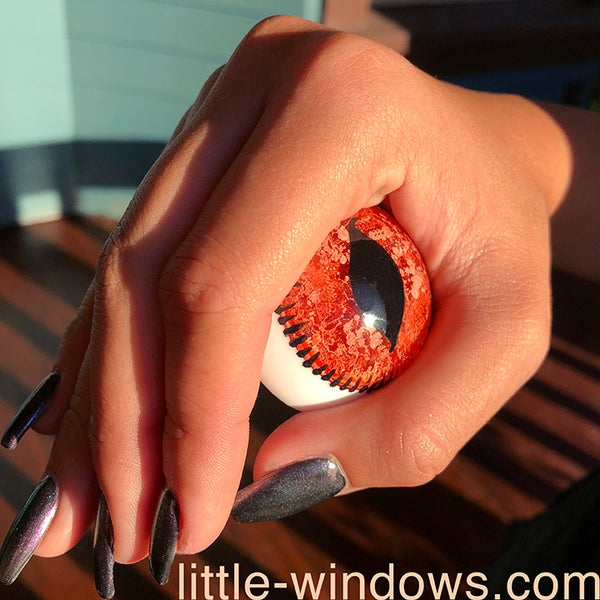
This is done in a similar way to the glitter eyes in this how-to video.
COLOR PHOTOS WITH ALCOHOL INK
You can also paint or blot alcohol inks onto our Special Photo Papers for selective color or design. While the inks stay put nicely even with layering resin, some colors of alcohol inks shift in resin, and some fade faster than others.
