


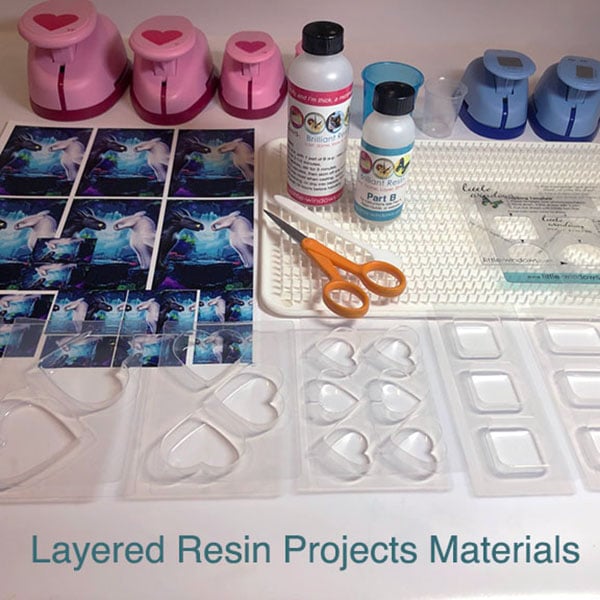
You'll also need
(You may not need everything on the list above or below, it will depend on the project you want to make)
- Sharp scissors
- Paper towels
- Timer
Optional Items: flat-back crystals
Please save, share, and follow us:
YouTube Channel Pinterest Facebook Instagram
I truly love this movie and (mostly) everything else Dreamworks has come up with. All of my creations were for personal use. DO NOT use copyrighted images if you plan to sell your creations, unless you have permission to do so.
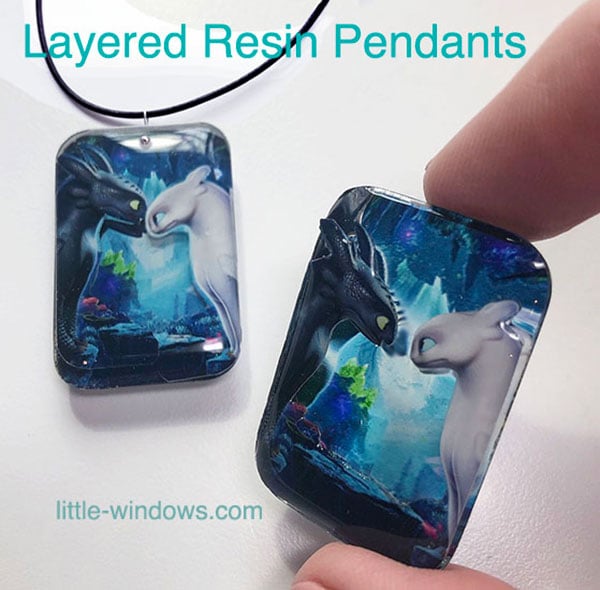
There are lots of ways to layer and the video above has how-to's for each technique - Casting, Doming, Doming Up, Ripple Effects, Silhouetting, and Embellishing.
These projects are all layered in different ways to create dimension and textural interest. Here are some of the projects featured in the tutorial, along with some shots of my process:
For these layered projects you'll need duplicate prints of each image. They can be sized using our Photo Cropping Software for smaller pieces, and using Photoshop, Microsoft Word, or GoogleDocs for the larger images. Click here for a how-to guide.
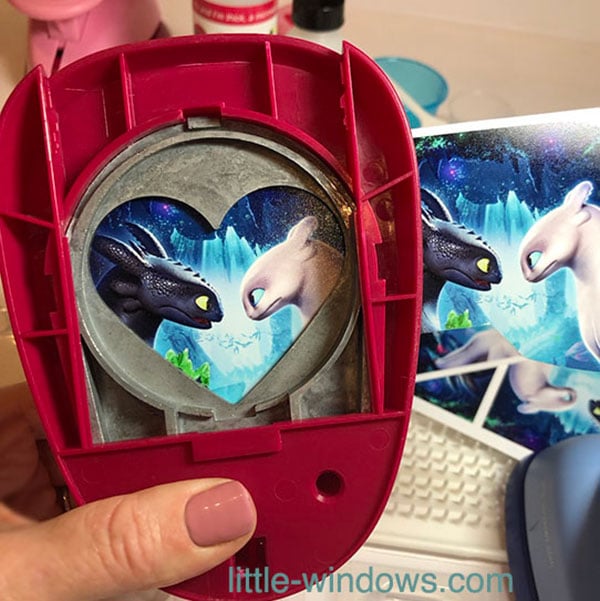
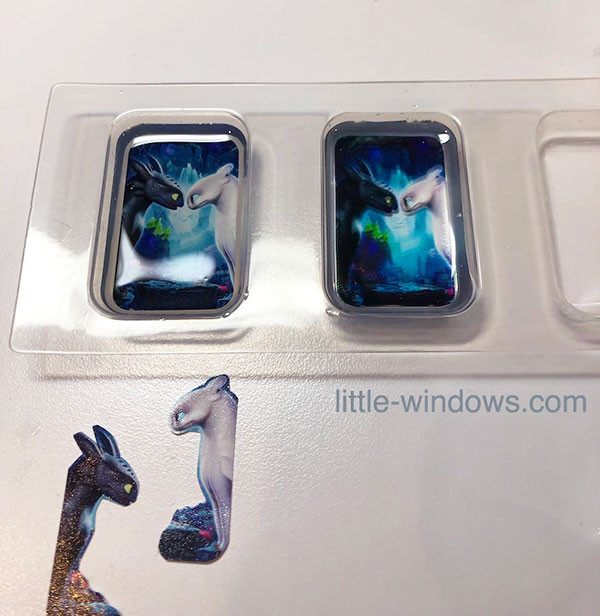
Casting In Layers:
After printing on Special Photo Paper, punch or cut our your shapes with scissors.
Here are all of my projects laid out. Get all of your elements cut out and arranged before mixing your resin.
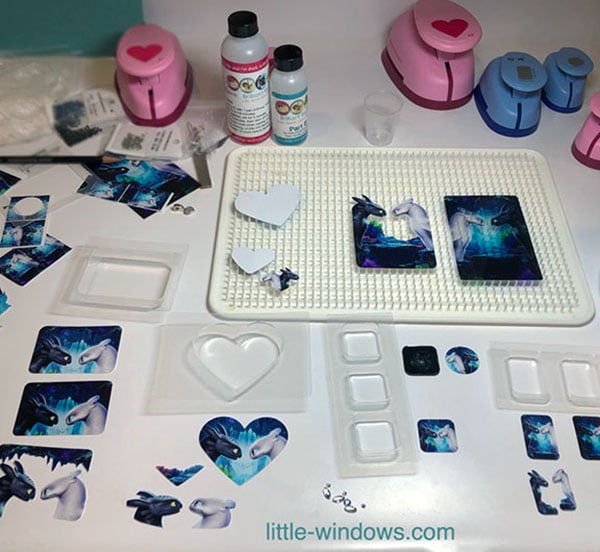
This project can be made in 2 or 3 steps. First cast the bottom layer with a touch of glitter. Next, either pour another layer and add the cut-out graphics, allow to cure then pop out and dome up, or just pop out after the first layer and add the top graphics in the Doming-Up step.

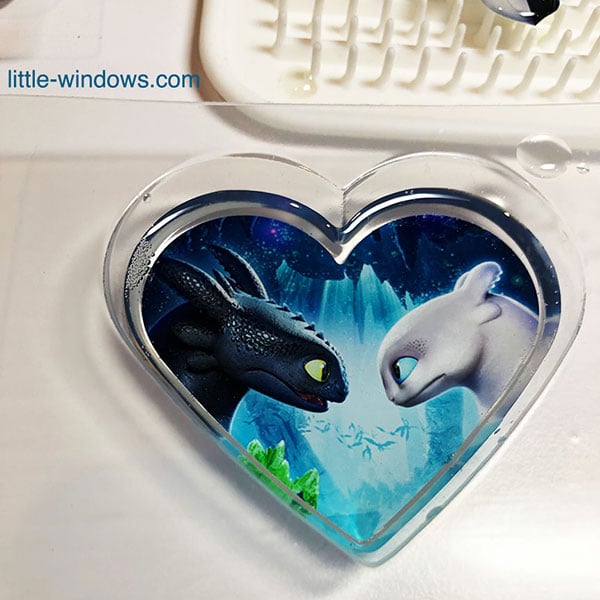
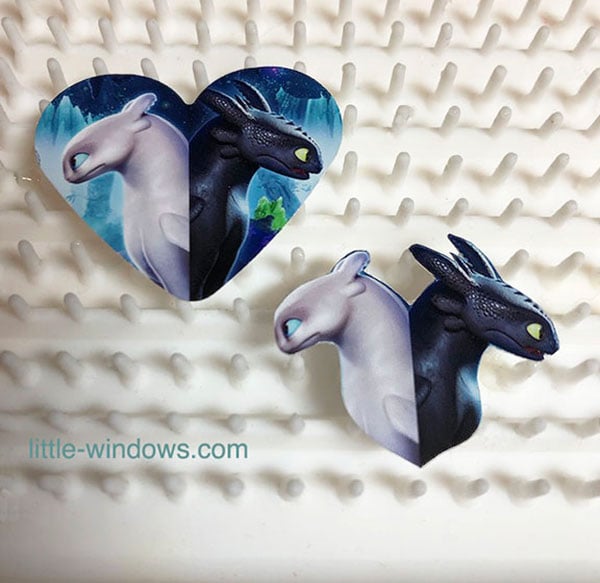
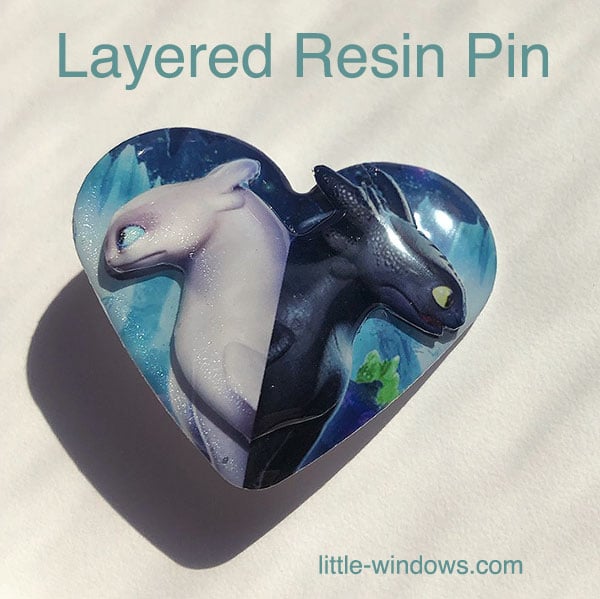
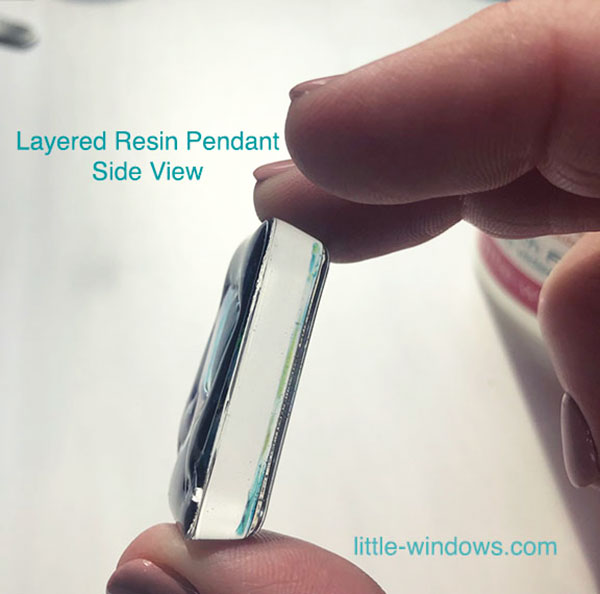
Layering with the Doming Technique:
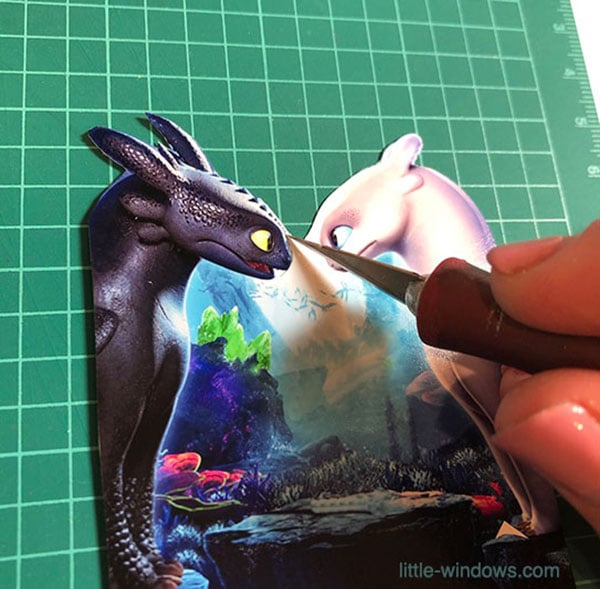
First step was to punch 2 heart shapes of the same photo. Cut out a silhouette from one of them.
Dome the silhouette and the back side of the heart at the same time.
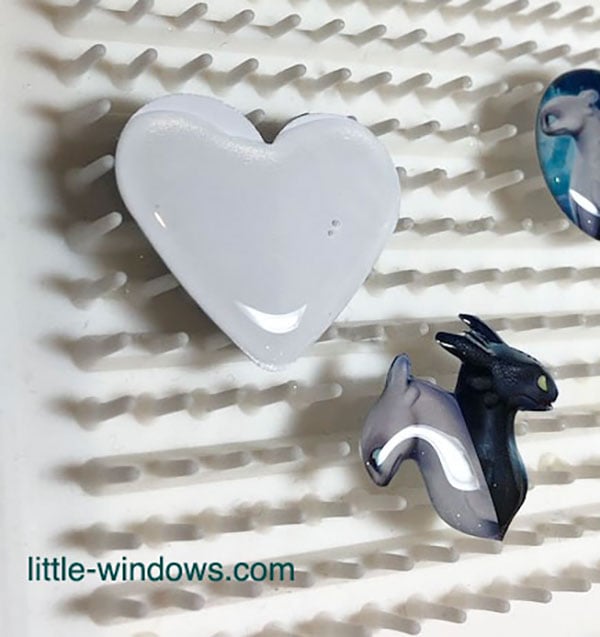
Allow to cure, flip the heart and apply dome of Brilliant Resin. Wait 2 hours for it to firm up, then press the silhouette into the resin to secure. This gives your piece dimension and texture.
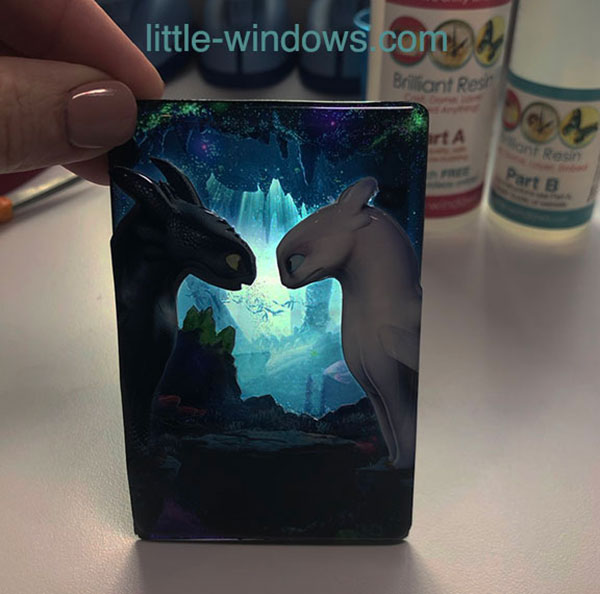
Domed Layering with Clear Photo Film:
You can make this any size. Print the same image onto Special Photo Paper and Clear Photo Film.
![]()
Cut the full image printed on Clear Photo Film to the size you want for the back, cut the matching Special Photo Paper for Resin print into a silhouette for the front layer.
You will need to dome up both sides of the Clear Photo Film. You can dome either one or both sides of the silhouette image, do both sides if you want durability and more dimension. This will take 2 or 3 steps - see video for how-to.
This project will be a nightlight, turning into a silhouette after dark.
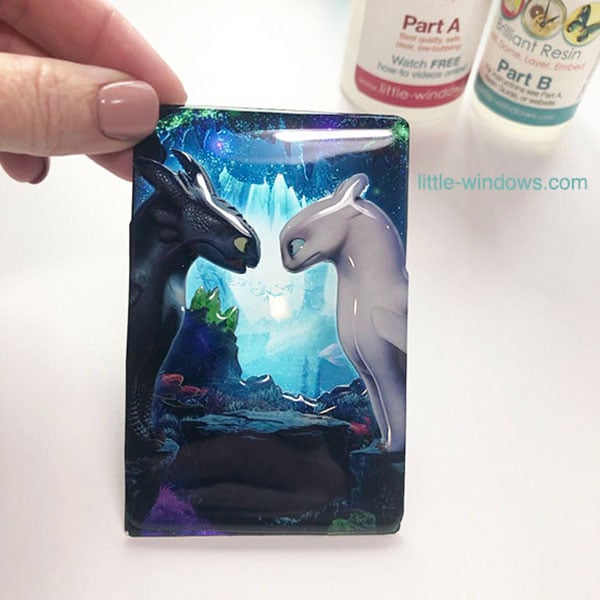
Domed-Up Pendants (Doming on top of cast pieces)
Again, you can have a solid or clear background on these pieces, but you'll need 2 prints for each.
Cast the bottom layer, working face-up in the mold. Dome cut-outs at the same time, and allow to set.
 Pop out and Dome Up the top layer, as shown in the video.
Embellish Doming with Crystals - Make ripples!
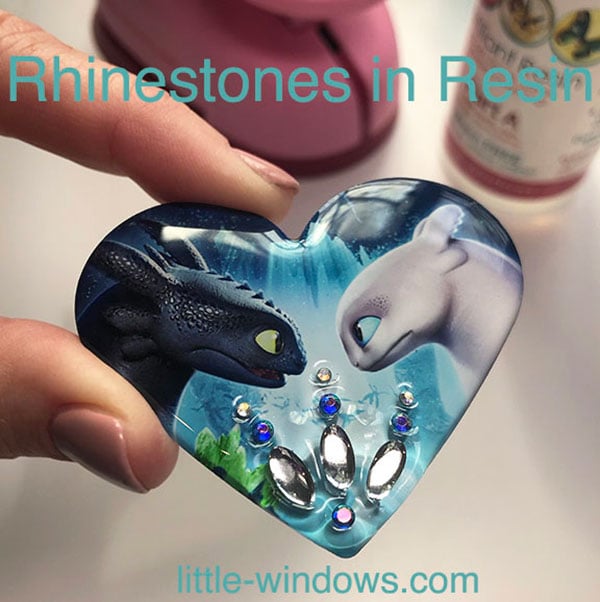
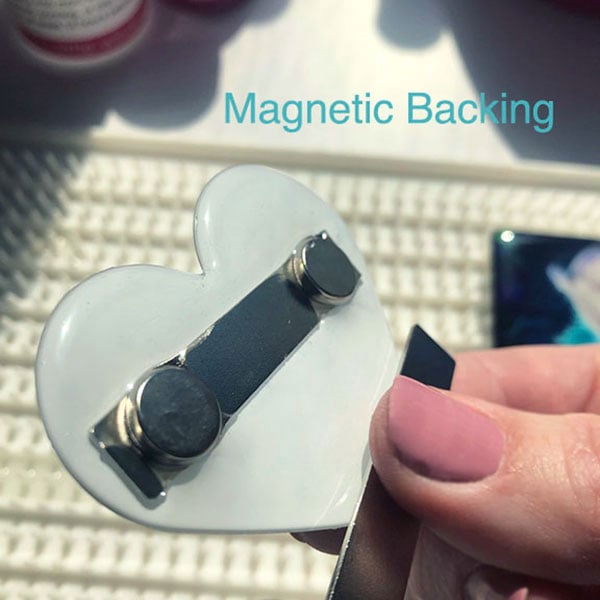
These ones can be embellished with crystals, charms, wire, or any other doodads. They can be made into charms, stickers, magnets, pins, or decorations. I added a magnet bar to the back of mine.
Have fun making your own!
MORE IDEAS using the same awesome products:


