


Layered Scarab in Resin Jewelry


Oh how I love this piece. It's great when I'm feeling gothy, or agressive, or on Halloween :)
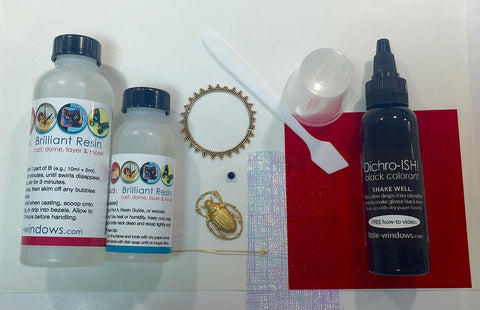
You'll need this stuff to make one, plus any findings, chain, cord or pin-back you want to use.

and this stuff too. You can use a frame, a bezel, drill and use a jump ring, or add a pin to the back.
You'll need to pour in layers to get this dimension.
