Adding Findings to your Resin Creations
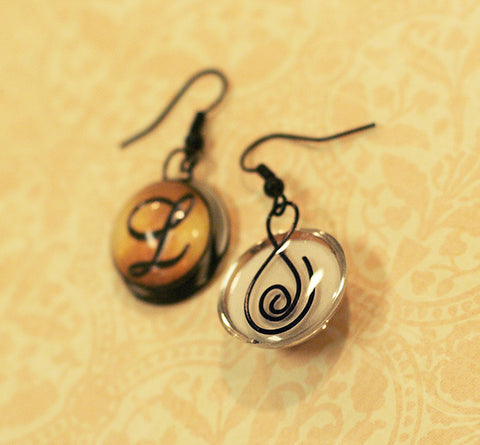
There are many ways you can add findings to your resin creations, turning them into jewelry, accessories, buttons, or decorative items like the ones shown below.
SCROLL DOWN FOR HOW-TO VIDEOS
Drill a hole:
You can drill holes into or through your resin pieces. Then you can either glue in an eye-screw, or add a jumpring, a headpin, or a wire through the hole. If your piece is clear, drill at an angle so the finding will hide the white drill line.
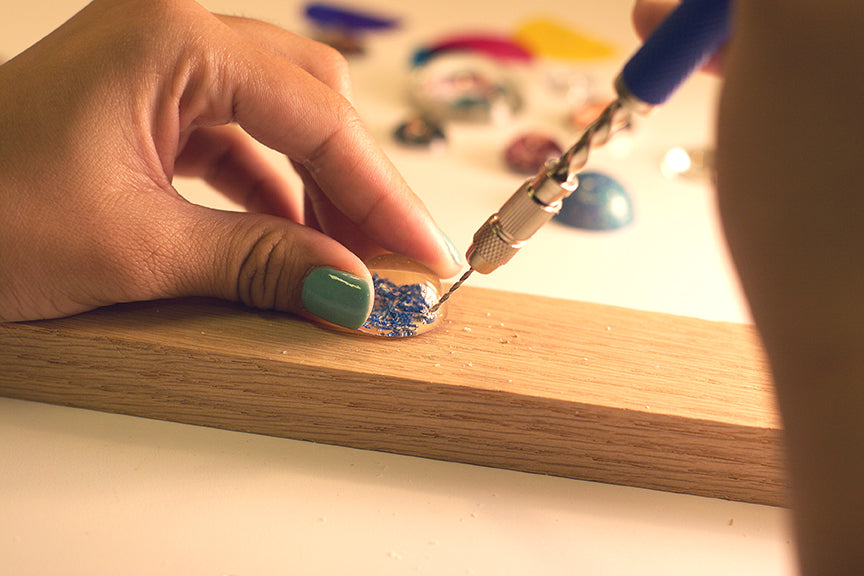
If your piece is colored, you can drill straight in and then glue in an eye-screw
finding.


Embed findings in resin:
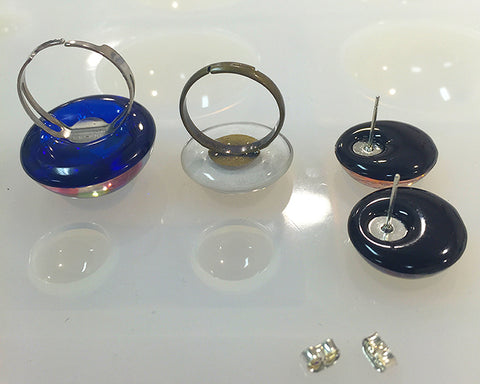
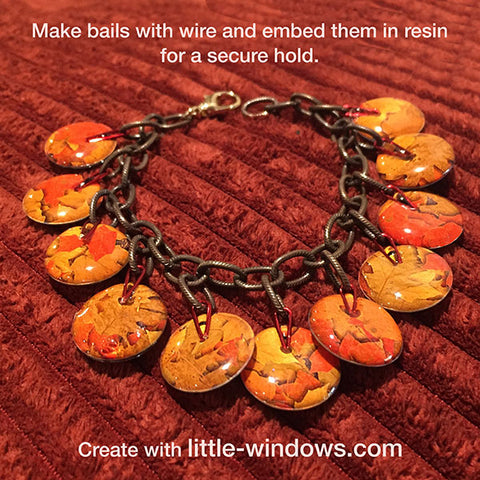
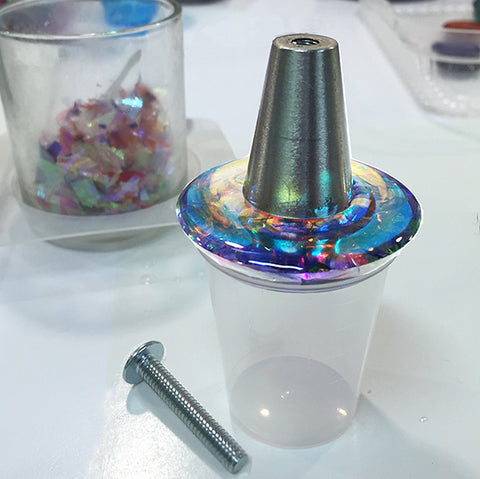
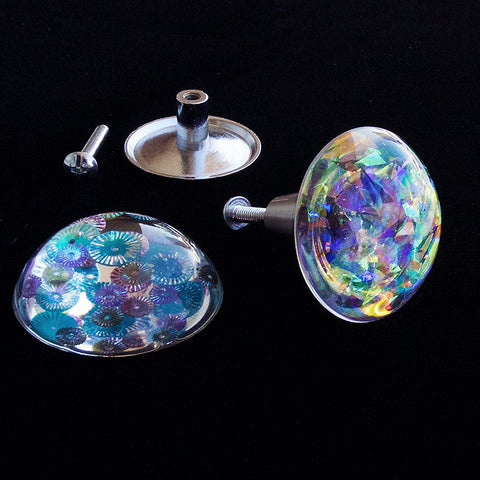
Once your piece is made, you can add another thin layer of resin to the back and embed a finding, to make a bail or link, or turn your pieces into all types of jewelry, buttons, and decorative pieces, like the handles below.

Glue on flat-back bails:
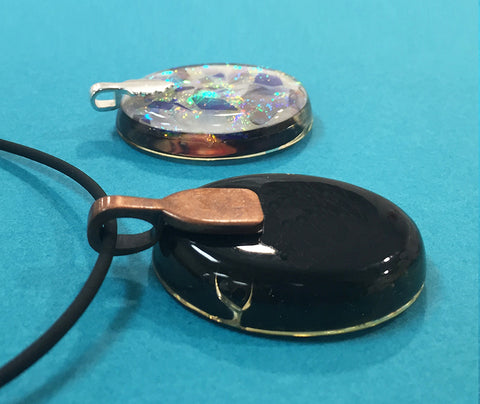
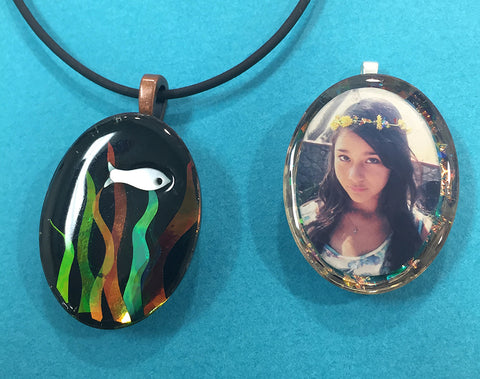
A drop or two of resin is the very best way to create a permanent, waterproof bond, and you can mix a batch as small as 6ml Part A + 3ml Part B to do this.
If you don't have any handy you can also use E6000 or another strong adhesive, just make sure you use it outside or in a well ventilated area, as it really stinks and it's not healthy to breathe (or get on you).
Wire wrap your pieces:
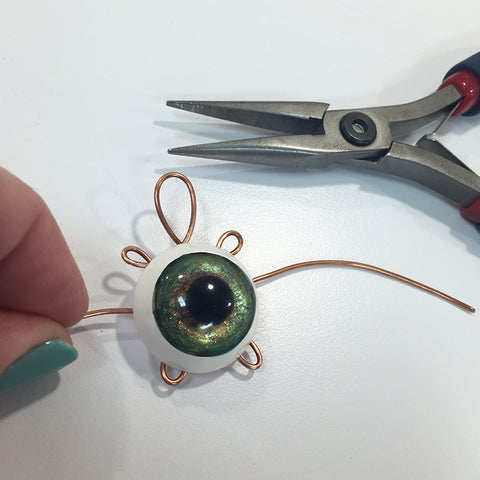
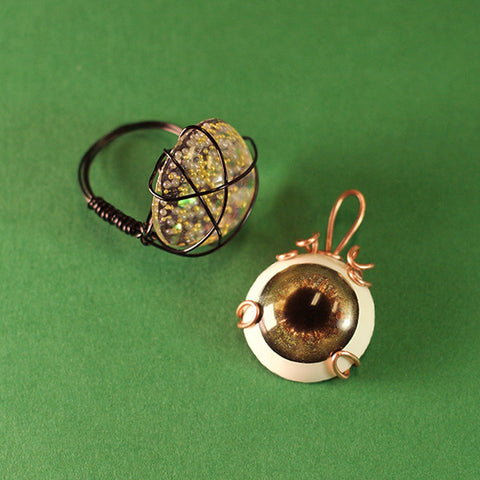
Mount your resin piece in a Bezel:


Mount your casting in Polymer Clay:
You can work polymer clay around your cast resin pieces, and bake them together as long as you don't exceed the time or temperature recommended on the polymer clay packaging. After baking you can add findings through the polyclay.


Or, you can first bake your polyclay pieces, then Dome Up with Brilliant Resin, and add findings after.

Orrrr, bake your polymer clay into bezels with built-in handles, then Dome Up with Brilliant Resin after, like Amazing Maker Sue Herst did in these beauties:

Tutorials for the techniques above:
In this how-to video, you can fast-forward to 11:38 for a focus on findings:
And here's a demo of clean and easy drilling with our Spring Drill:


