
Alcohol Inks and Photo Silhouettes in Resin
SCROLL DOWN FOR DIFFERENT TECHNIQUES
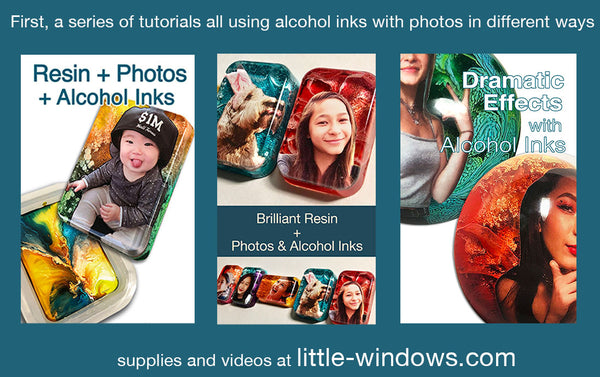
PART 1: CASTING LARGE SHAPES
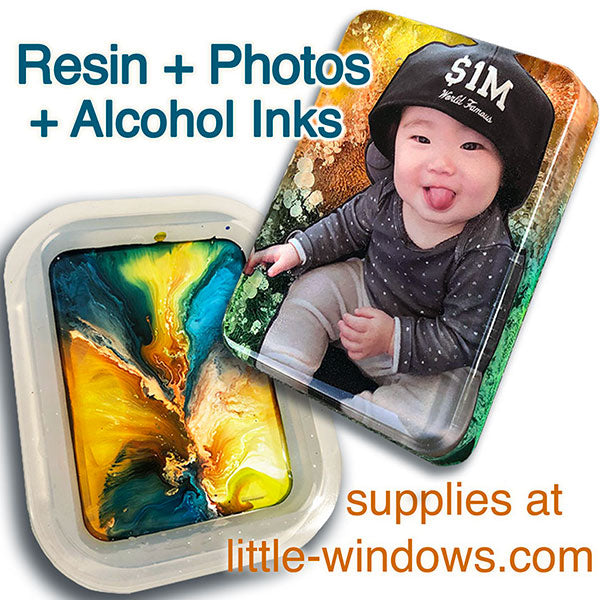
Here's the first in a series of quick tutorials showing different effects you can create when layering alcohol inks behind photo silhouettes.
For these projects you'll need:
Alcohol Inks - any colors + white CLICK HERE for recommendations
Sharp scissors
Clear Packing Tape (optional)
Whatever ribbon, chains, or other findings you want to finish your projects.
This shows the fronts and backs of these pretty ornaments:
 .
. 

Another example with another cheeky photo!

PART 2: CASTING Special Effects for JEWELRY MAKING
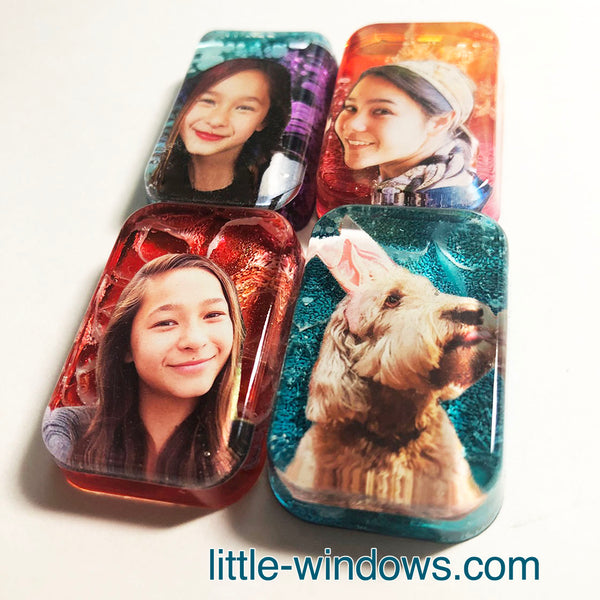
For these projects you'll need:
Alcohol Inks - any colors + white CLICK HERE for recommendations
Sharp scissors, straight pin and/or toothpick
Paper towels
Clear Packing Tape (optional)
Whatever pins, jumprings, keychains, chains, or other findings you want to finish your projects.
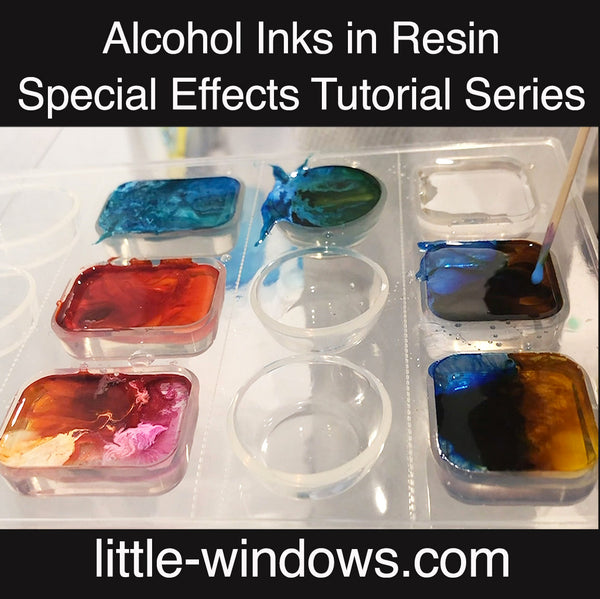
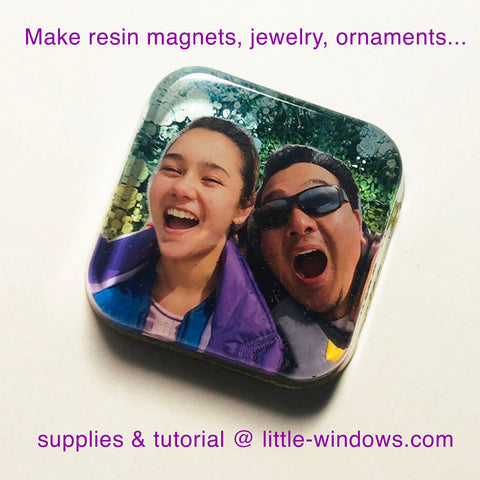
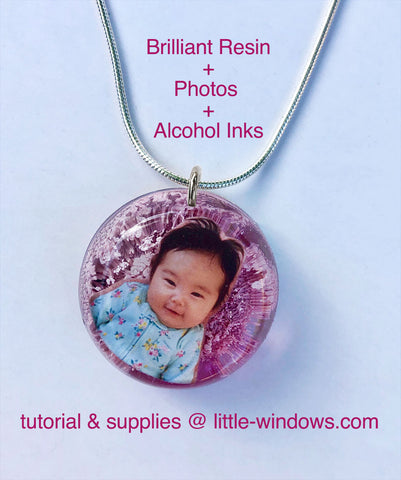
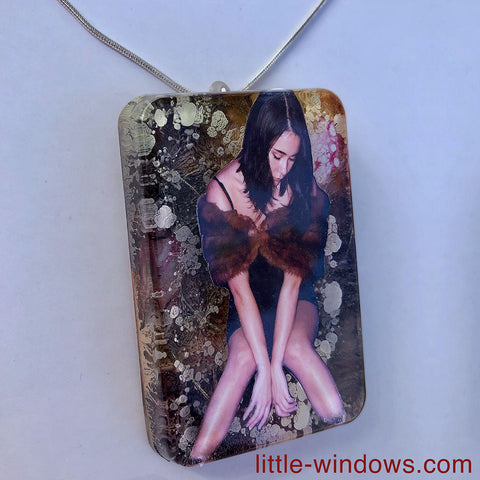
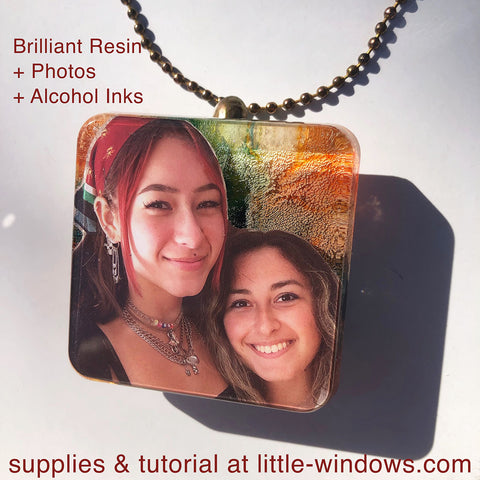
PART 3: DRAMATIC EFFECTS in Cabochon Castings
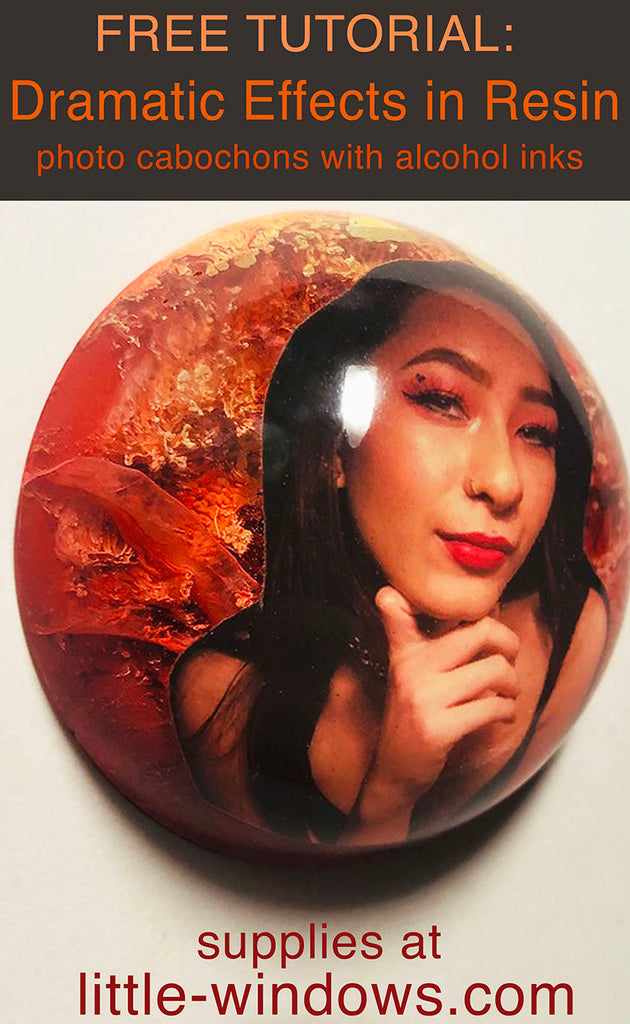
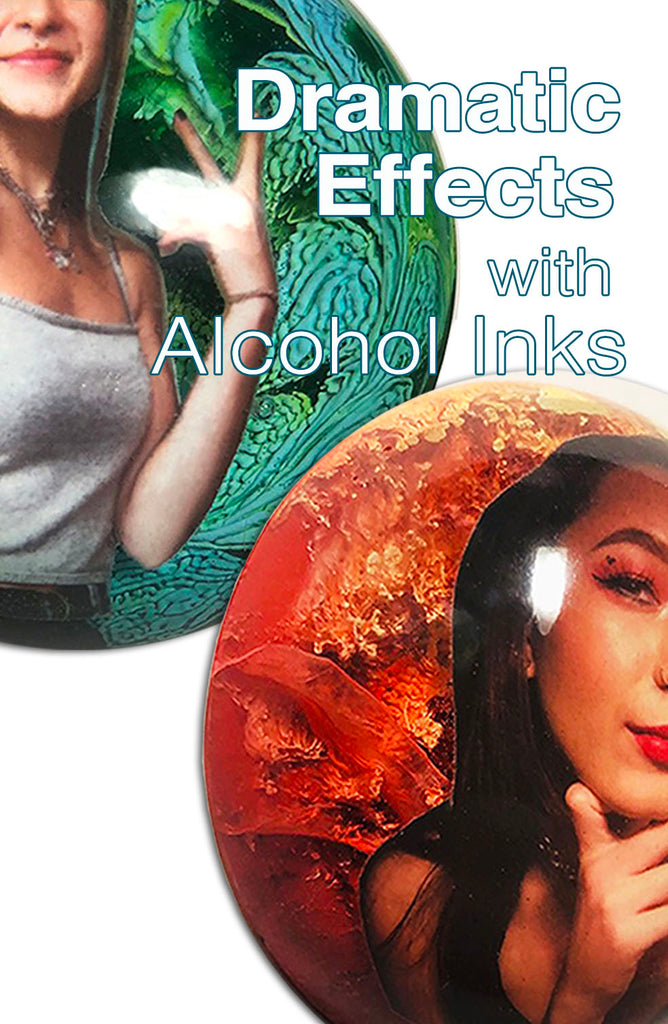
Same supplies as above, used in different ways to create amazing and dramatic color effects in resin. Try with our without photos for unique, dimensional resin castings!
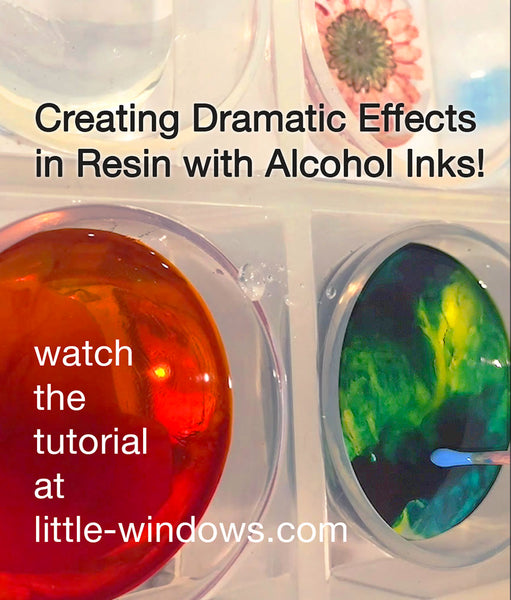
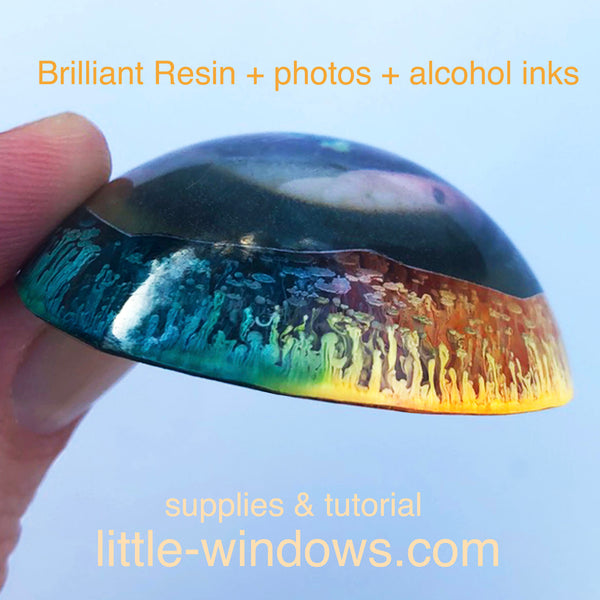
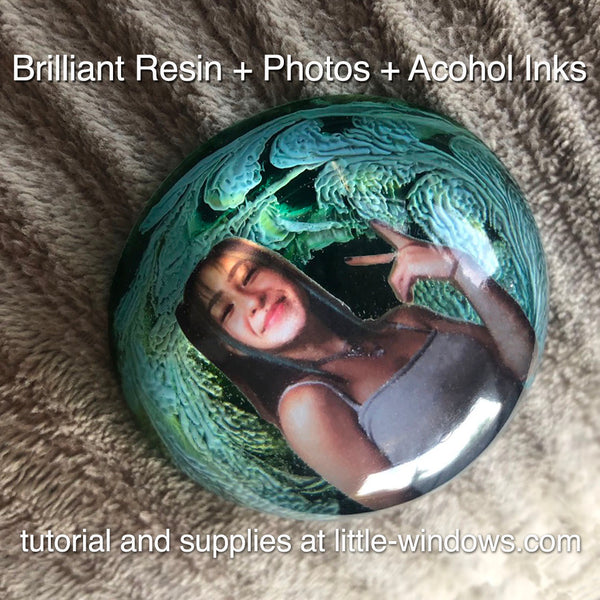

Same materials as above :)
More videos to come!
ALCOHOL INK DRIP TECHNIQUE
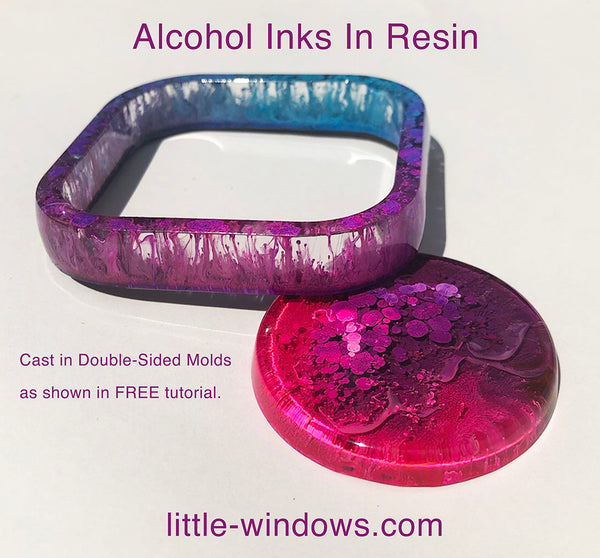
There's lots of fun to be had by incorporating alcohol inks into Brilliant Resin, here are a few techniques you can try, CLICK HERE for alcohol ink recommendations:
Simple colors
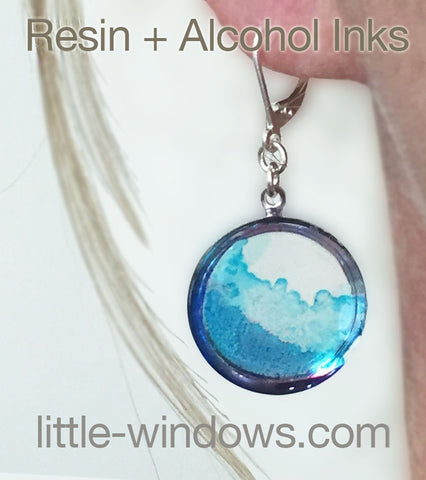
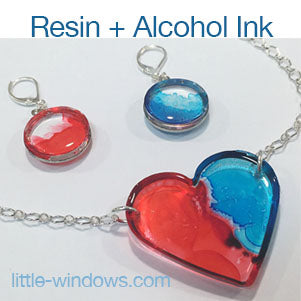
You can add color between layers of resin for beautiful organic looks, or to add dimension. Inks can be painted on, or dripped and blotted.
STICKER RESIST TECHNIQUE
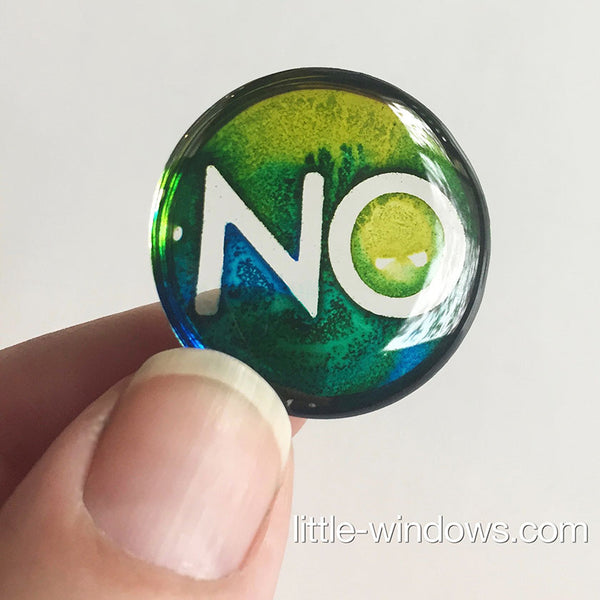
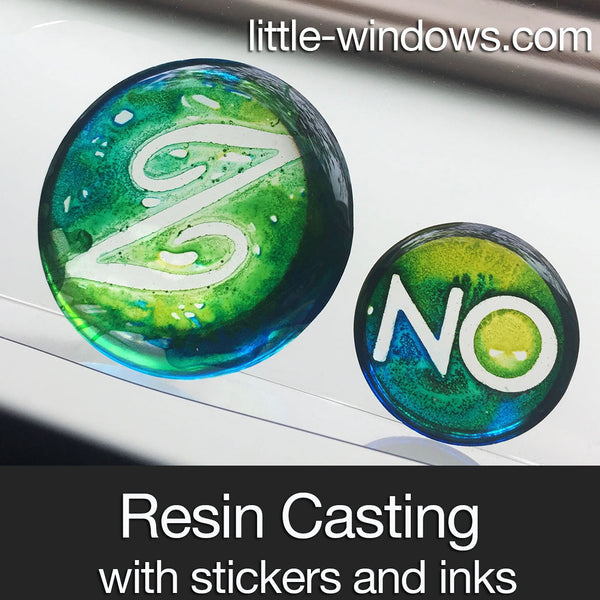
Step 1 - Cast clear layer of Brilliant Resin in any mold and allow to set up.
Step 2 - Place a monogram sticker on the resin, rub it down well, then drip, daub, or paint inks over it. Allow to dry, then remove the sticker.
Step 3 - Add a layer of clear Brilliant Resin to seal it in.
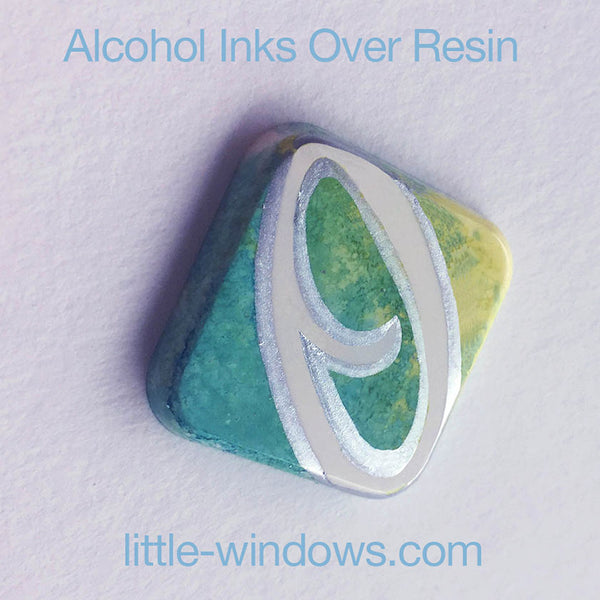
Here's one on a white cast resin piece, outlined in silver ink:
DRIPPING INKS ON CLEAR PHOTO FILM
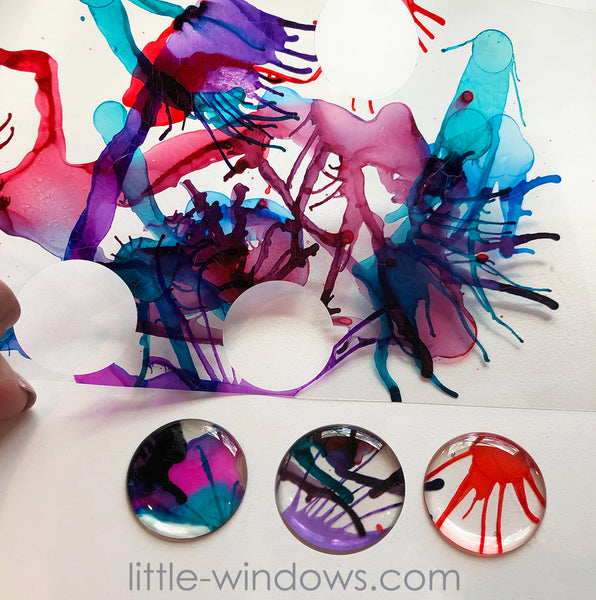
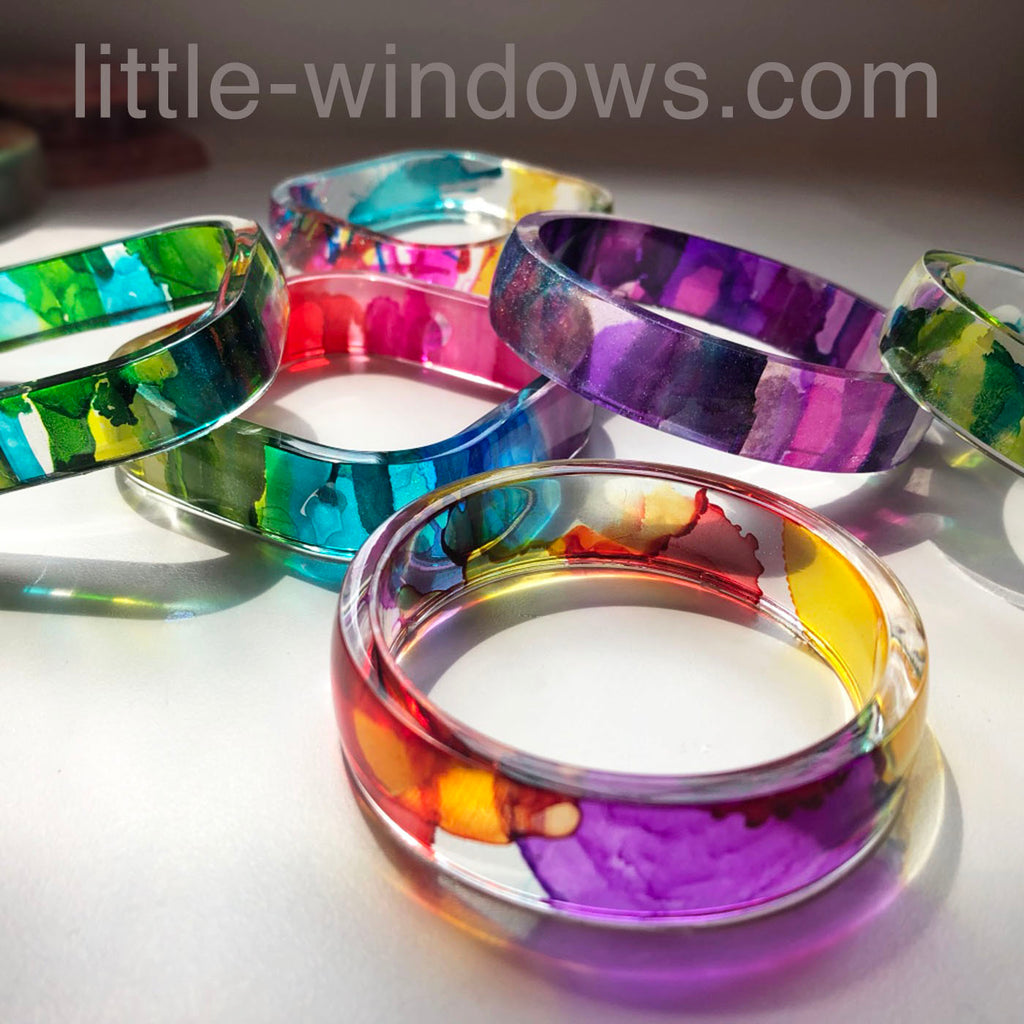
This is a fun way to create gorgeous glass-like looks. In the image above I dripped inks on a sheet of Clear Photo Film, which holds the inks very well, and then blew through a straw to splat them out.
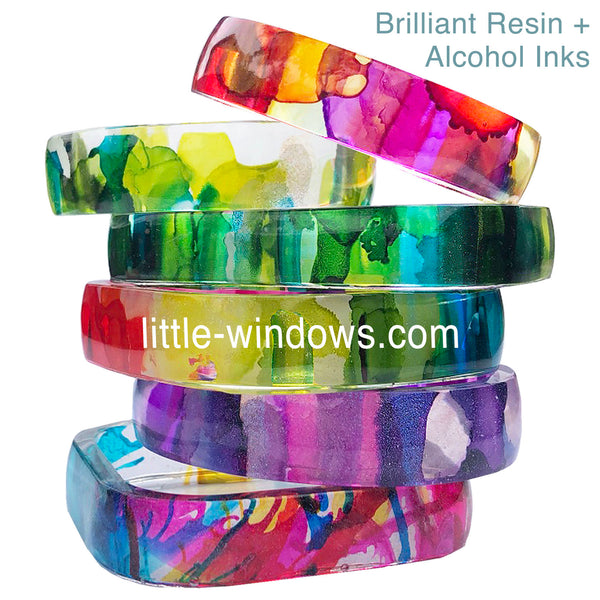
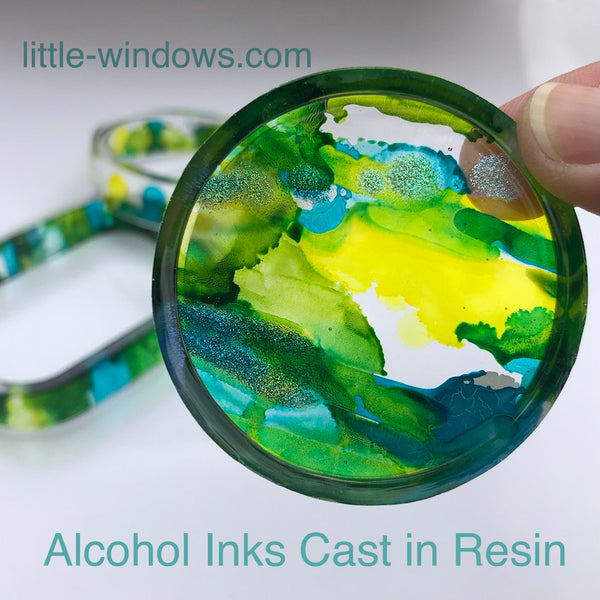
Here's what you'll need...
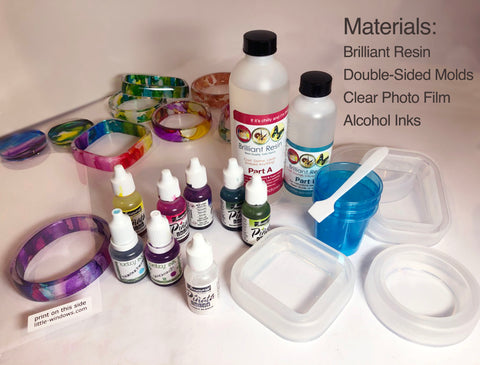
Use the guide that comes with these molds to size your strips.
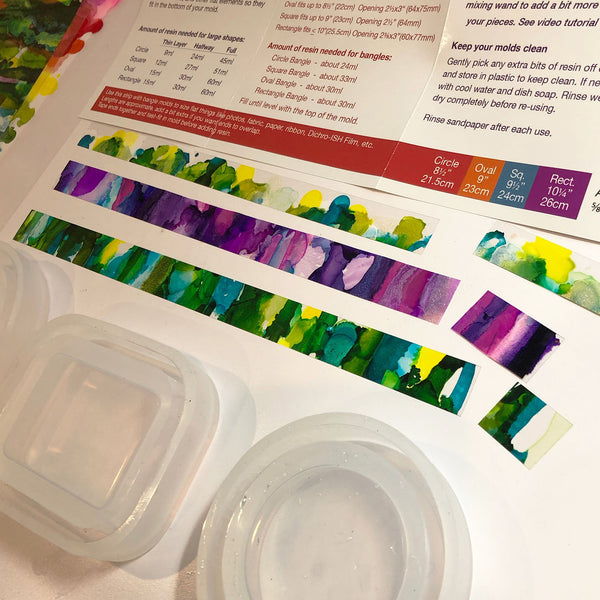
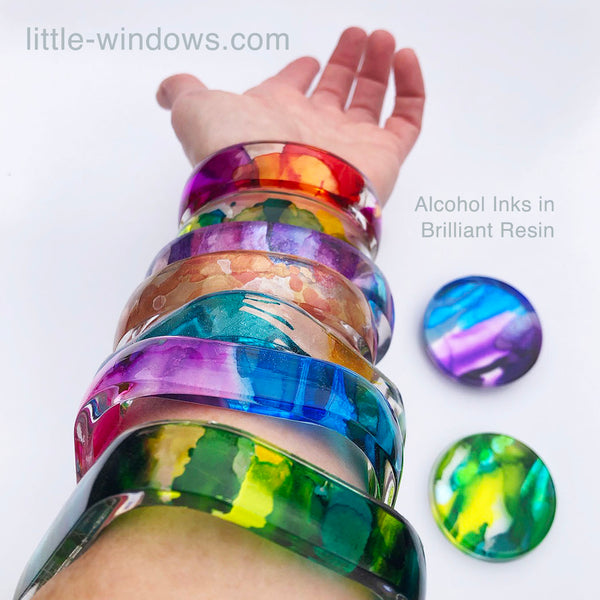
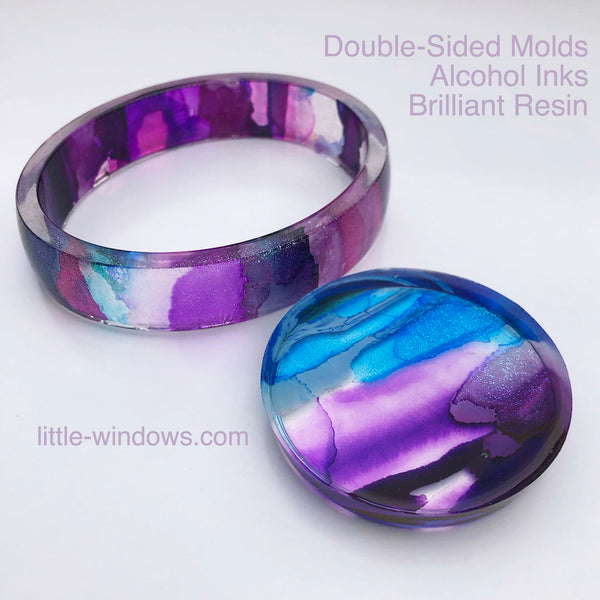
For these bangles and sun catchers, attach a sheet of Clear Photo Film to a stiff board (cardboard, a clipboard, or other white surface), prop it up at an angle and squeeze your inks at the top of the sheet, allowing them to run down. For distinct colors let each one dry before adding the next color. You can tip the sheet different ways to get all kinds of rivulet patterns, and try dripping pure alcohol in spots to create more intricate looks. CLICK HERE for alcohol ink recommendations. Have fun experimenting!
PETRI TECHNIQUES
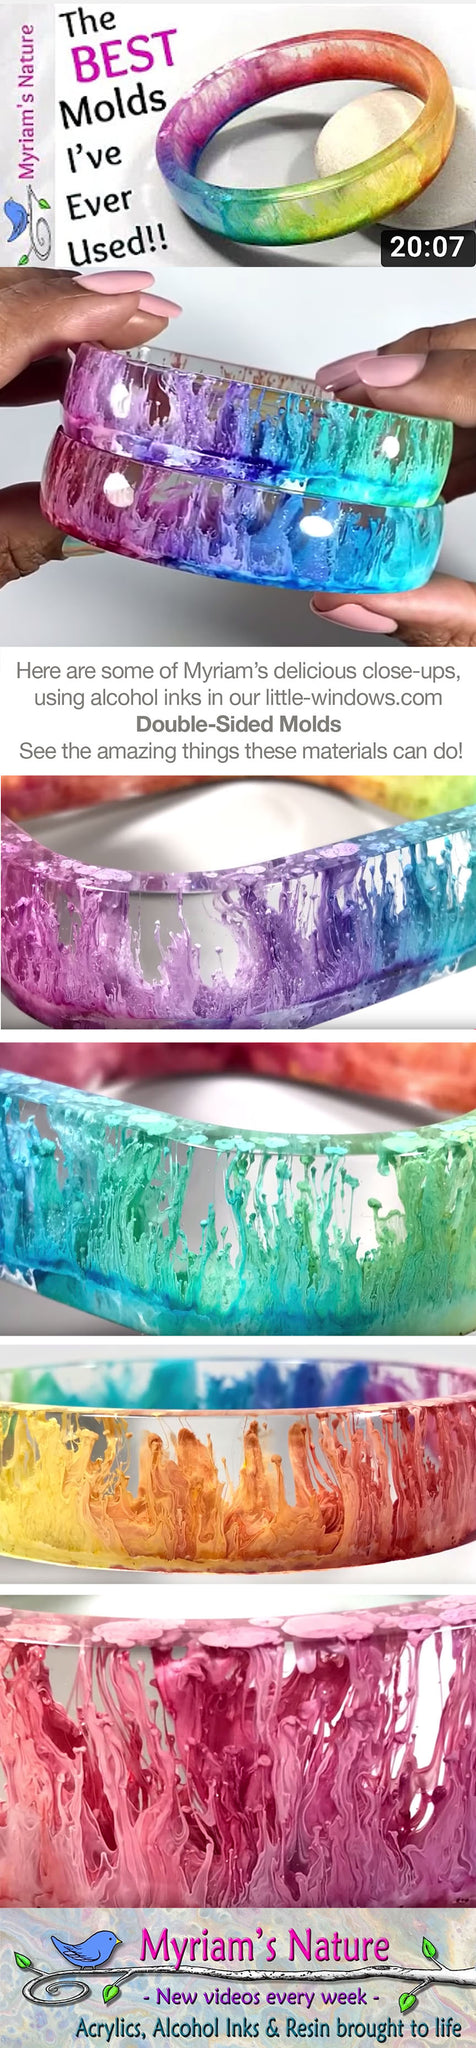
As anyone who has tried this technique knows, it's trial and error until you figure out how to get the look you want. Our friend Myriam of Myriam's Nature has tons of well done video tutorials that can save you time and money, and give you great new ideas.
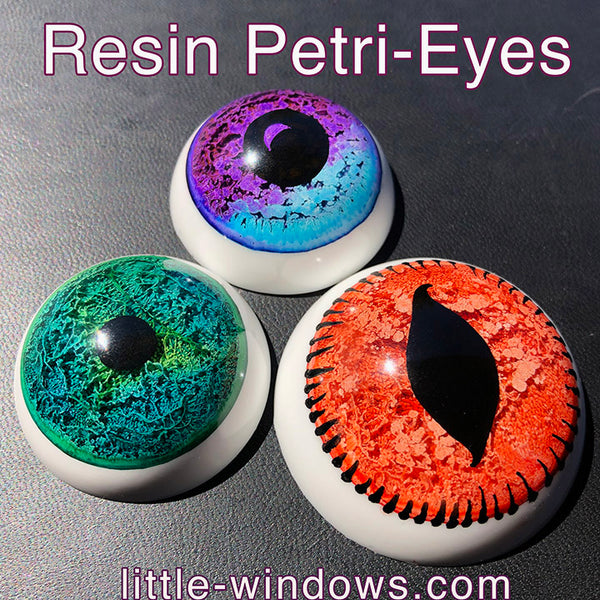
Here are some resin eyes I made using our Silicone Cabochons Mold, Brilliant Resin, White Resin Colorant, alcohol inks, and a black nail polish pen:
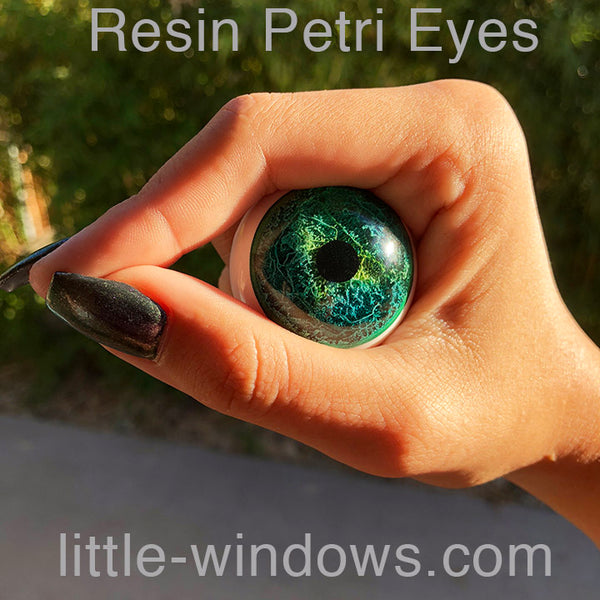
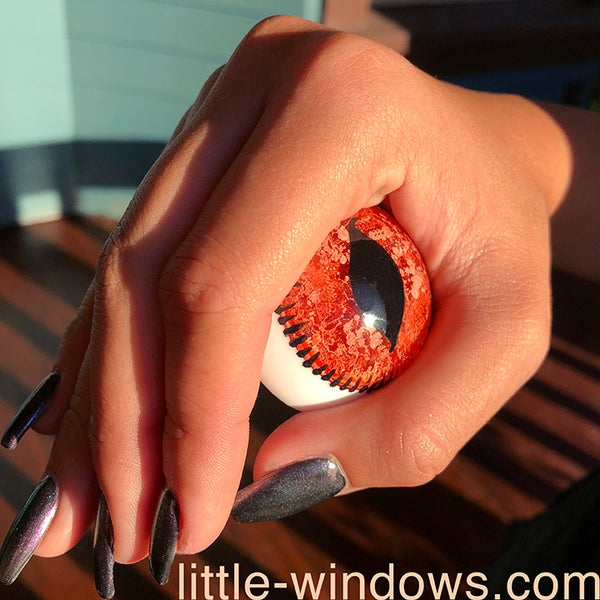
This is done in a similar way to the glitter eyes in this how-to video.
COLOR PHOTOS WITH ALCOHOL INK
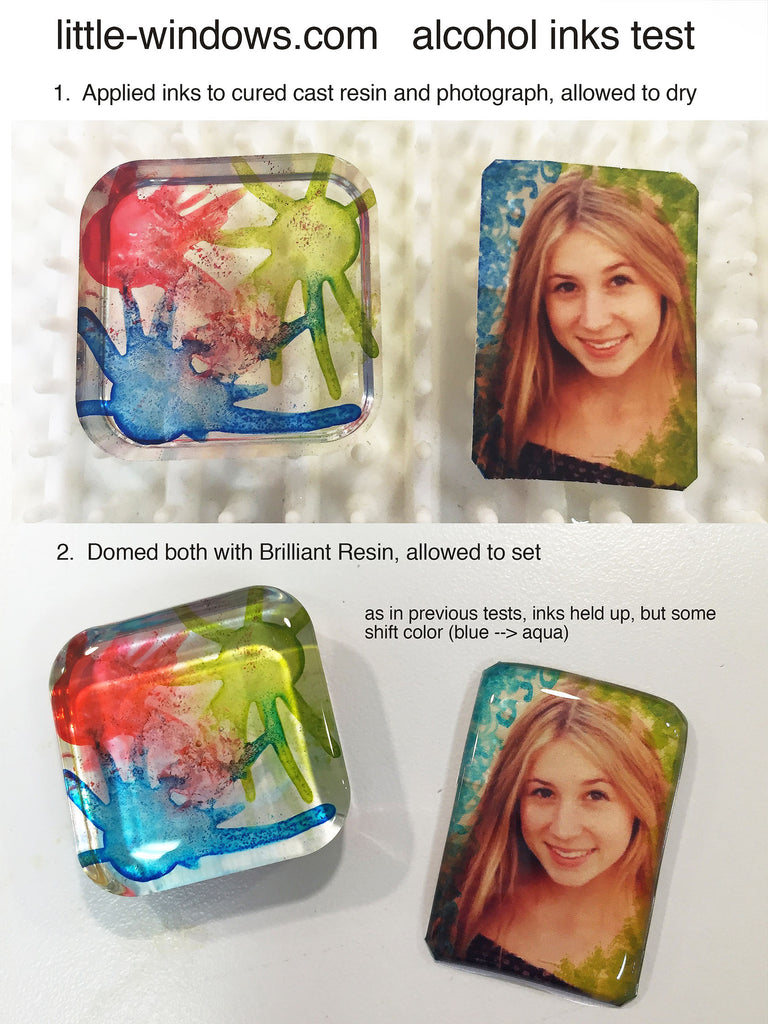
You can also paint or blot alcohol inks onto our Special Photo Papers for selective color or design. While the inks stay put nicely even with layering resin, some colors of alcohol inks shift in resin, and some fade faster than others.