
You'll also need
- Sharp scissors
- Colored wire 16-20 gauge
- Pliers, wire snippers
- Paper towels
- Timer
Please save, share, and follow us: YouTube Channel Pinterest Facebook Instagram
Yummy Color in Resin with Wire Accent Bails
The pendants above were cast in our Medium Molds, then Domed Up over a piece of Resin Color Film, with a bit of glitter mixed into the resin. Let that set up an hour or two, then push bent wire forms into the resin making a ripple effect and glossy dimension.
I formed the wire to create a bail on each one that I could then feed a necklace or ornament hanger through. I let the domed up layer of resin firm up for about 1-1/2 - 2 hours, then pushed in the wire, creating a ripple effect. Having the wire embedded in the resin gives you the strongest possible bond, and I love how the ripple effects catch the light.
To do this I drew the design first on a piece of paper, then bent the wire around to match the design.
Click here to watch a video on embedding wire in resin.


Here's another example using colored wire with the same technique for shaping wire to act as a built-in bail:


Shop Our Brilliant Supplies
-
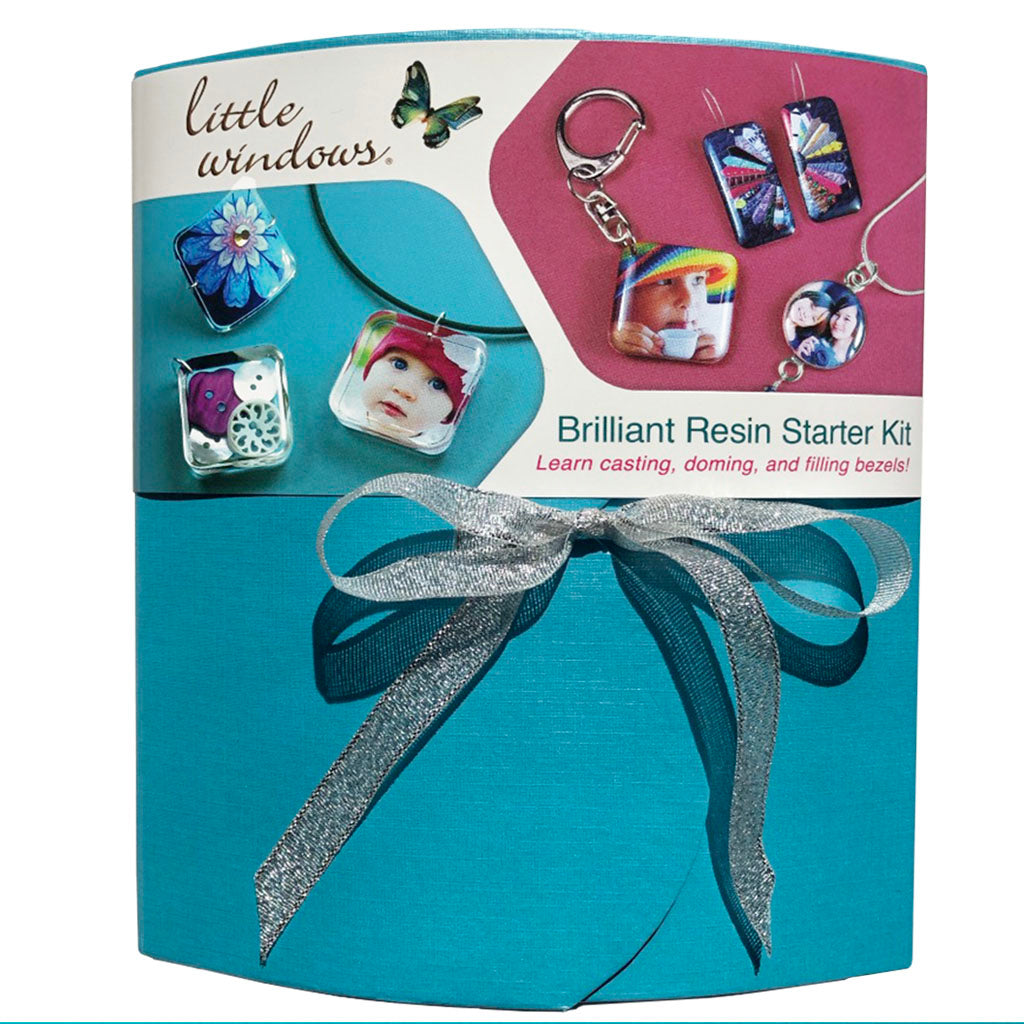
Best Resin Starter Kits
This is the best resin jewelry starter kit! Perfect for beginners, teaches...
-

Online Photo Cropper
Access on any computer or mobile device! SCROLL DOWN TO PURCHASE Once...