


You'll also need
- Stamp, sticker or memorabilia
- Beads and/or crystals
- Jumprings (we offer strong Sterling Silver ones)
- WireLace - I used 1mm, there are different thicknesses available. Here's a great source you can order by the yard in whichever colors you want.
- Sharp scissors
- Paper towels
Please save, share, and follow us:
YouTube Channel Pinterest Facebook Instagram
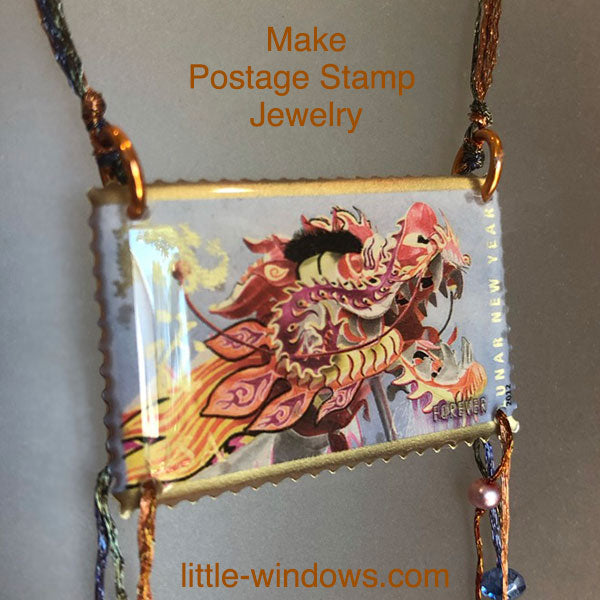
This is one of my all-time favorite creations. It's not only the design of the stamp itself with its golden accents, nor the color combos with the wirelace and beads, but the idea that you could turn an item that costs less than $0.50 into a beautiful piece of jewelry that's a conversation starter.
You can also make these with stickers or memorabilia.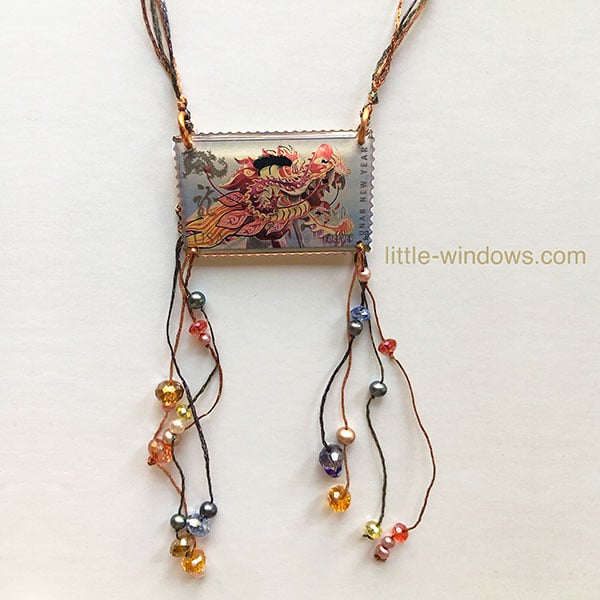
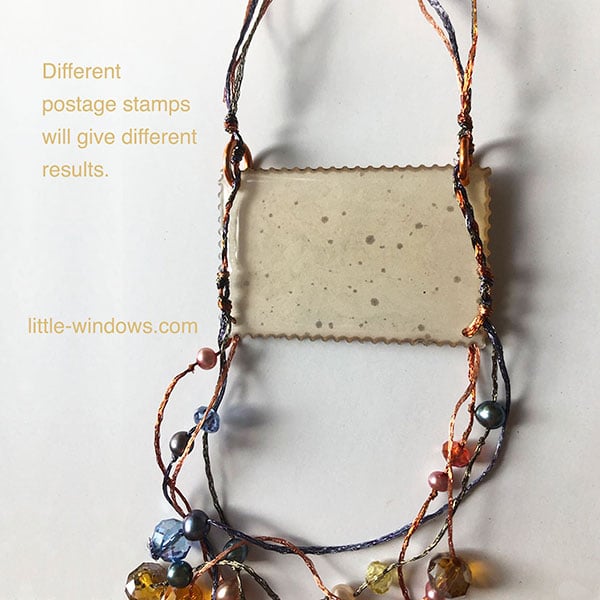
The post office uses different printing processes and types of paper for their different stamps. Some are thin plain paper, so they abosrb resin and darken in a splotchy way that's not pretty. These stamps you'll need to seal before doming with Brilliant Resin. Fortunately, this stamp was printed on good quality paper and has metallic gold accents, and I think that printing helped it resist absorbing resin. You'll see below how their application of adhesive can also influence absorbtion.

Step 1: Seal if necessary (Mod Podge works), then Dome your stamp on both sides with Brilliant Resin. You may need to use a Tiny Pointy Swab to pull resin into the scalloped edges so the entire stamp is covered. This will protect your creation and create a cool edge.
Rather than a standard chain or cord, I wanted to emphasize the colors in this stamp, so I chose 4 colors of WireLace (think embroidery floss but made of flexible, braided wire), and matching beads.
Step 2: I drilled holes at each corner with my Spring Drill, then added orange colored jump rings to the top corners.
Step 3: Cut lengths of WireLace about 30", one each of the 4 colors. I tied all 4 together in the center with a single knot that rests at the center back of my neck. This keeps them from tangling. I wrapped this around my neck and decided where I wanted the stamp to lay on my chest. I knotted the WireLace through the jumprings to hold it in place, then took off the necklace. Then I braided the wires down and tied a knot just above the bottom hole to hold them together (see detail below). Then I fed 2 of the WireLace strings forward through the bottom holes, so they hang in front of the other 2 at the bottom of the stamp.
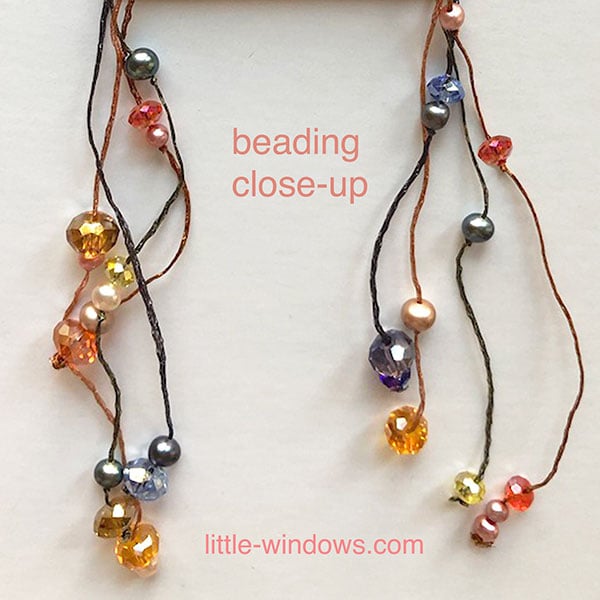
Step 4: I dumped out my cup that holds odd beads and picked out ones that matched the colors in the stamp. I ended up using a combo of colored pearls and crystals. I just fed them onto each WireLace string until I liked the design, and tied knots under each one. I trimmed off the extra strings and wore it out that night!
Here you can see how the adhesive on the back of the stamp was applied unevenly, leaving little spots that allowed the resin to soak in. Fortunately, you can't see these very much from the front.
MORE IDEAS using the same awesome products:


