

You'll also need
Sharp scissors
Small pliers, if you plan to add jumprings
A bit of tape to hold ends together if you plan to reshape your resin pieces
This is a technique for any level of maker from beginner to advanced!
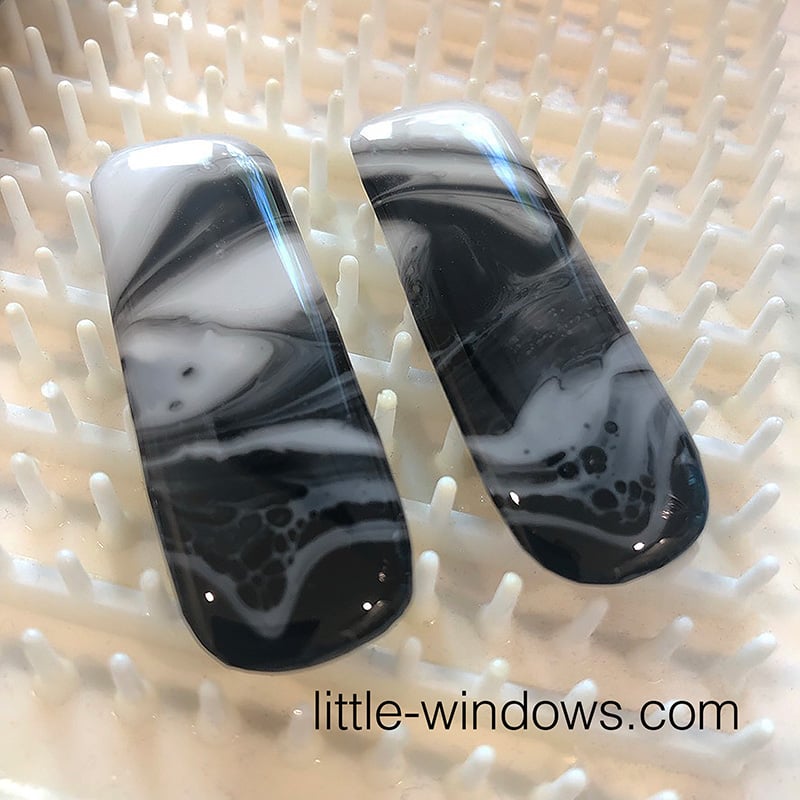
Mix...
...a batch of resin, divide into 2 cups, and color one with White Resin Colorant and the other with Black Resin Colorant. Allow these mixes to rest in the cups for about 30-40 minutes to thicken, so that you can better control your designs when you pour.
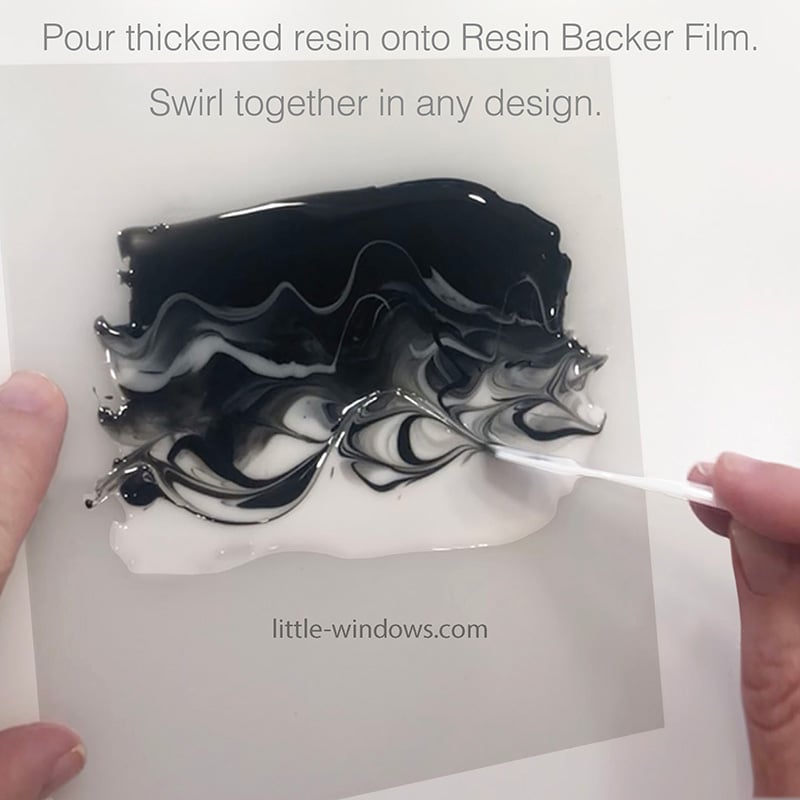
Pour and Swirl
Pour onto a clean sheet of No-Residue Adhesive Resin Backer Film. Use your mixing wand to swish and blend the 2 colors into any pattern you like, then cover and allow to set up until no longer sticky (about 10-16 hours).
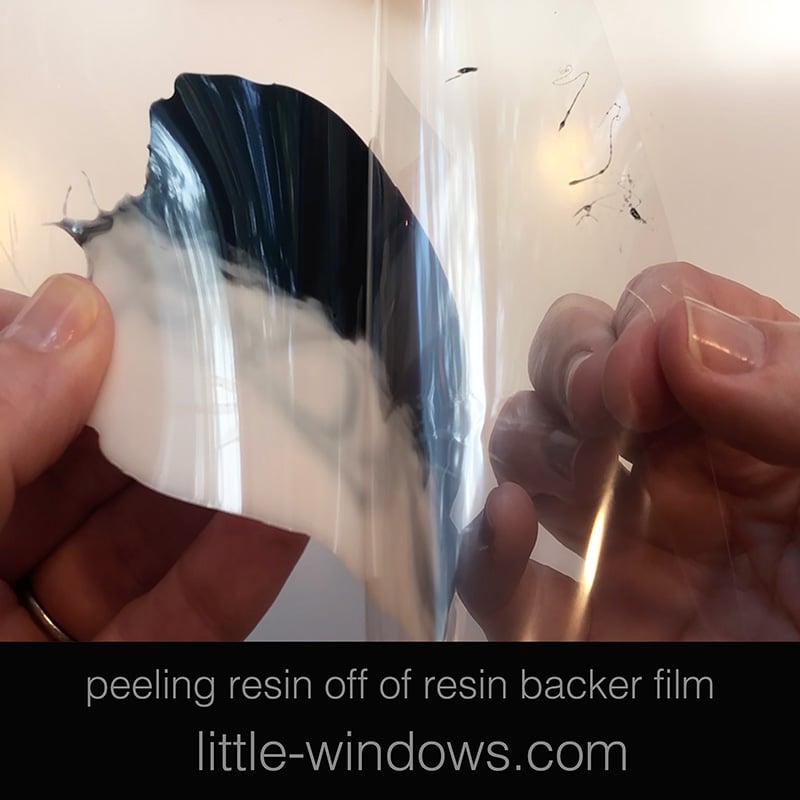
Peel...
... your resin off of the Resin Backer Film, replace clear sheet to reuse film.
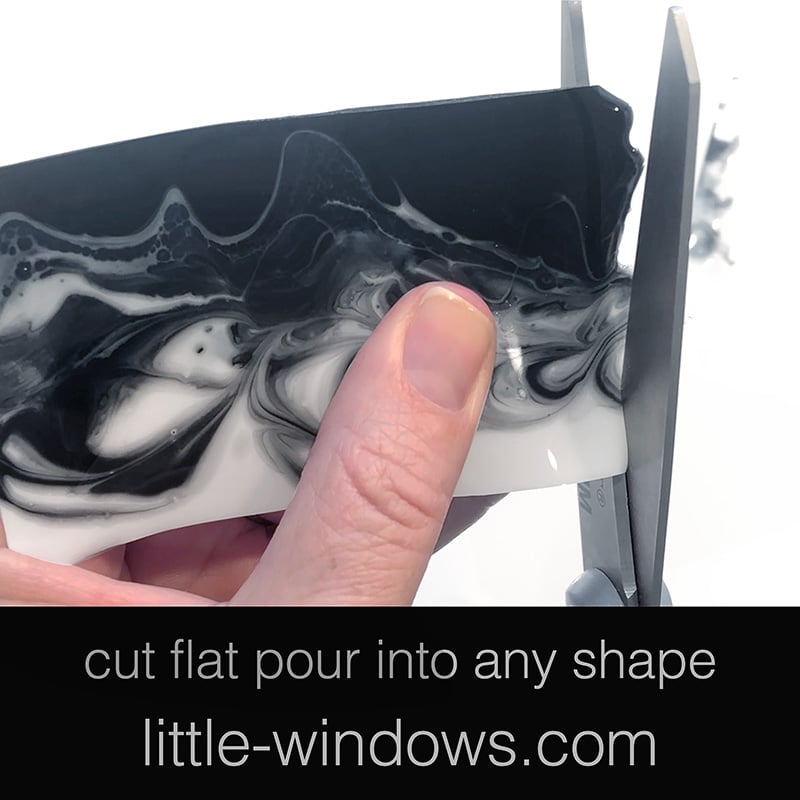
Cut...
... into any shapes you want - this is easiest to do before the resin fully cures, so target 10-16 hours post-pour.
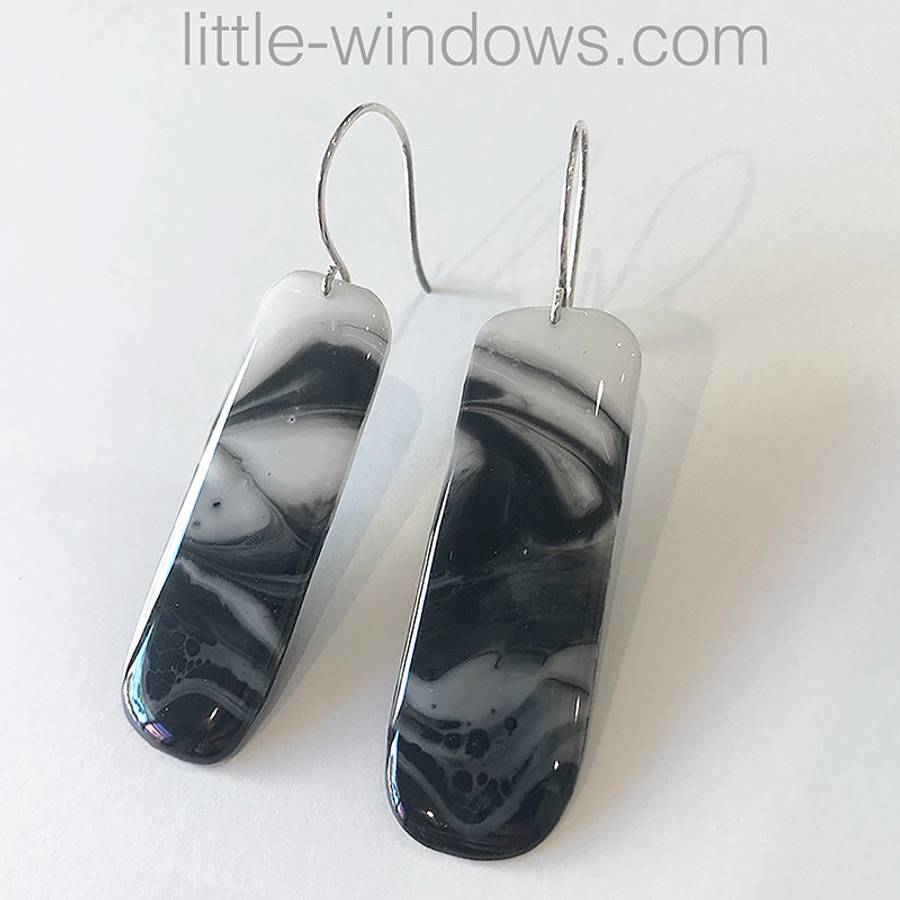
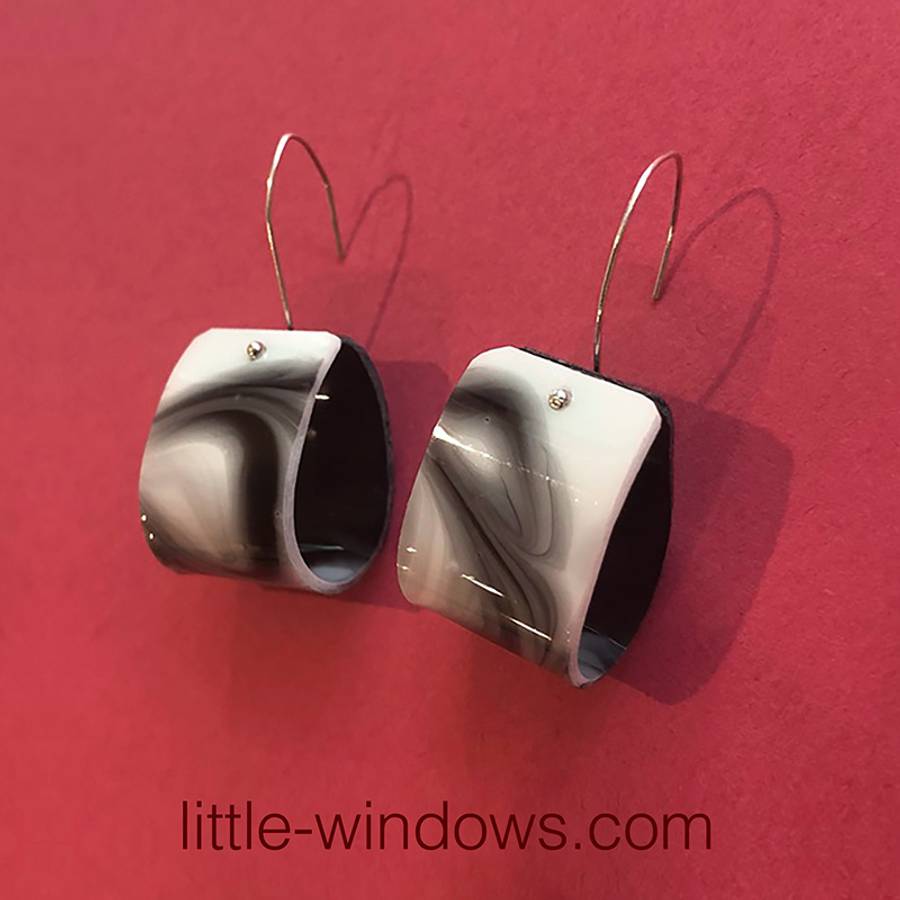
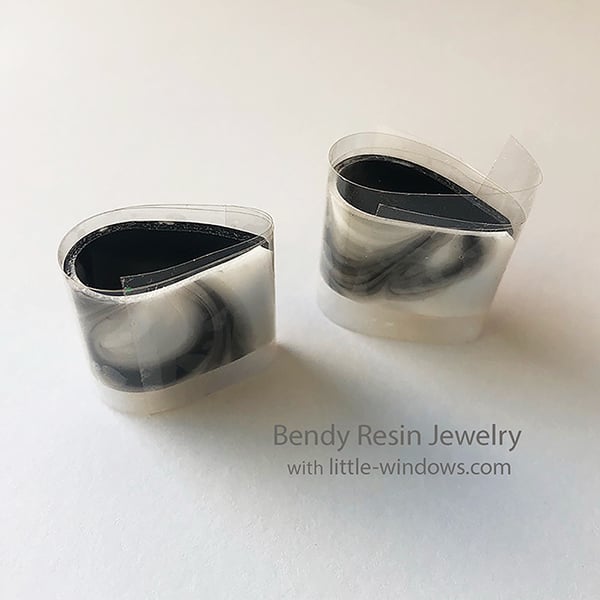
Shape...
... into or around any form. Cut a strip of the used Resin Backer Film to wrap around your bendy shapes to hold them in place until your resin fully cures (2 days or as long as you want to leave it).
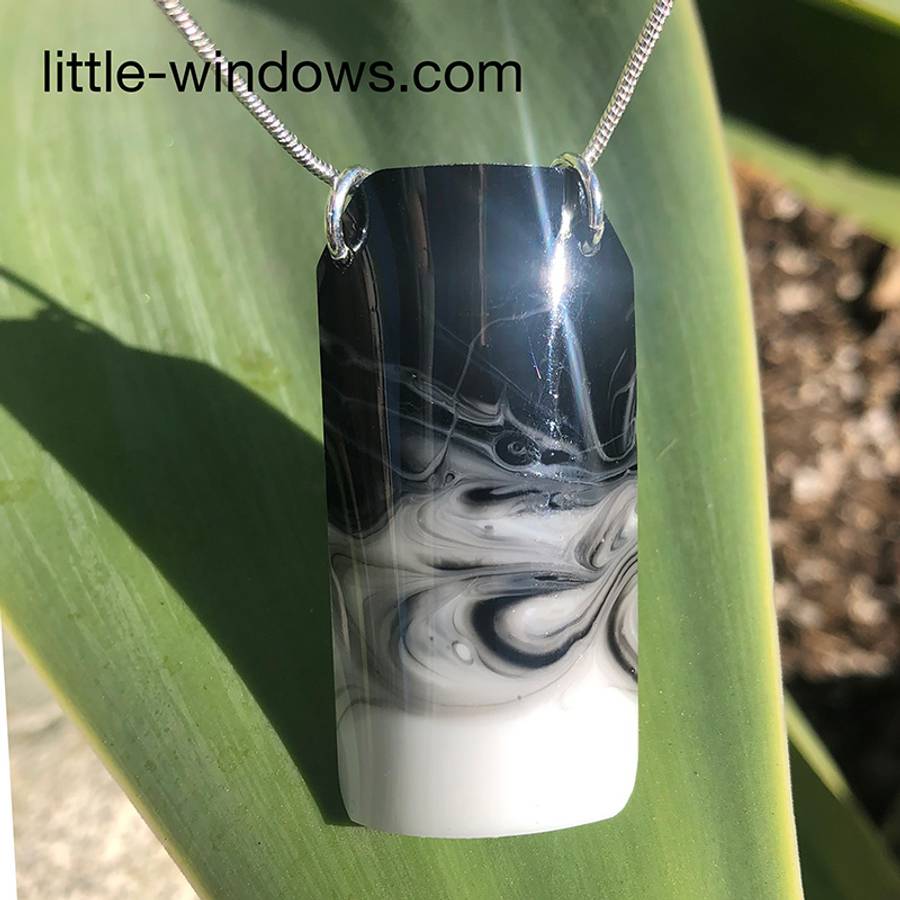
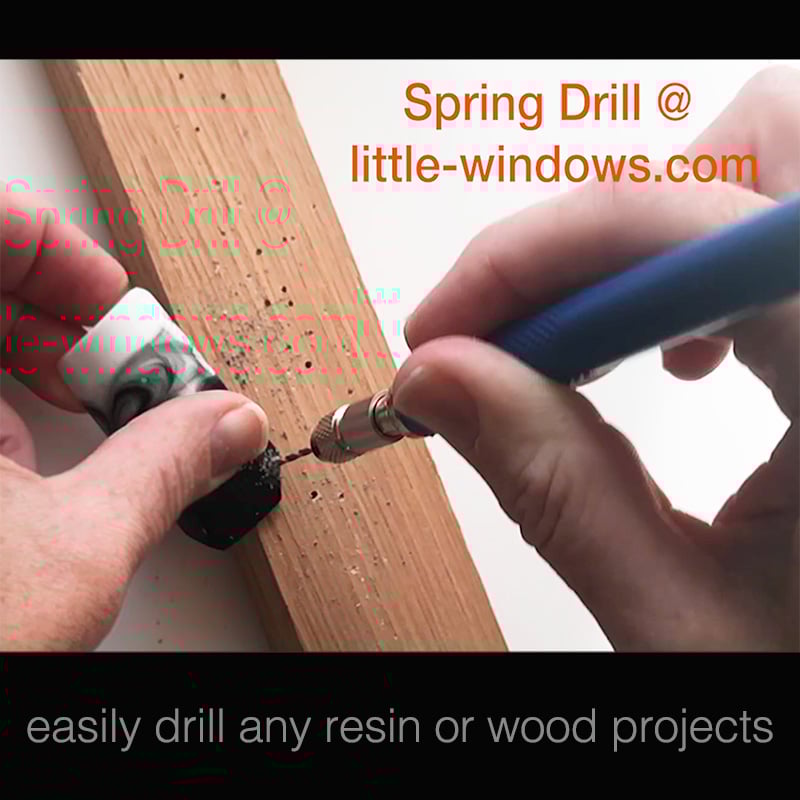
Drill
Turn in to jewelry by drilling or attaching jewelry findings in any way you like. Our Spring Drill is the easiest way to make holds if you plan to add jumprings, headpins, or wire to your creations.
You can also dome these shapes with clear resin for a more rounded finish, using your Large Silicone Doming Tray. If your resin is very thin you may need this for stability.
MORE IDEAS using the same awesome products:


