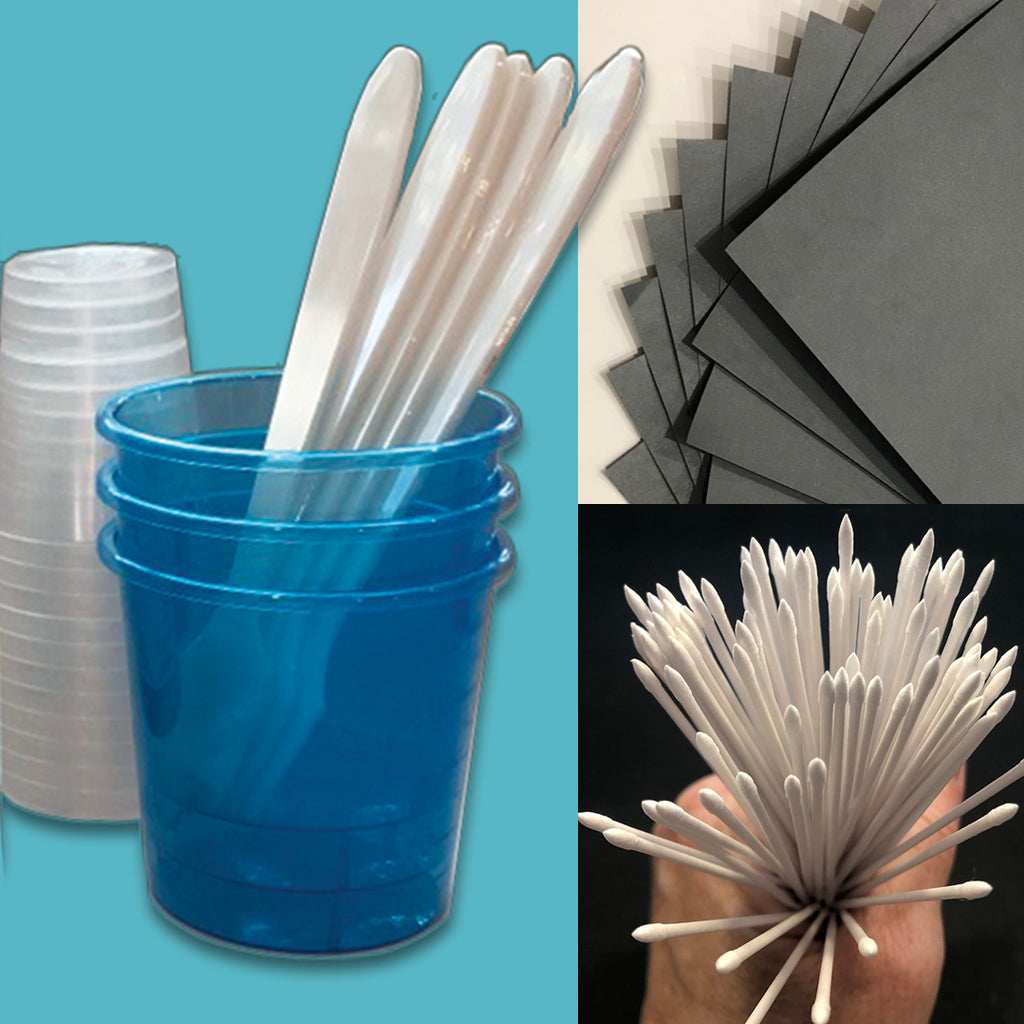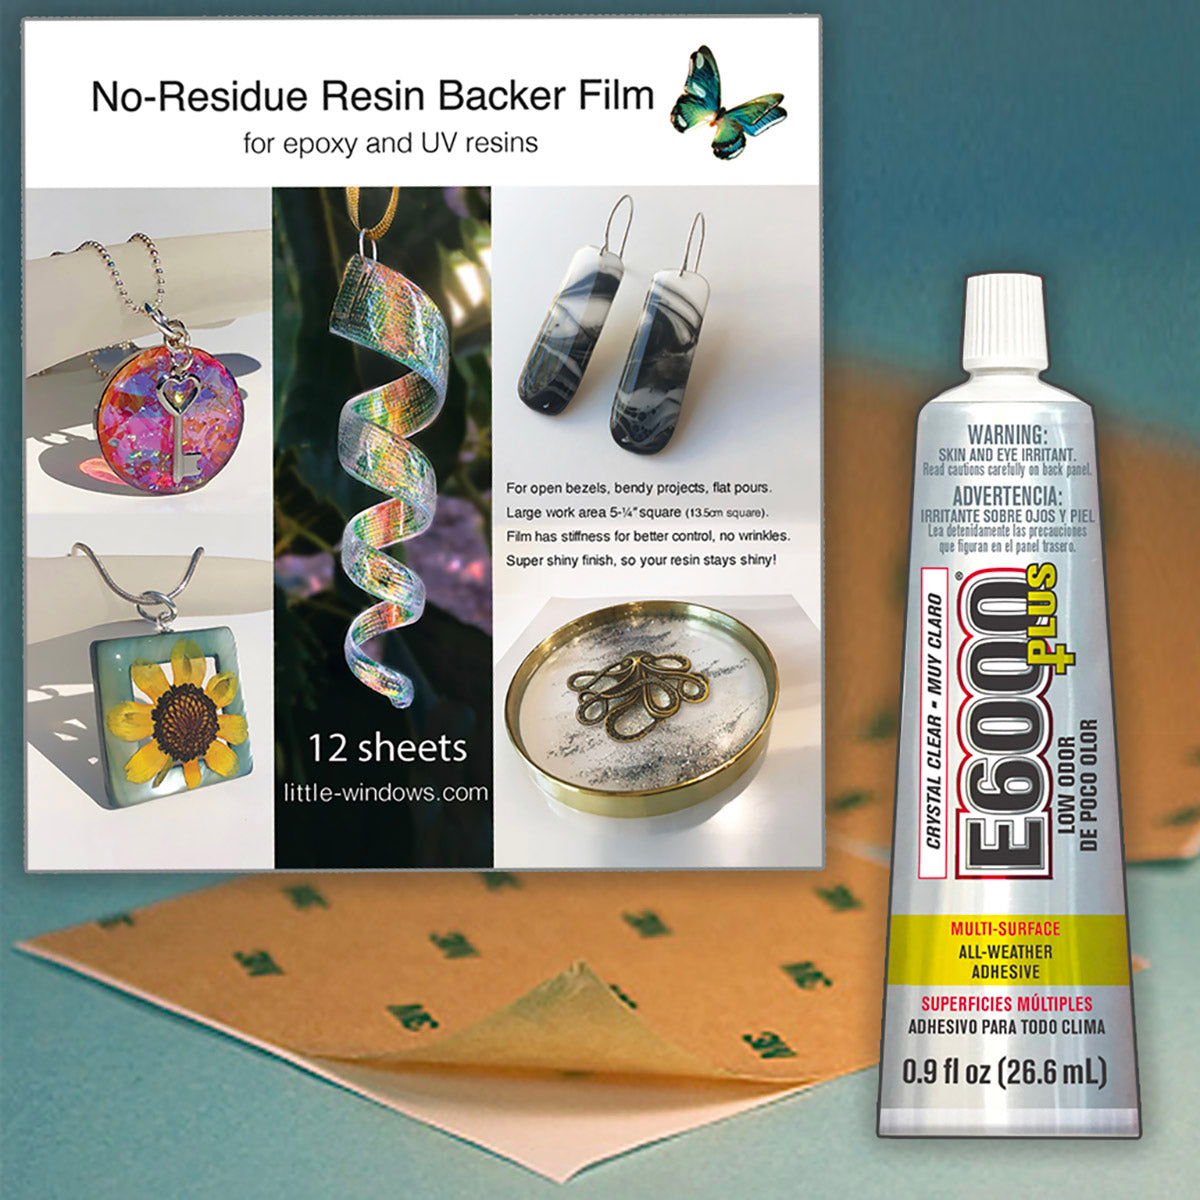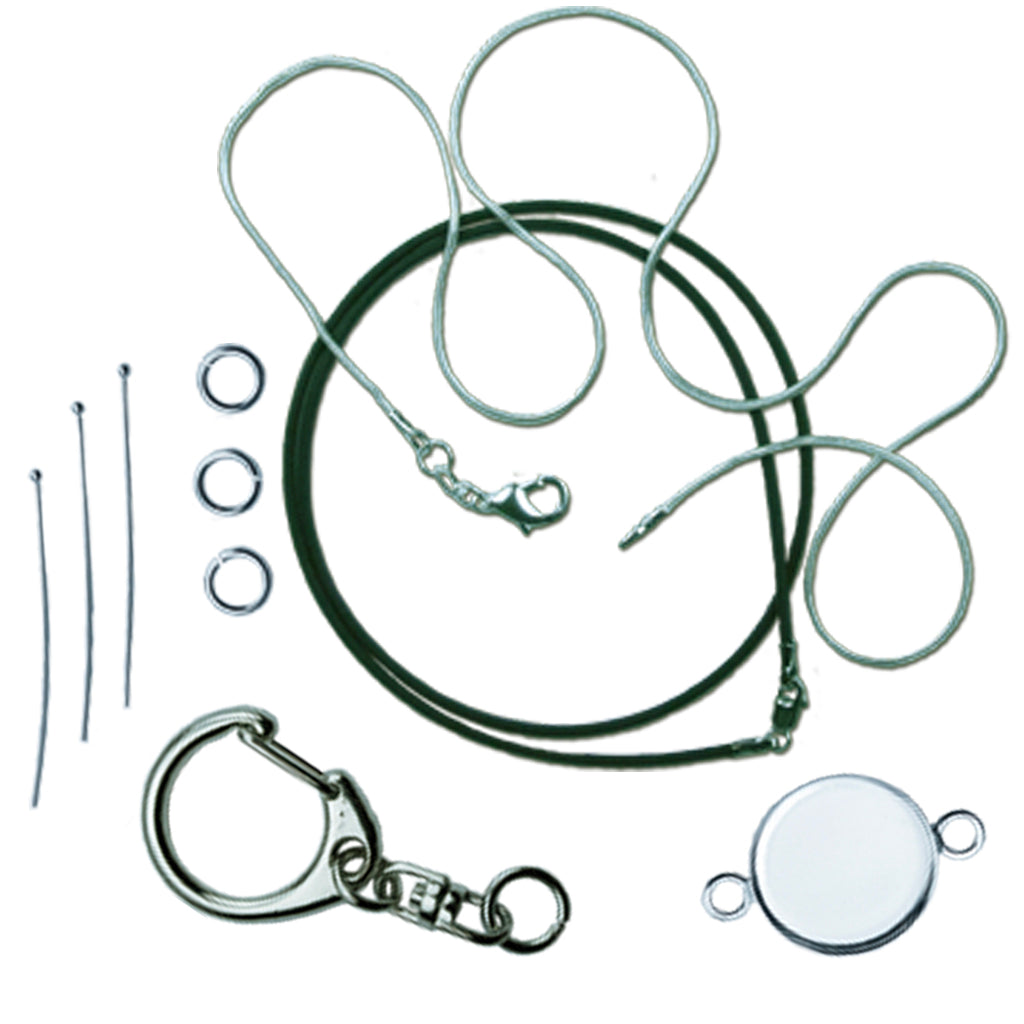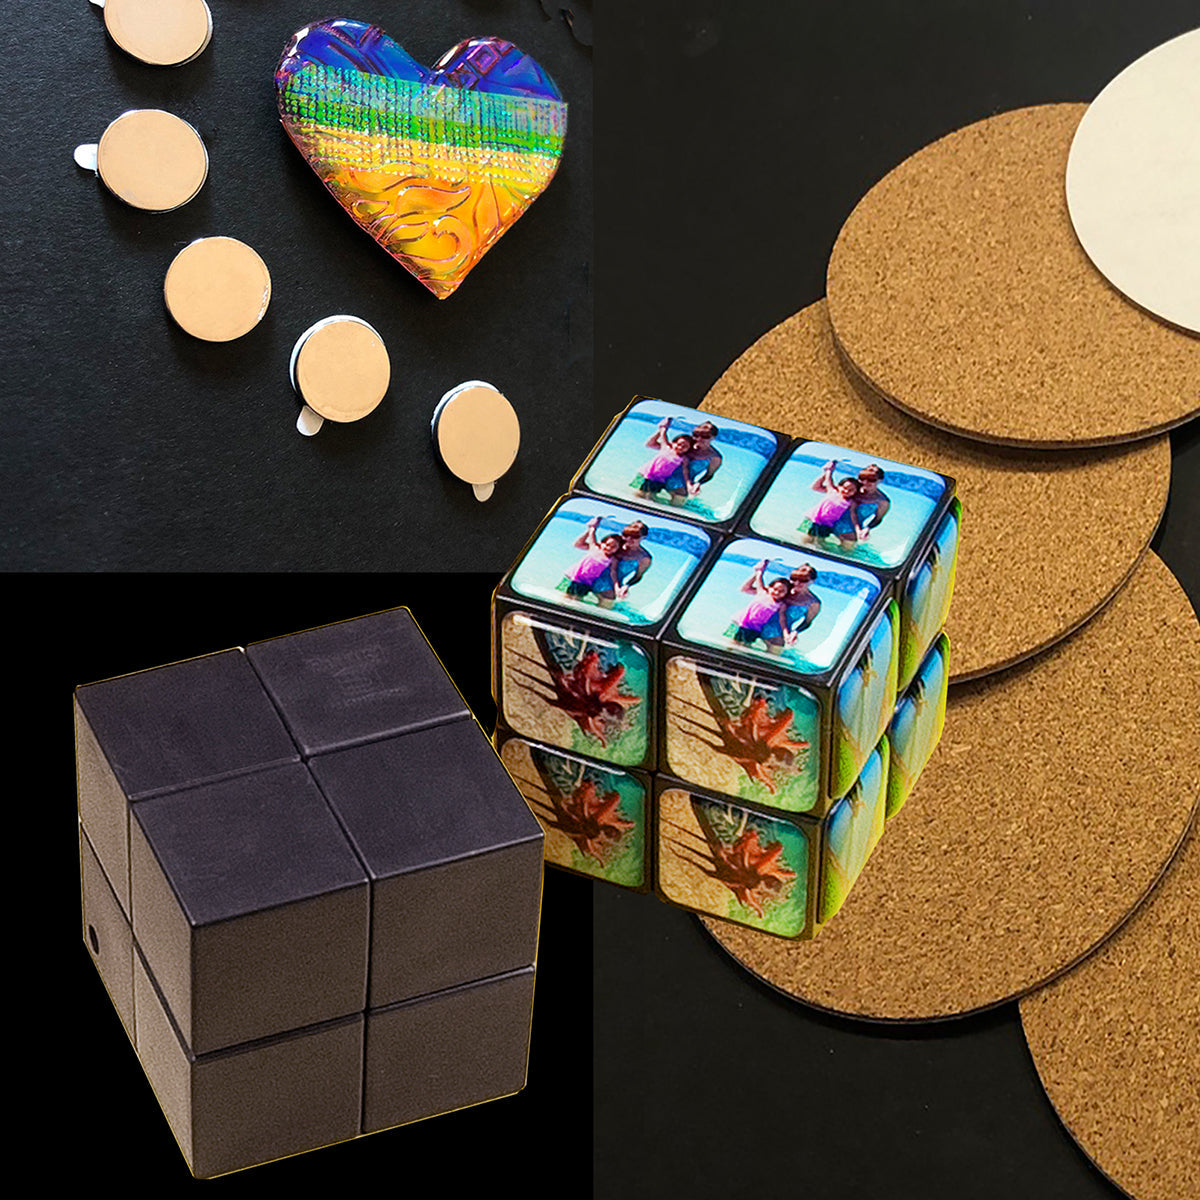


You'll also need
- Fabrics of your choice - fabrics react differently in resin, watch the tutorial to help you choose which will work best
- White cardstock, if you decide to back your fabrics as shown in the video
- Waxed paper or another non-stick surface (back of your doming tray works, if you're not using it for other projects)
- Sharp scissors
- Paper towels
Please save, share, and follow us:
YouTube Channel Pinterest Facebook Instagram
Here's a way to turn fabric bits into lightweight, washable buttons (or jewelry, or magnets,...)
Follow the video tutorial for tips on how to best support and resin your fabrics, then choose if you want to drill through them, or insert a button shank in the back.

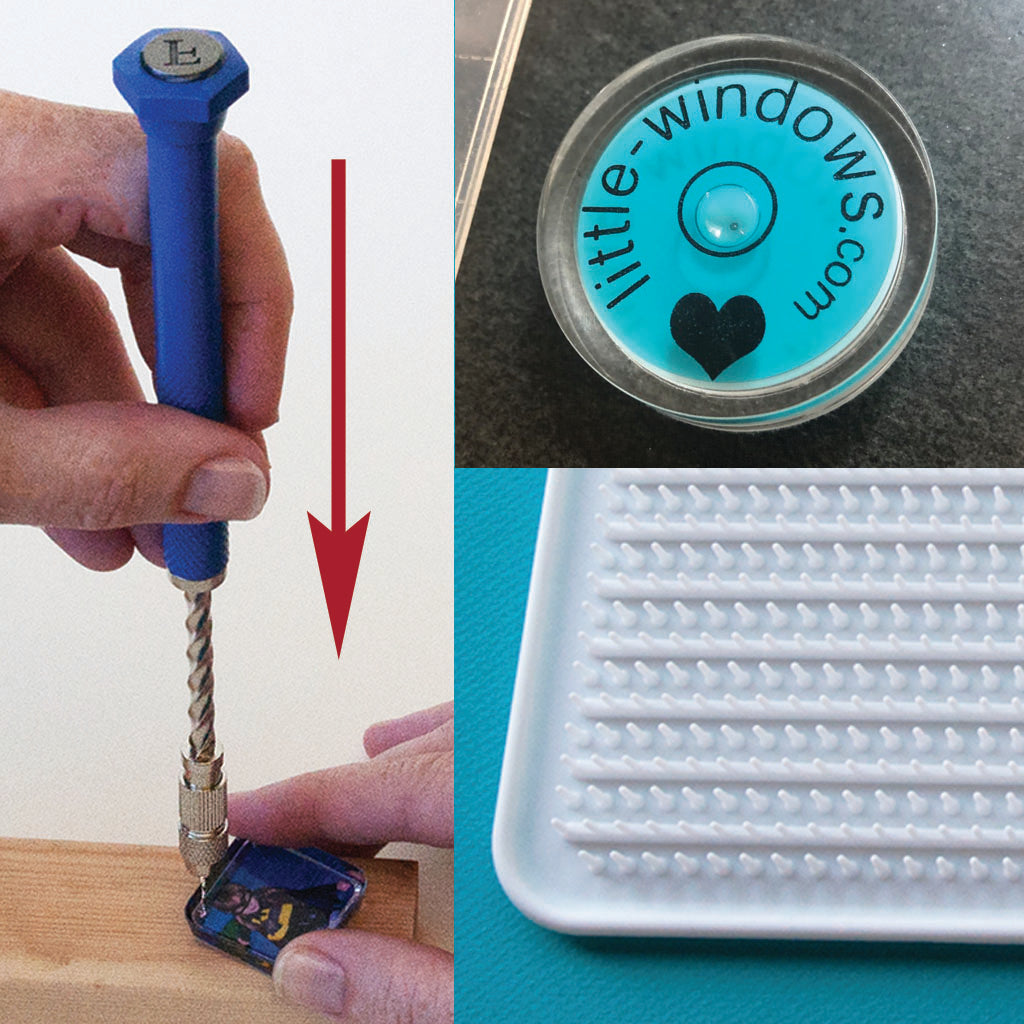
This photo shows our older drill, now we recommend a Spring Drill for ease and control, but you can also use a power drill if you want to drill holes larger than 2mm.

All of the following buttons have clear button shanks embedded in the resin on the back side:


Shop Our Brilliant Supplies
-
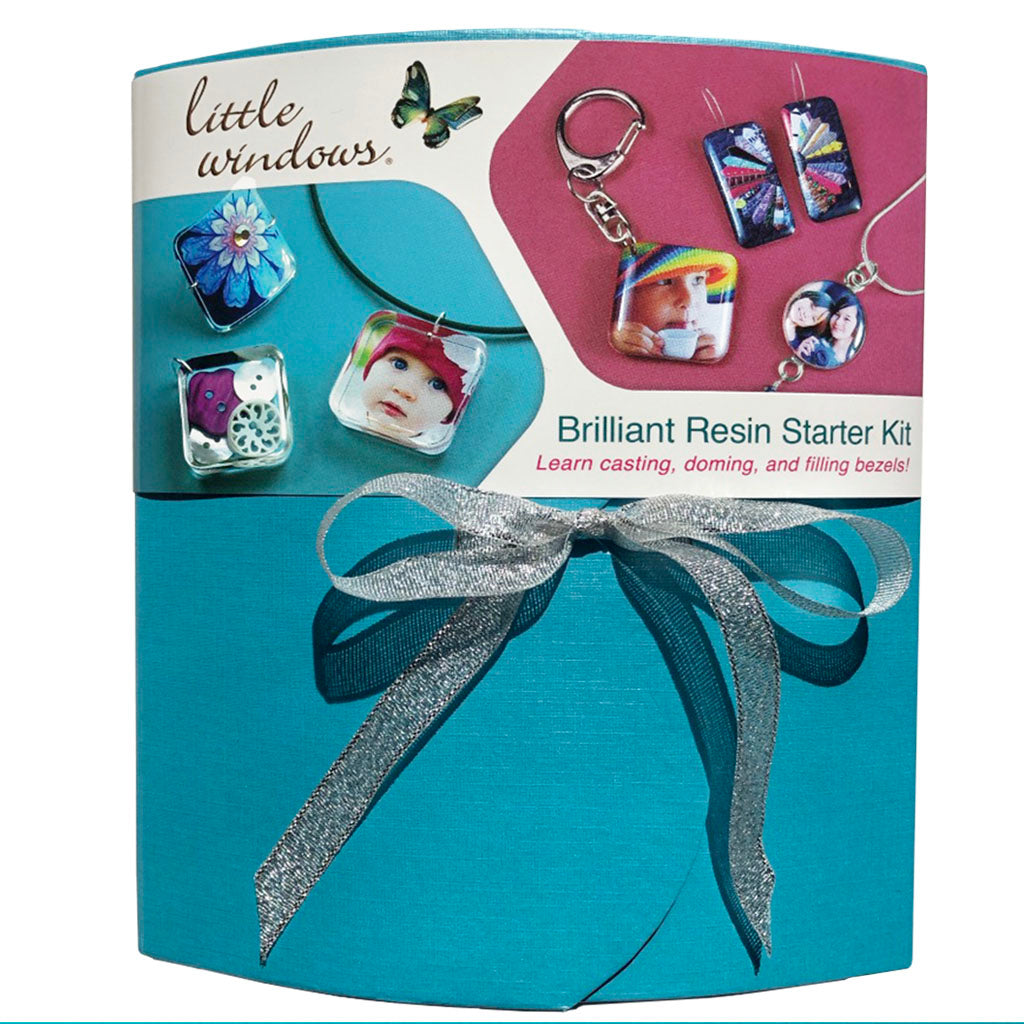
Best Resin Starter Kits
This is the best resin jewelry starter kit! Perfect for beginners, teaches...
-
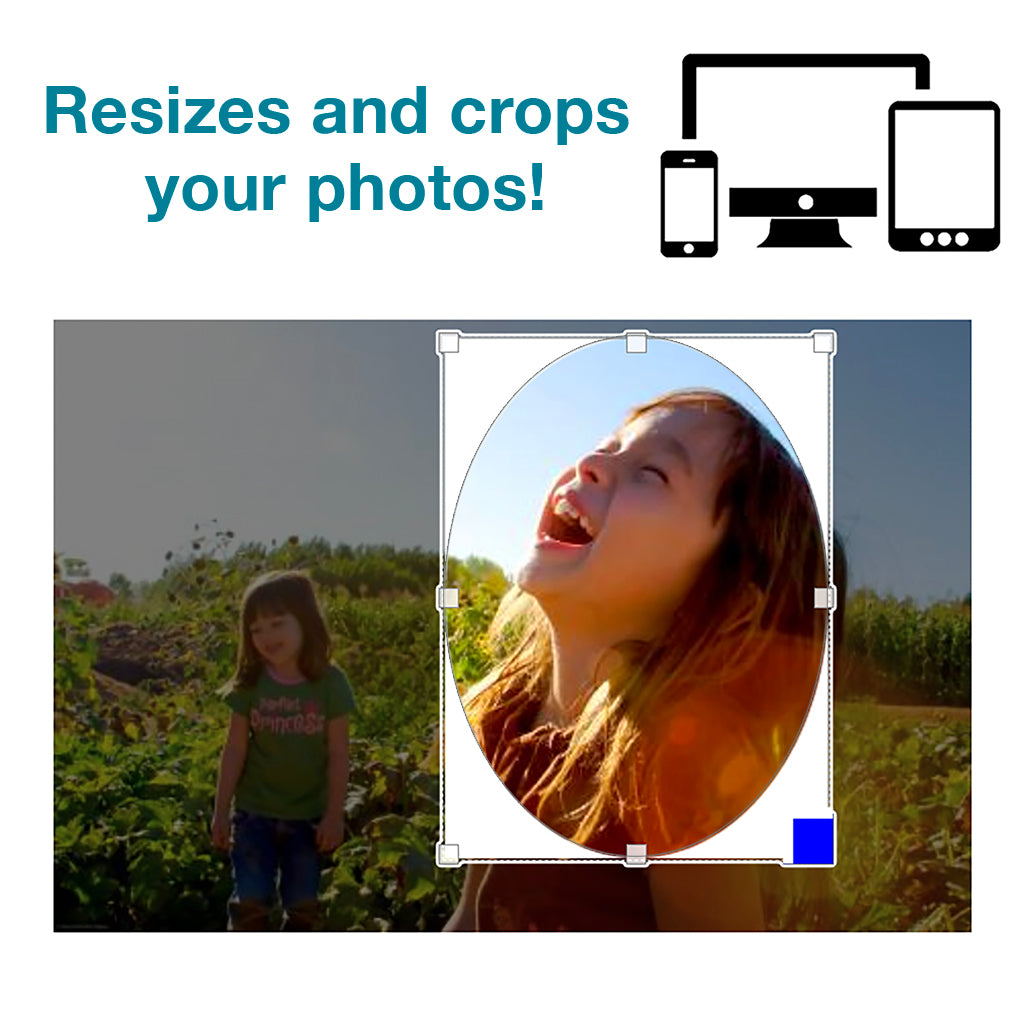
Online Photo Cropper
Access on any computer or mobile device! SCROLL DOWN TO PURCHASE Once...