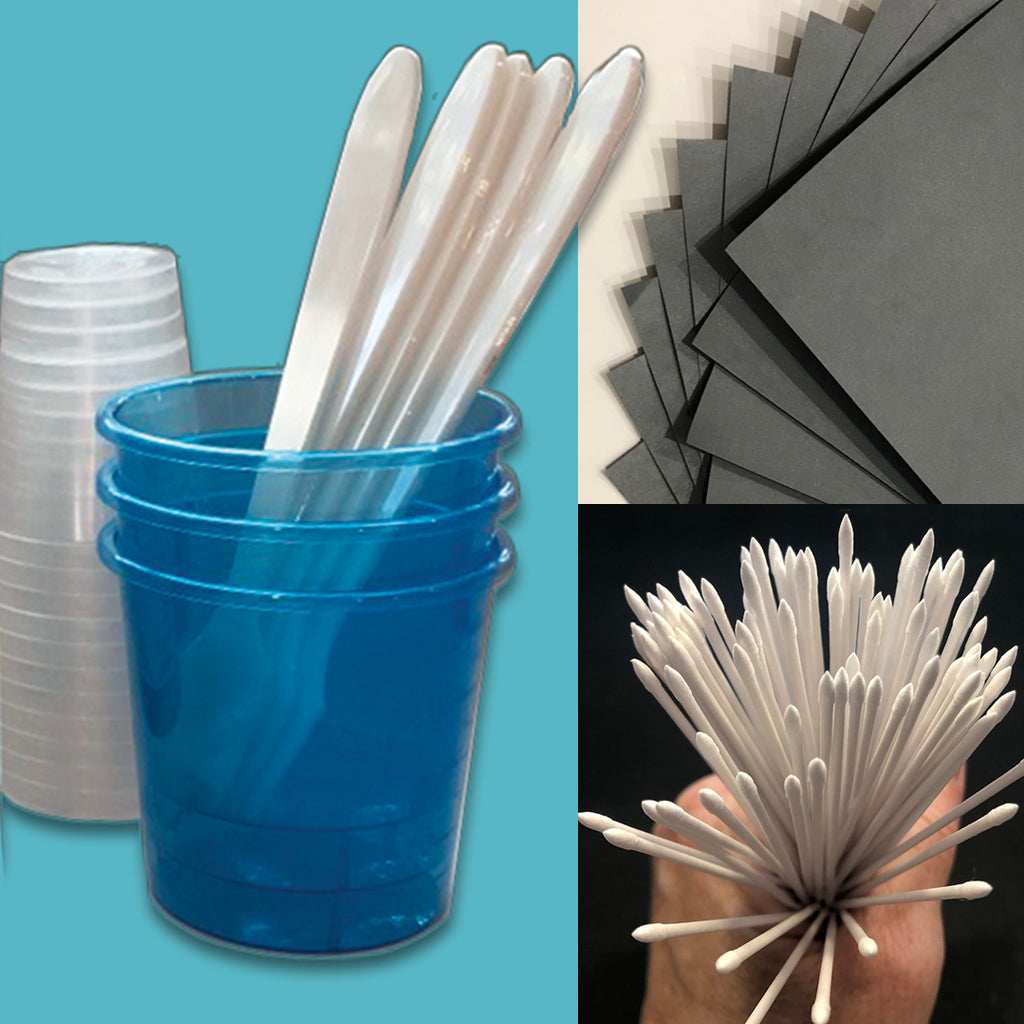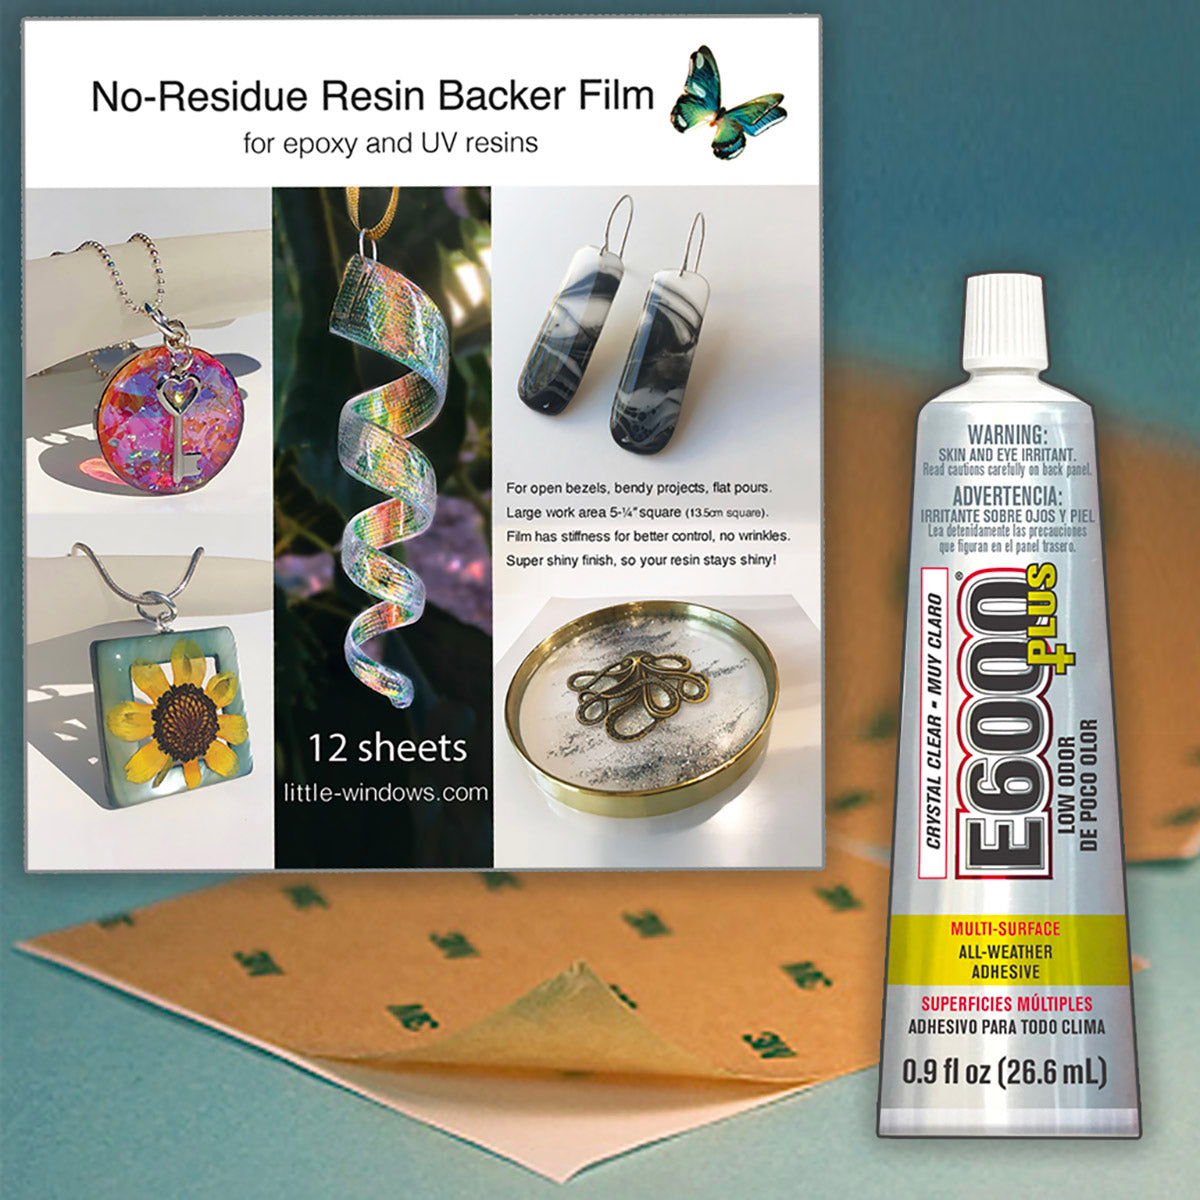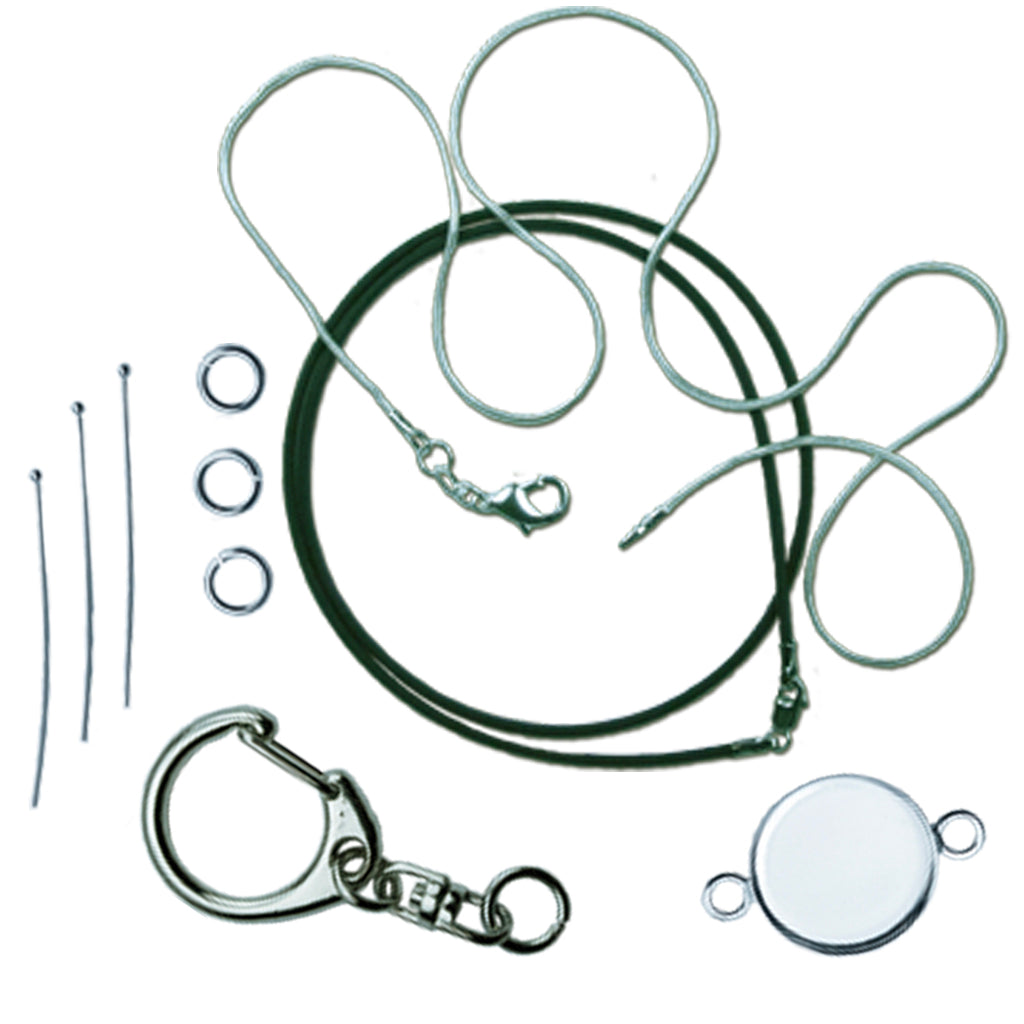


You'll also need
- Open wood frames, my friend Pearl offers many shapes at the beadinggem Etsy shop
- Gold foil or gold acrylic paint
- Gold bee charms (here is one option), and jewelry findings you like
- A way to add texture to your Dichro-ISH Films - see this tutorial
This project can be done in any shape of open frame, our friend Pearl offers many different shapes in her beadinggem Etsy shop.
STEPS:
1) Paint both sides of frame with gold acrylic, or use Double-Sided Adhesive to apply gold foil. You can create texture manually, with a pattern tool, or with stamps.
2) Cut a small piece of embossed Dichro-Ish Film a bit smaller than the outside of your frame. (Click here to see how I embossed this film). Attach it to the frame with small strips of Double-Sided Adhesive. Place it back-side-up on sheet of No-Residue Resin Backer Film.
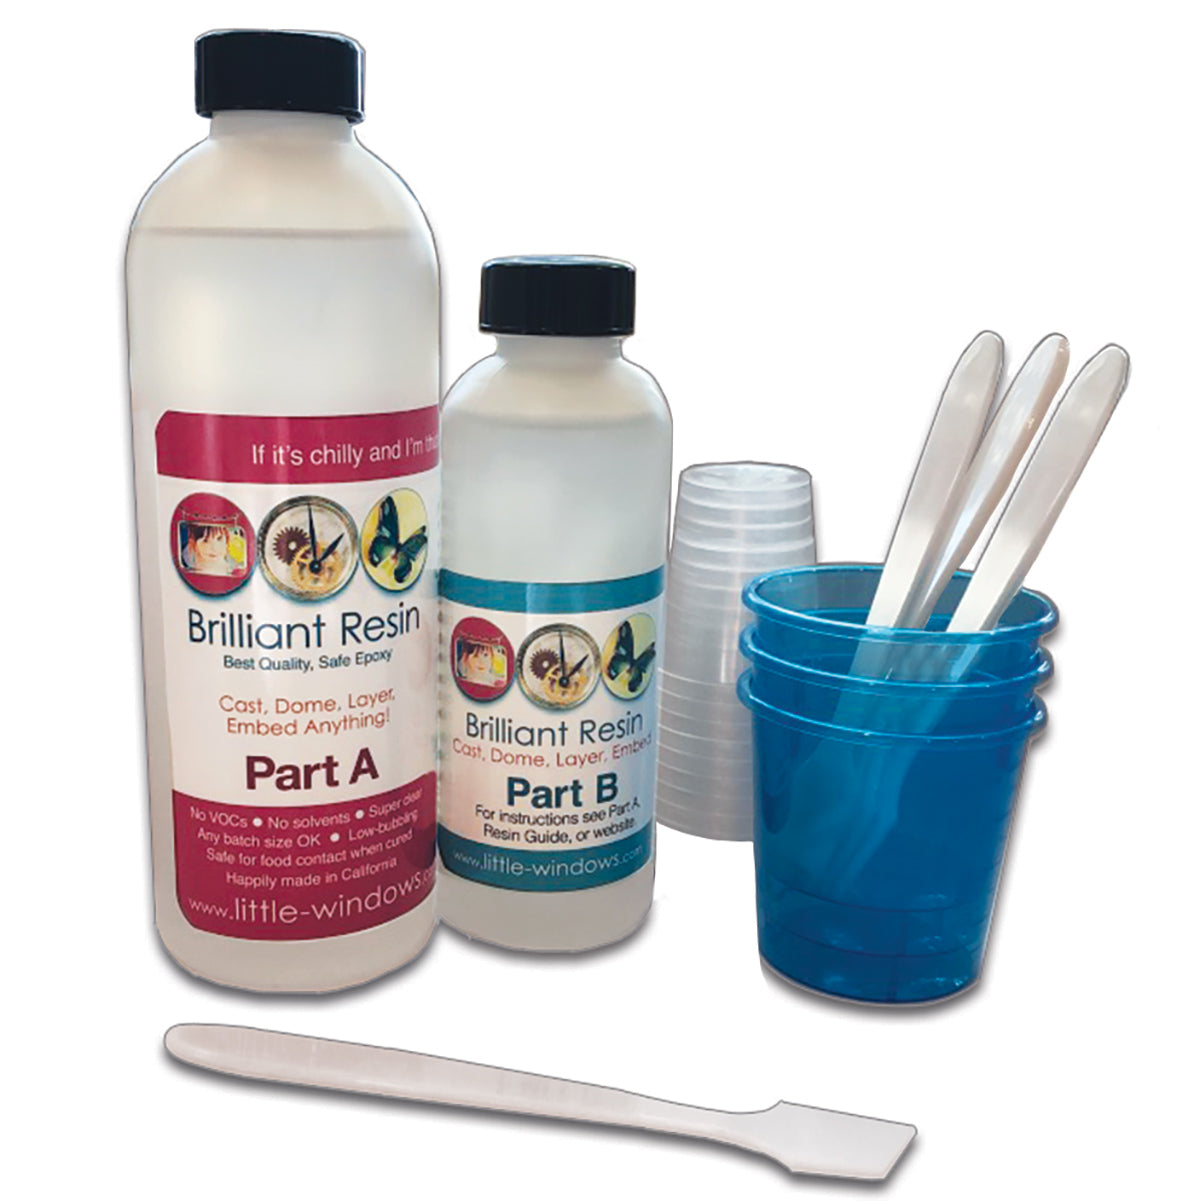
3) Mix a small amount of Brilliant Resin, allow it to thicken up in the cup for 20 minutes so it's easier to control, and dome the back side of your frame. Allow to set up for 12 hours, then flip over to apply resin to the front side.
3) Mix and pour a small amount of Brilliant Resin into the center of your frame, just enough to fill the cut-out area to the top. Let that set for about 10 minutes so any bubbles can rise, scoop out any stubborn ones, then add more resin to dome it up. If necessary, draw the resin out to the edge of the frame so it covers the whole top out to the edge. Add a few more drops of resin as needed so it doesn't pull back from the edges of your frame.
4) Let that set up for about 90+ minutes so the resin is nice and thick (test by poking with a pin), then insert bee charms so they are held by the resin but still sit mostly above the surface. If you time it right, ripples will form around your bee shapes, adding to the dimension and interest of your piece.
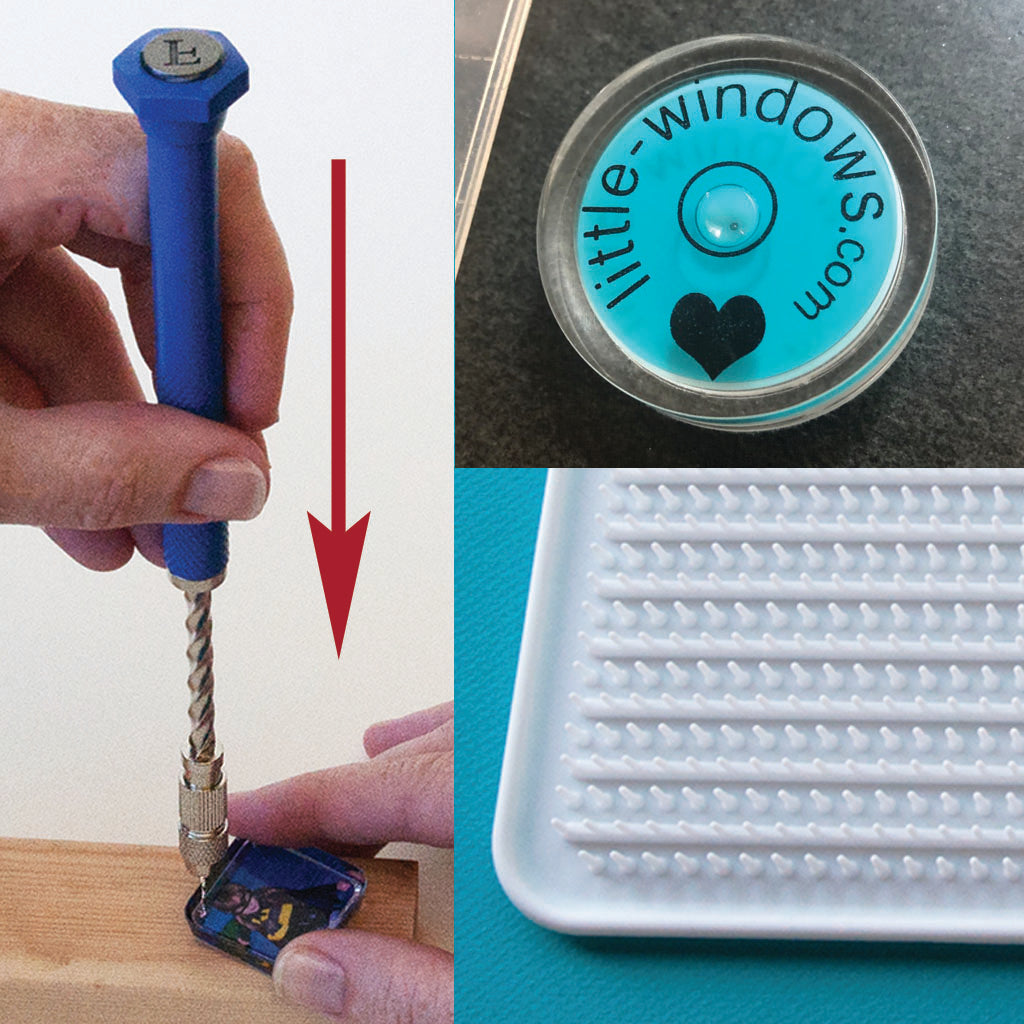
5) Drill a small hole in the bottom of the frame, insert an eye screw. I drilled a bit far so you can see mine coming up through the bottom of the resin, but I still love how this turned out.
6) Add a jumpring to the top and bottom, add your final bee charm and you've made a beautiful pendant!
Here's the back side, so you can see the size of the Dichro-ISH Film I used:

Here's a quick snippet, please Pin or share:


Shop Our Brilliant Supplies
-
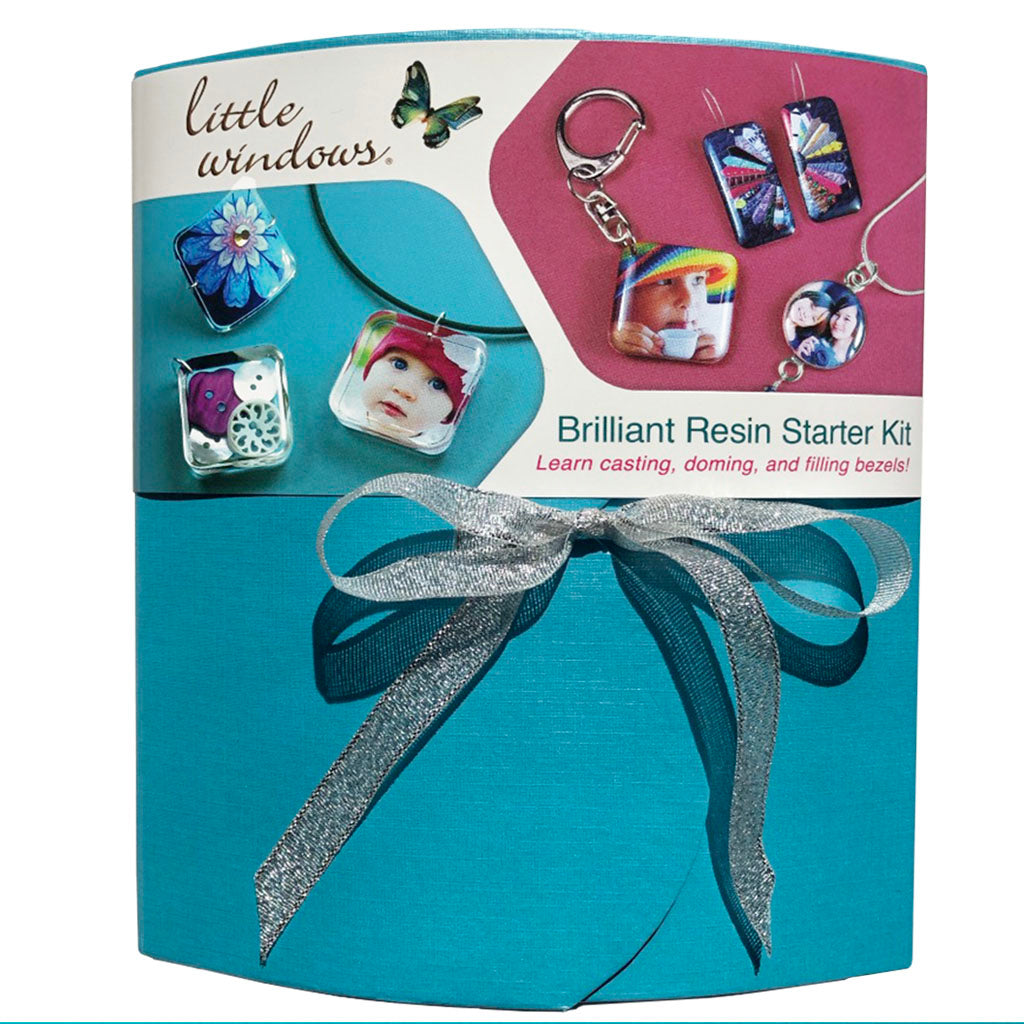
Best Resin Starter Kits
This is the best resin jewelry starter kit! Perfect for beginners, teaches...
-
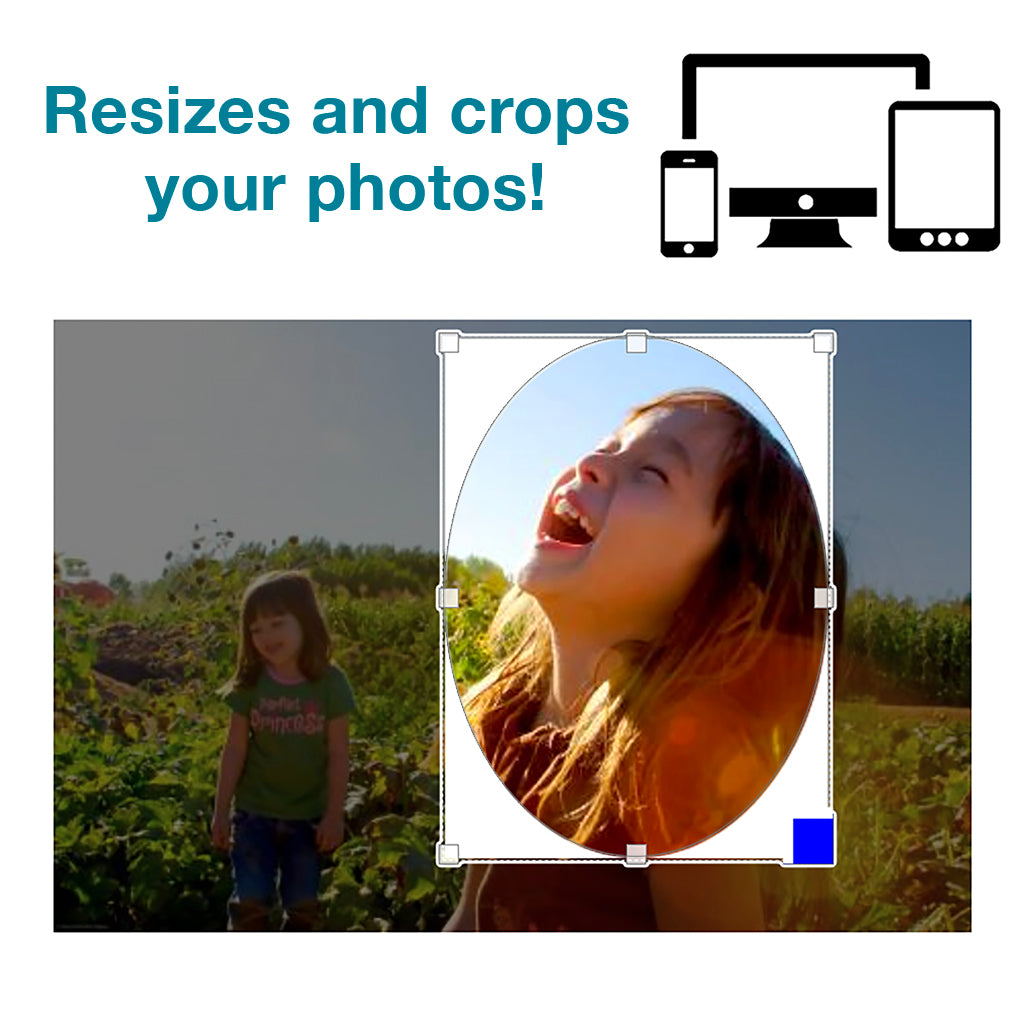
Online Photo Cropper
Access on any computer or mobile device! SCROLL DOWN TO PURCHASE Once...