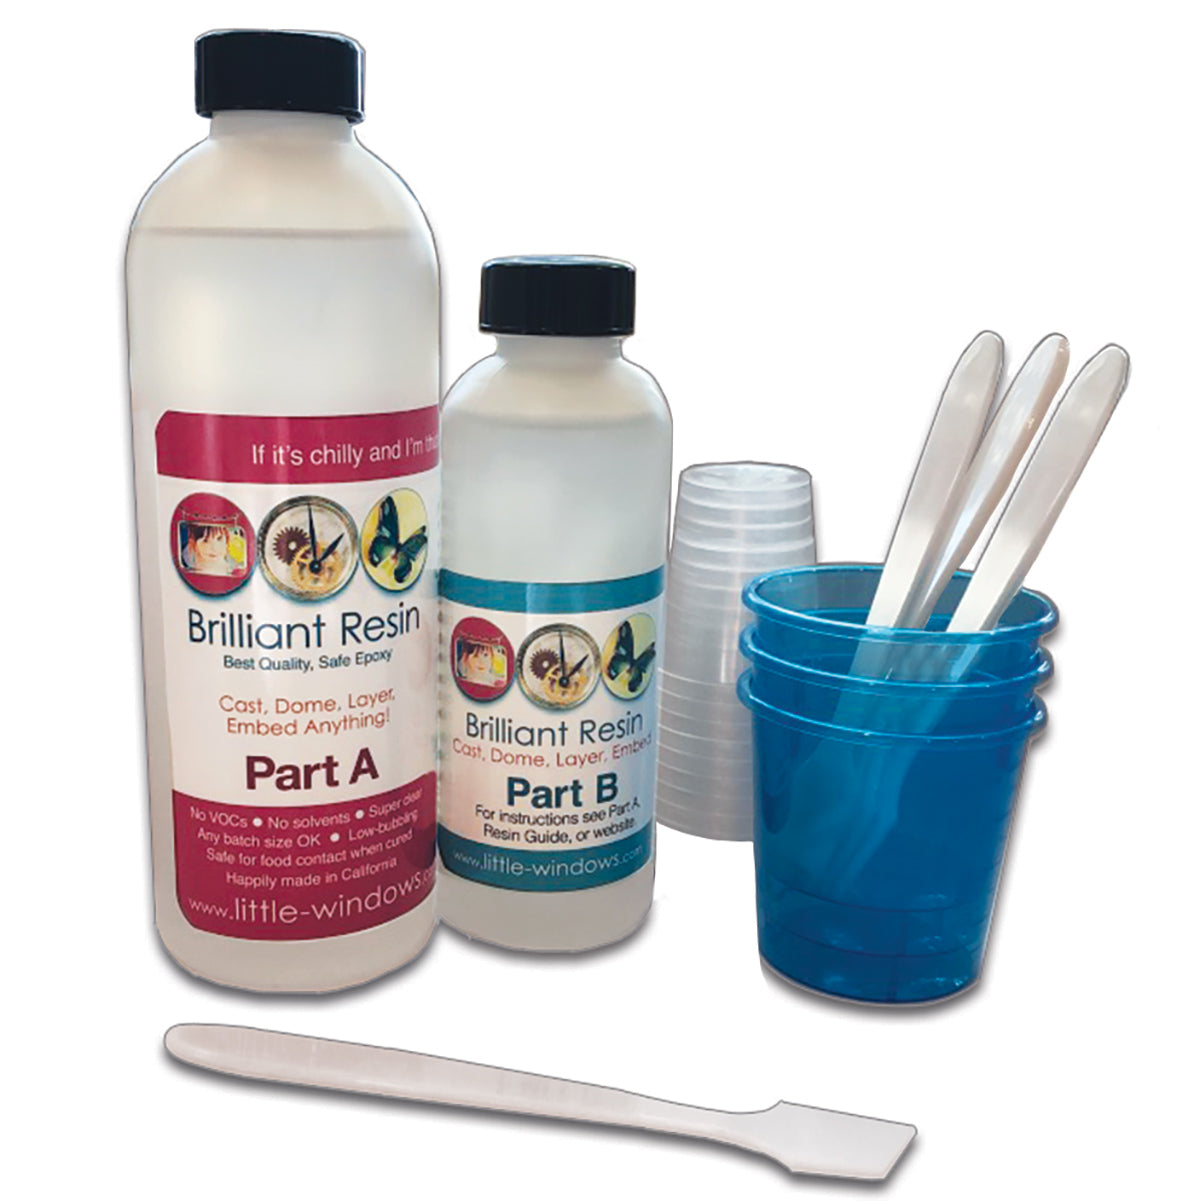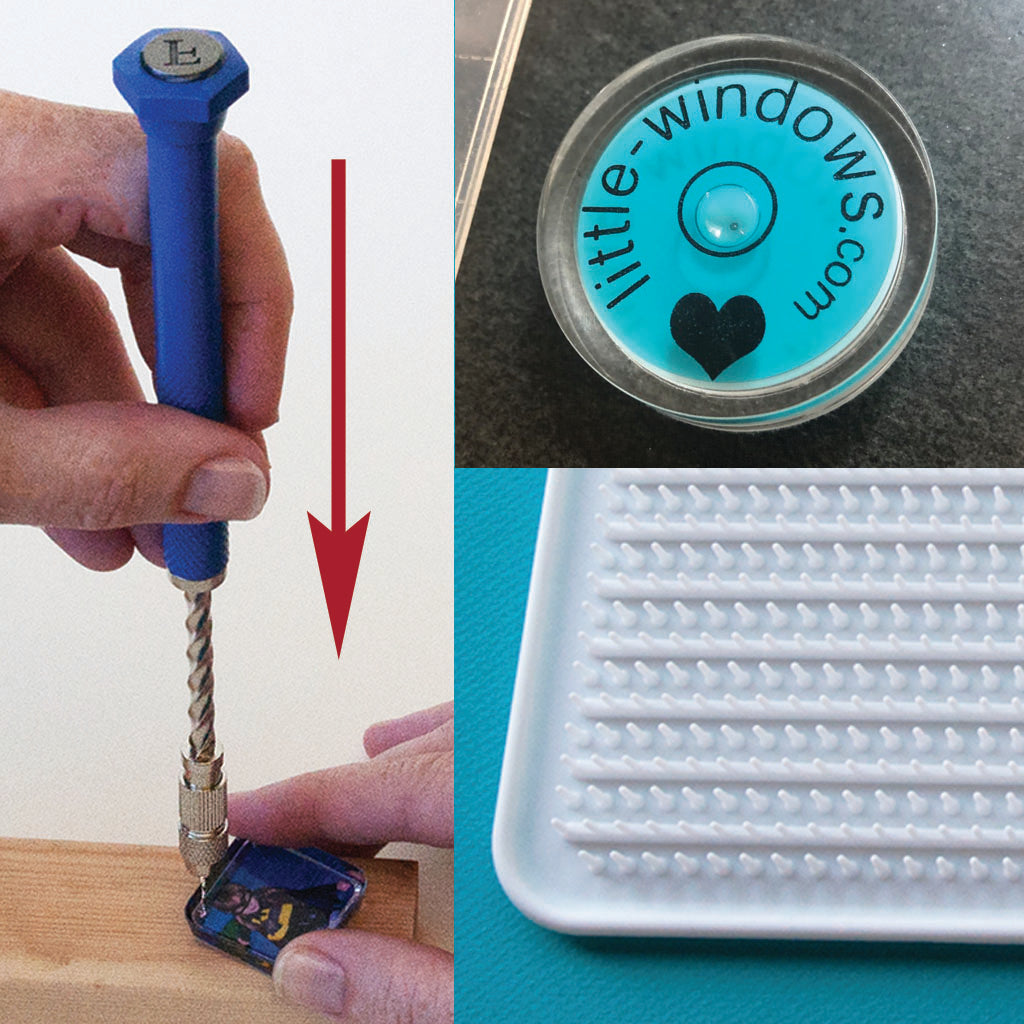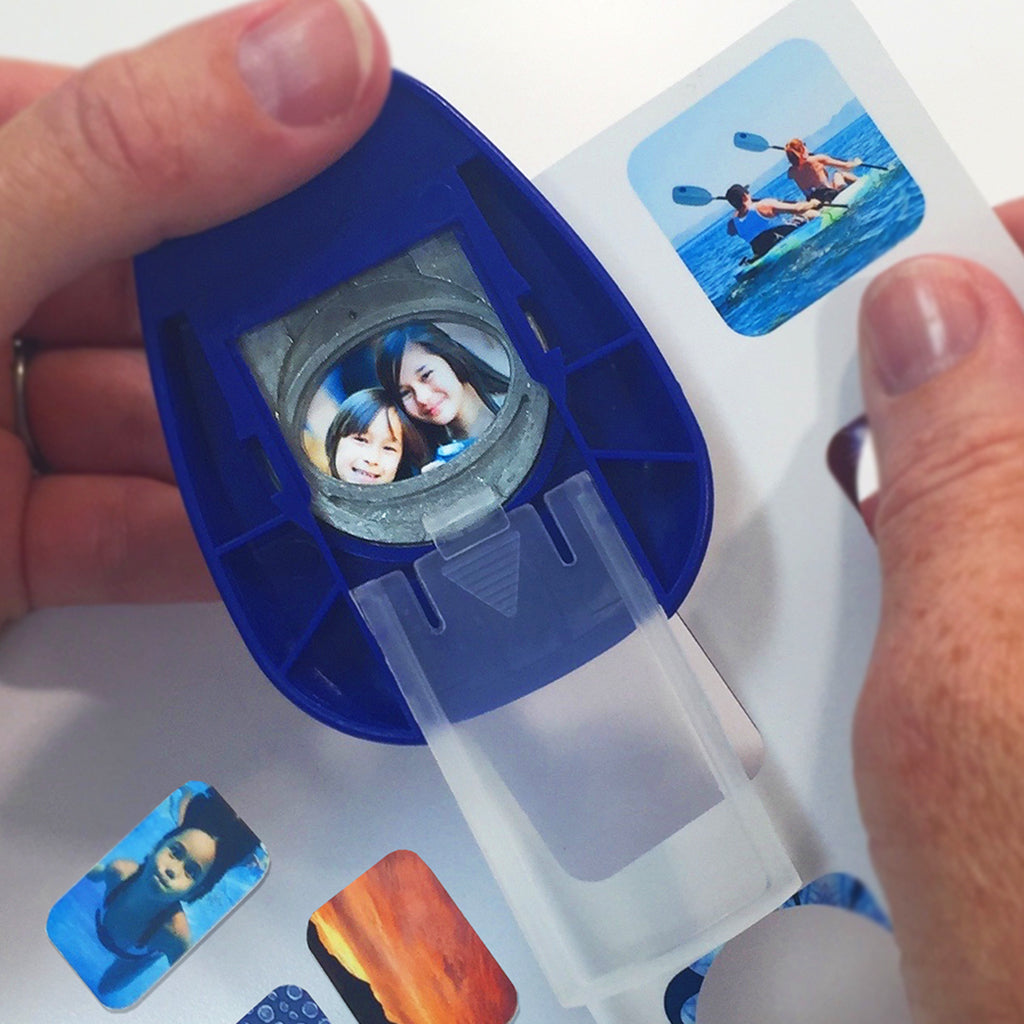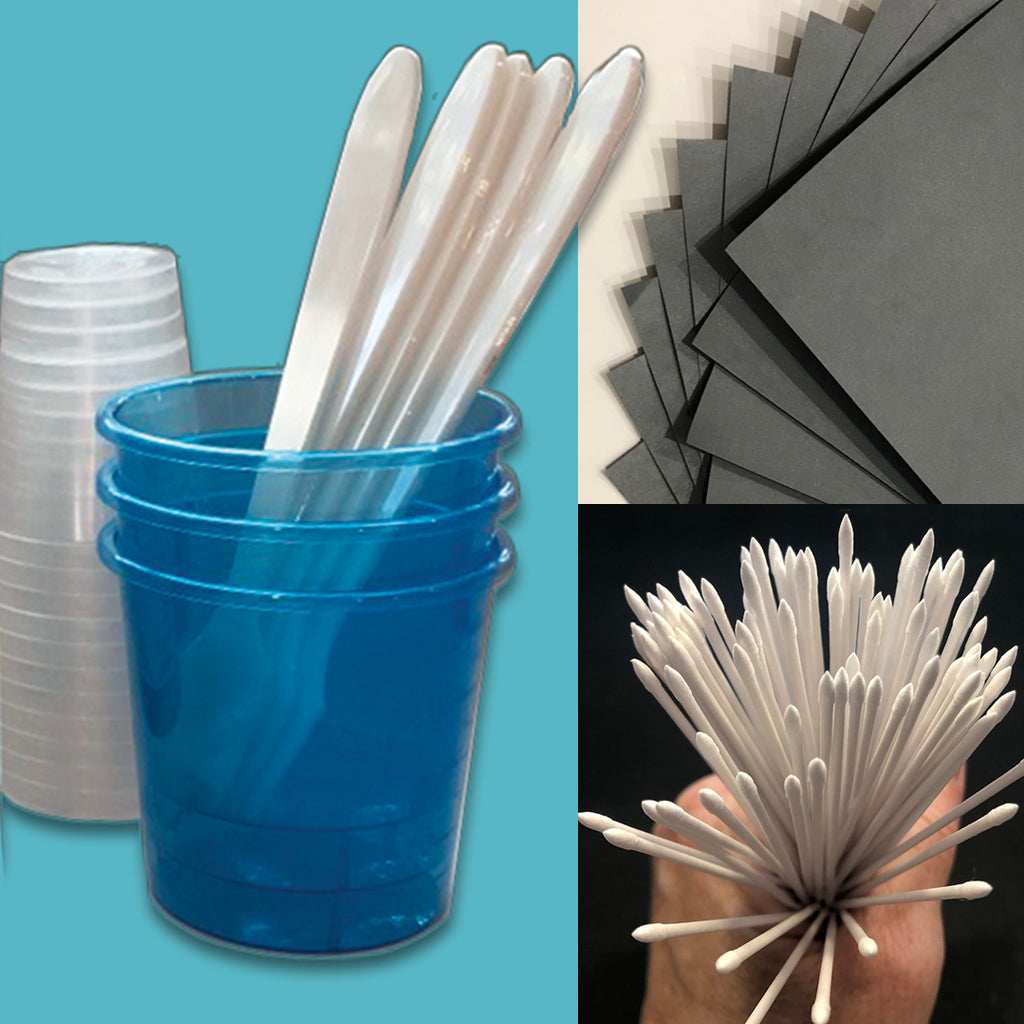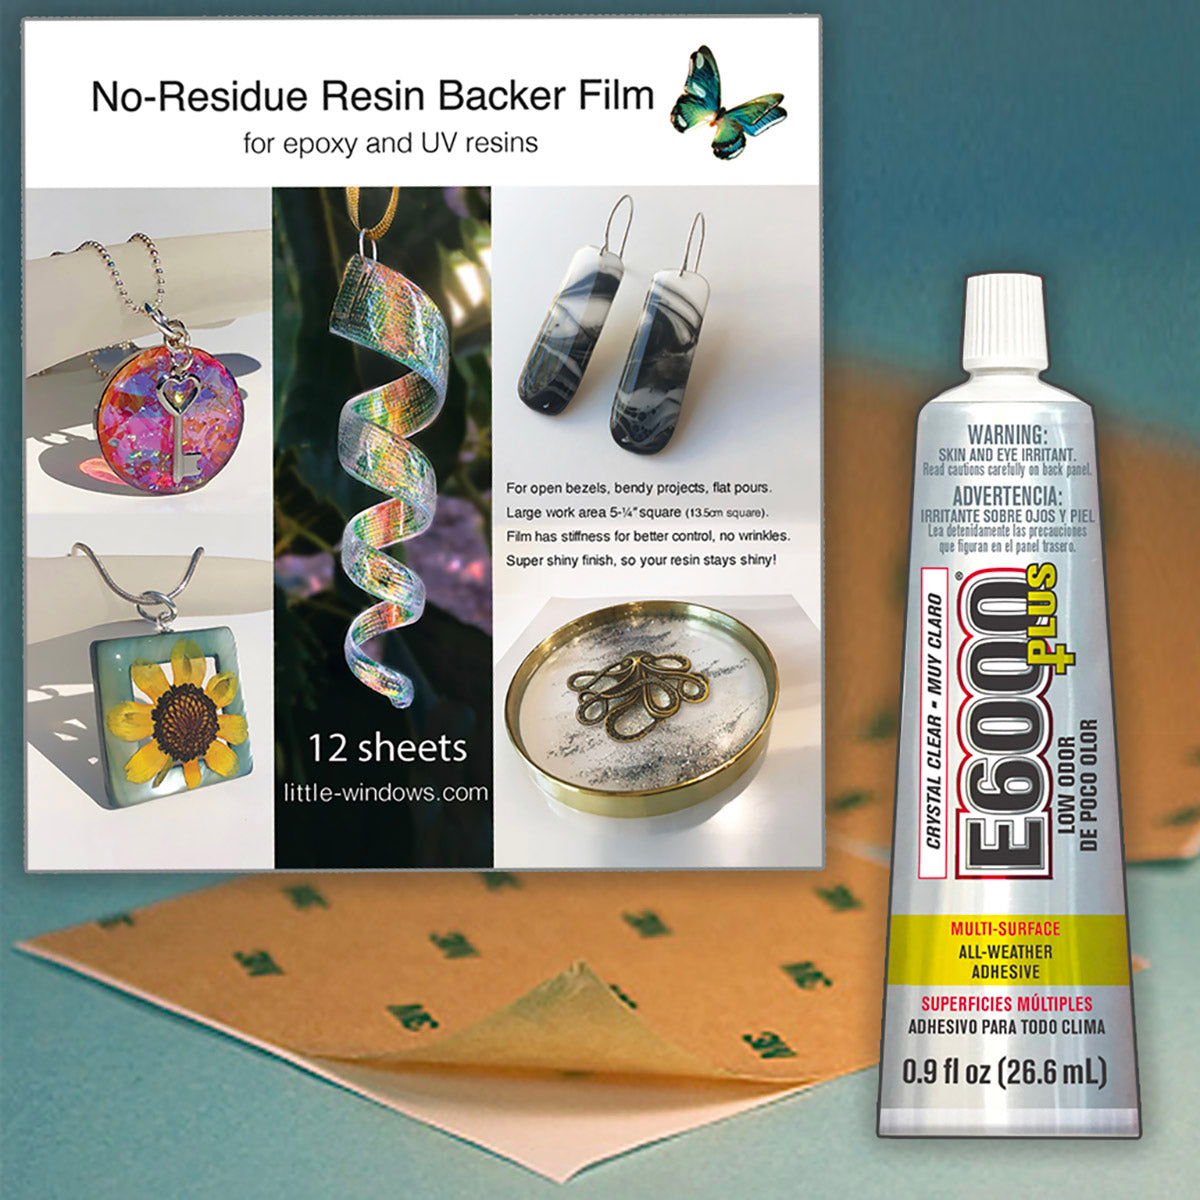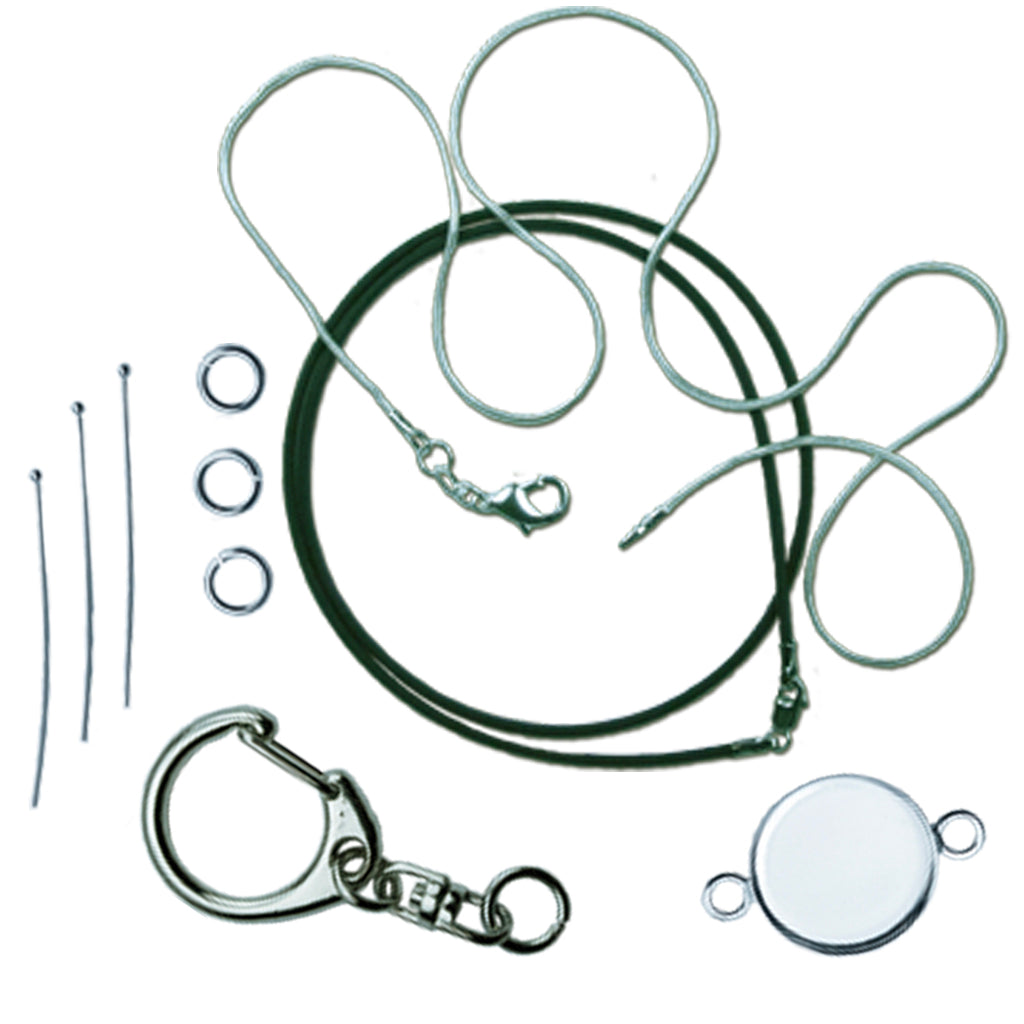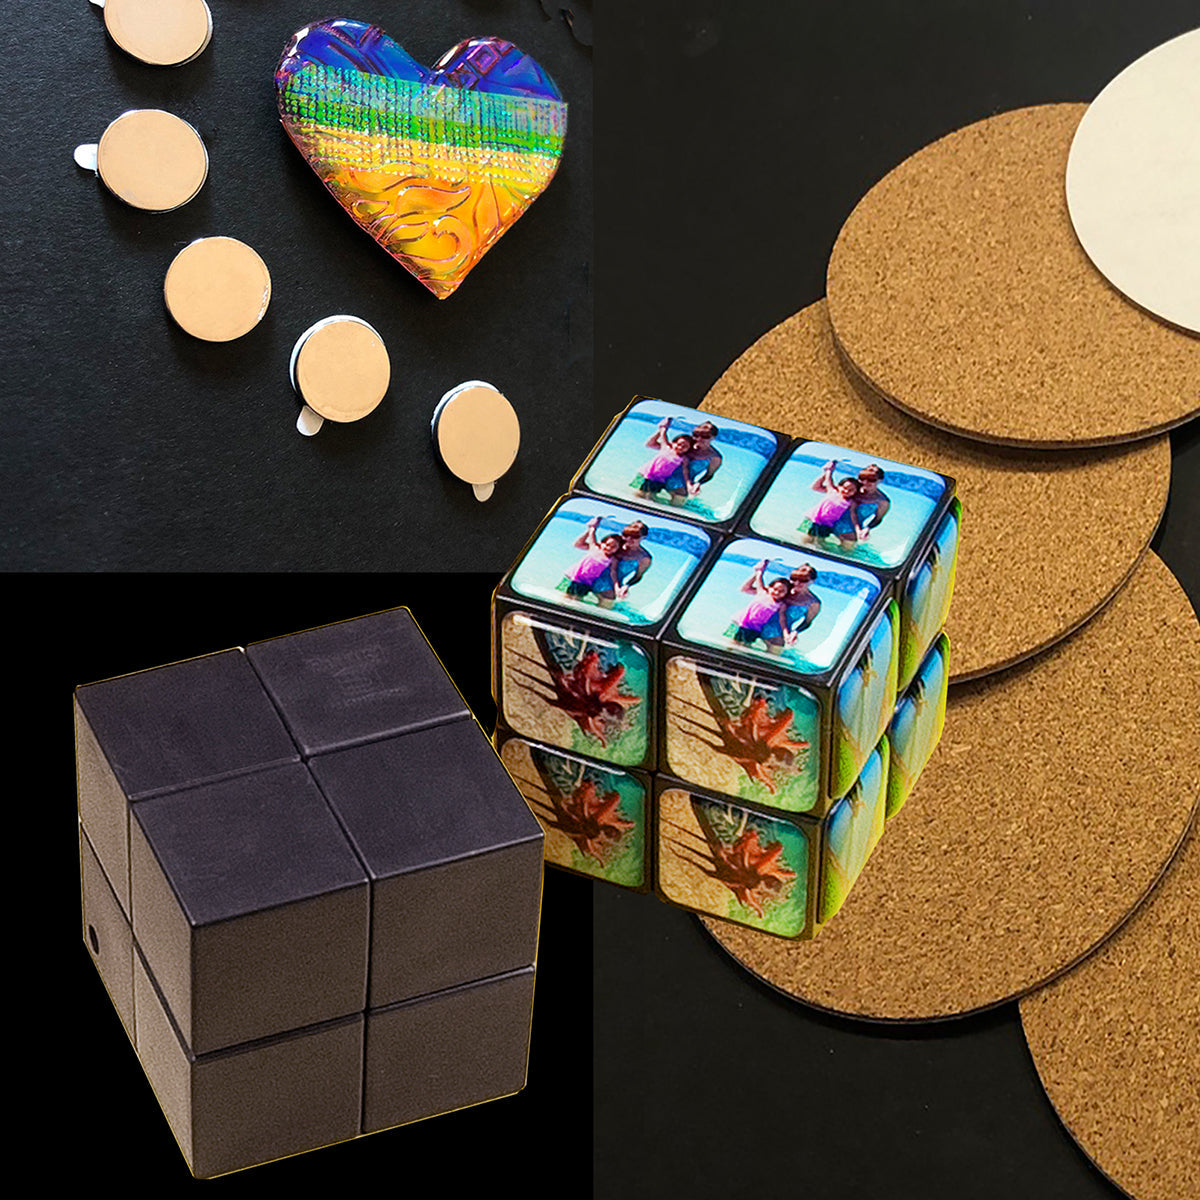

You'll also need
- Paper towels
- Timer
Please save, share, and follow us: YouTube Channel Pinterest Facebook Instagram
I absolutely love glow in the dark resin jewelry! For this project I started by pouring a layer of black resin (Brilliant Resin + Black Resin Colorant), into my double-sided mold, let it thicken for about an hour, then used a Tiny Pointy Swab or a Mixing Wand to pull the black resin up the outer wall of the mold untill it made the random design I wanted. Let that set up, if you do this too soon your black resin will slip back down the sides, so check on it once an hour for the first few hours to make sure enough of the resin stays up the sides, you can pull it back up before it gets too hard.
Once my black resin was hard, I mixed up another batch of Brilliant Resin and added in some of our Glow In The Dark Resin Additives, combining the Green and Aqua colors - you can see the effect in the glowing photo below. Let that set at least 12 hours, then demold. If you haven't filled the mold all the way to the top you may have a dip which can be filled with a bit of clear resin for a smooth, professional finish.
Here's my Glowing bangle along with others I made with Black and White Resin Colorant:

Here's how the top right bracelet looks as it GLOWS IN THE DARK!

Want glow in the dark resin jewelry? I love how creepy these look, especially at night when this glow in the dark resin shines. I'm using the strongest glow additive in Brilliant Resin. Find the very best resin craft and jewelry making supplies and lots more glow in the dark resin project ideas here at little-windows.com


Shop Our Brilliant Supplies
-
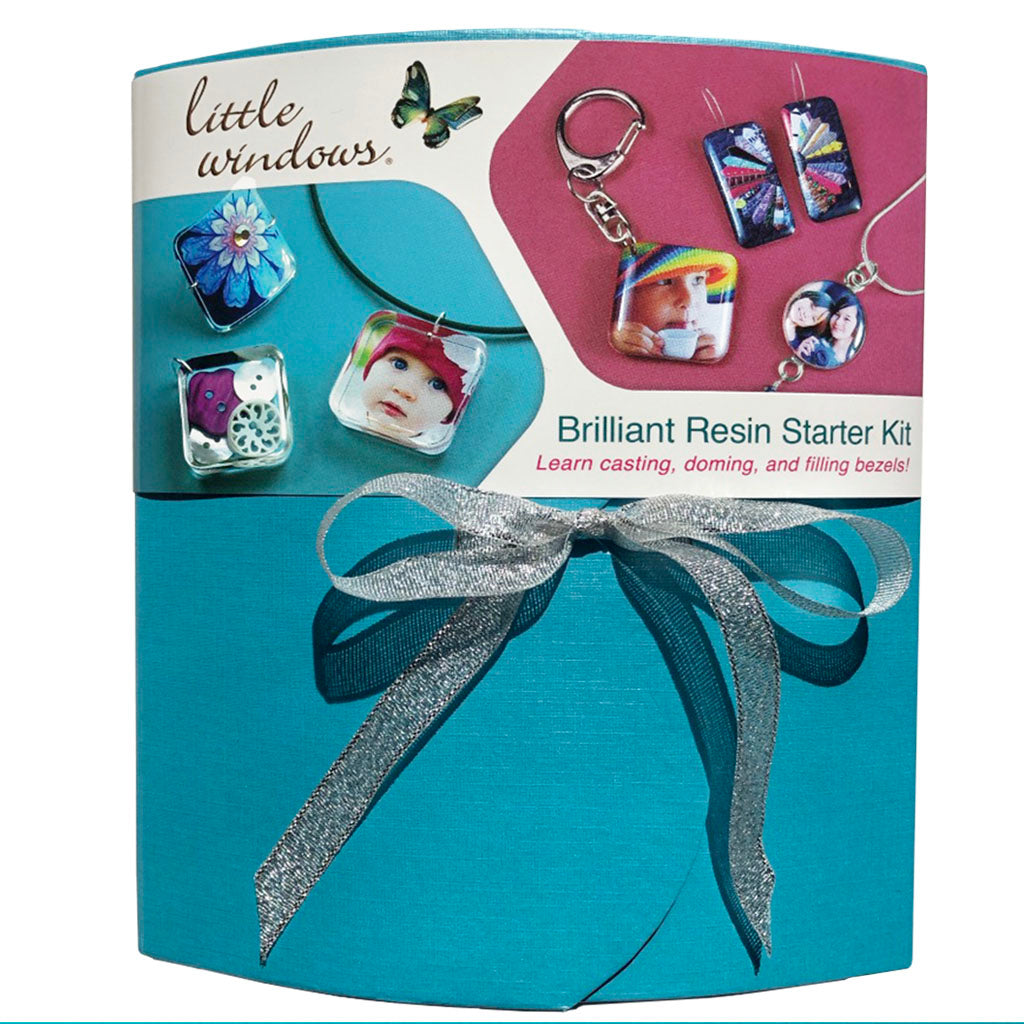
Best Resin Starter Kits
This is the best resin jewelry starter kit! Perfect for beginners, teaches...
-

Online Photo Cropper
Access on any computer or mobile device! SCROLL DOWN TO PURCHASE Once...