


You'll also need
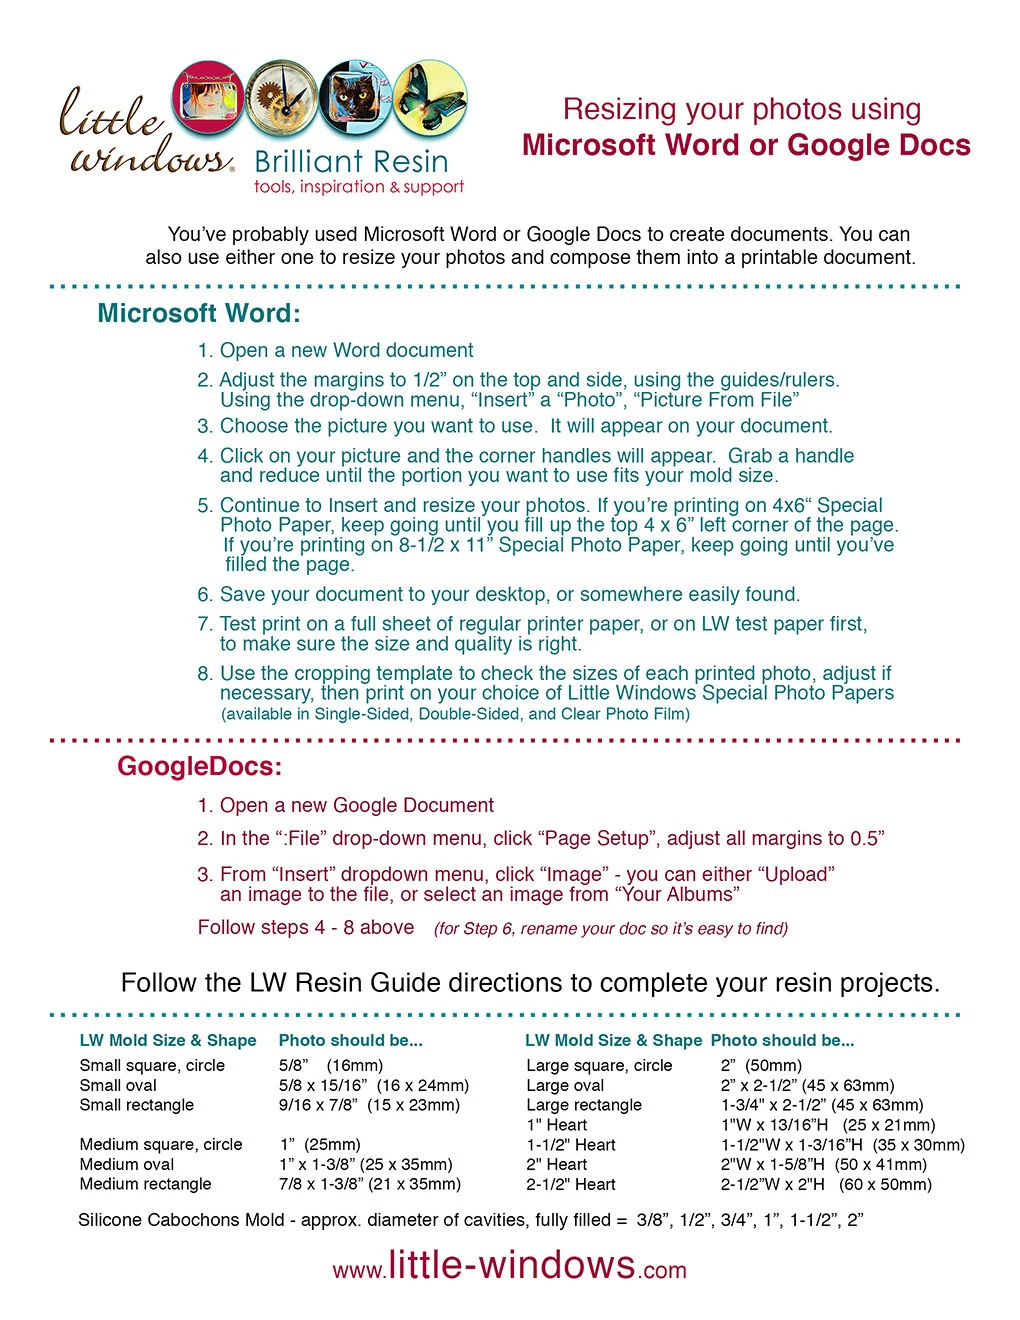
- Photos resized to fit the molds you're using. You can use the guide below to resize your photos using MS Word or GoogleDocs.
- Inkjet printer (if you don't have one, we offer Pro Printing, just email your photos sized the way you need and we'll optimize and print them for you)
- Alcohol Inks - variety of colors and white. CLICK HERE to see the ones I use.
- Sharp scissors
- Toothpick or headpin to create the swishes and feathering effects
- Paper towels
Please save, share, and follow us:
YouTube Channel Pinterest Facebook Instagram
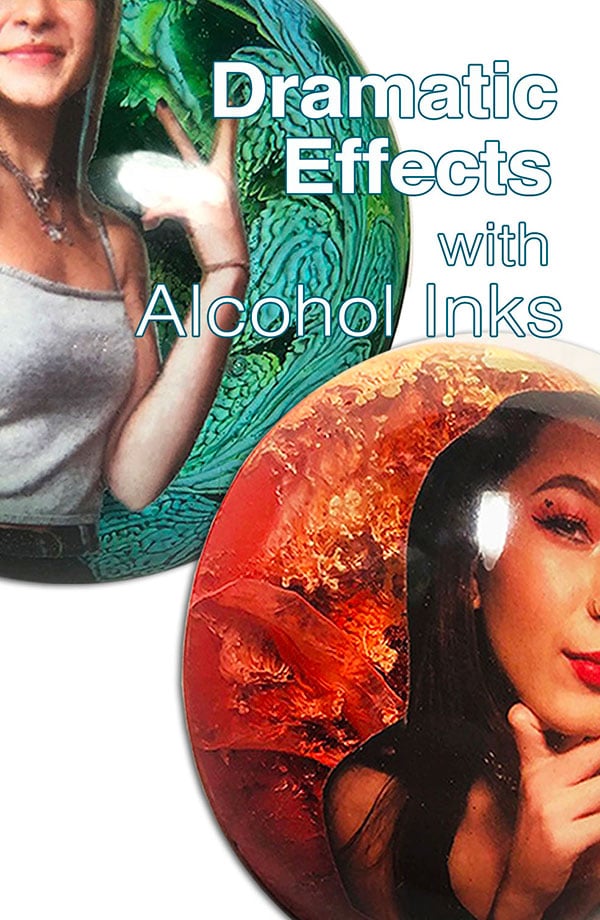
These creative effects stem from the Petri Technique where we drop colors of alcohol inks into resin, then drop white alcohol ink on top of the colors. The white ink is heavier and causes the colors to sink in wild and mysterious ways. With this reaction and the passing of time, you can then make even more dramatic effects by dripping and dragging through your resin.
The video above shows this happening from the top and bottom of the mold, and the demolding is awesome!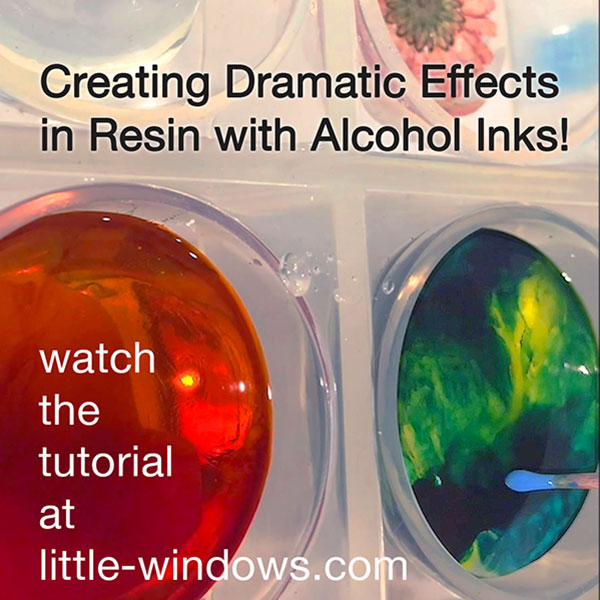
Here is another screenshot from this tutorial, in the top photo I'm using blue colored resin on a toothpick to swish through, in the image below I'm using a headpin with pink resin to create finer detail.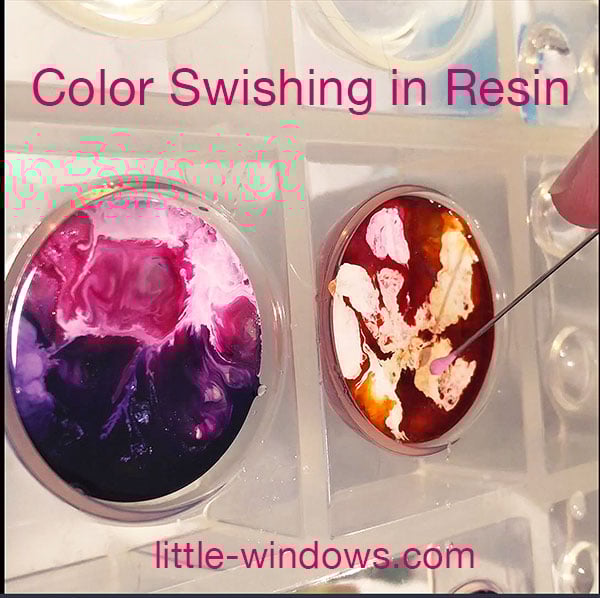
This piece shows drips of white alcohol ink pushing down the colors, without any swishes or swirls, it's still an awesome and super dimensional effect.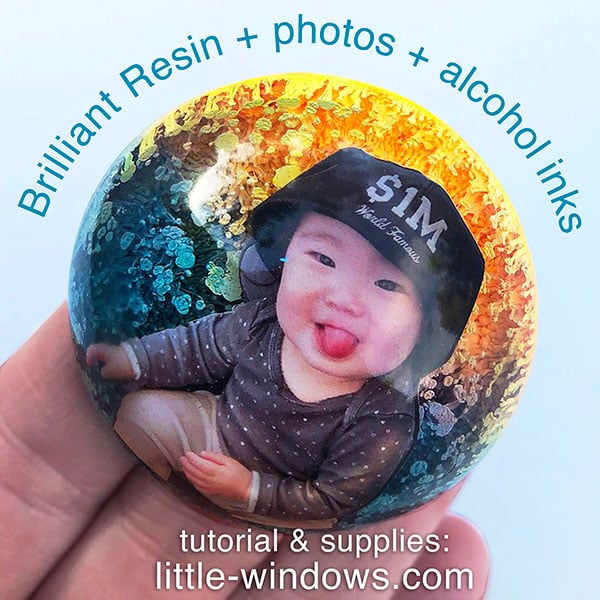
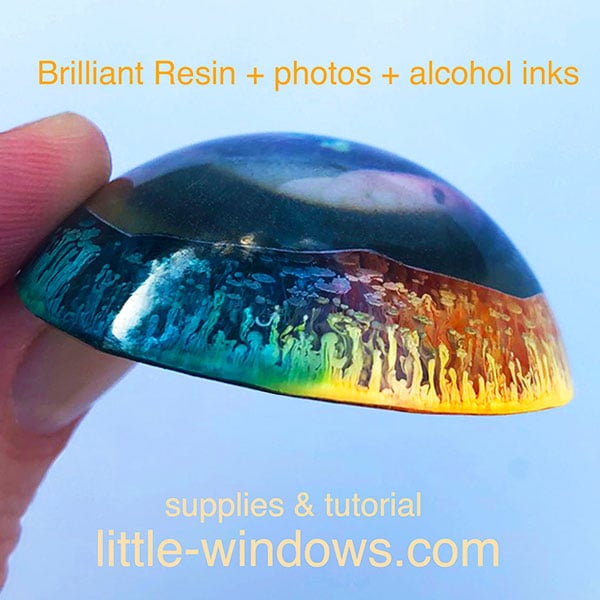
Since I poured the photo layer first, you can see here from the side how the alcohol ink tendrils stop and rest against that first layer. They look a little like mushrooms to me, but pretty ones :)
It's so fun to experiment with different layering, timing, and motions within your resin pieces.
MORE IDEAS using the same awesome products:


