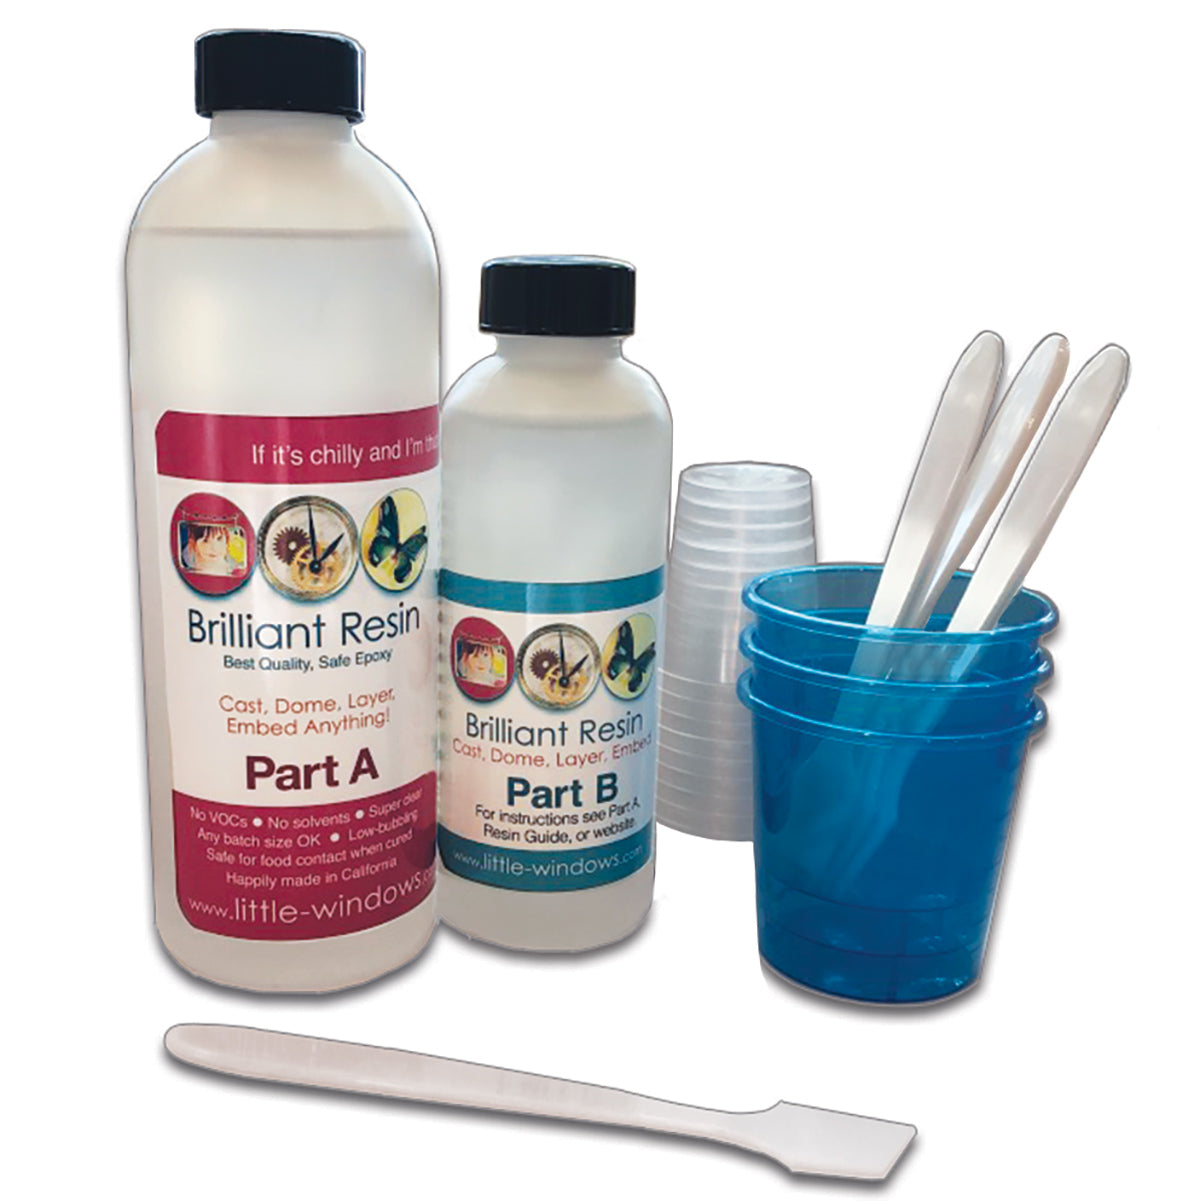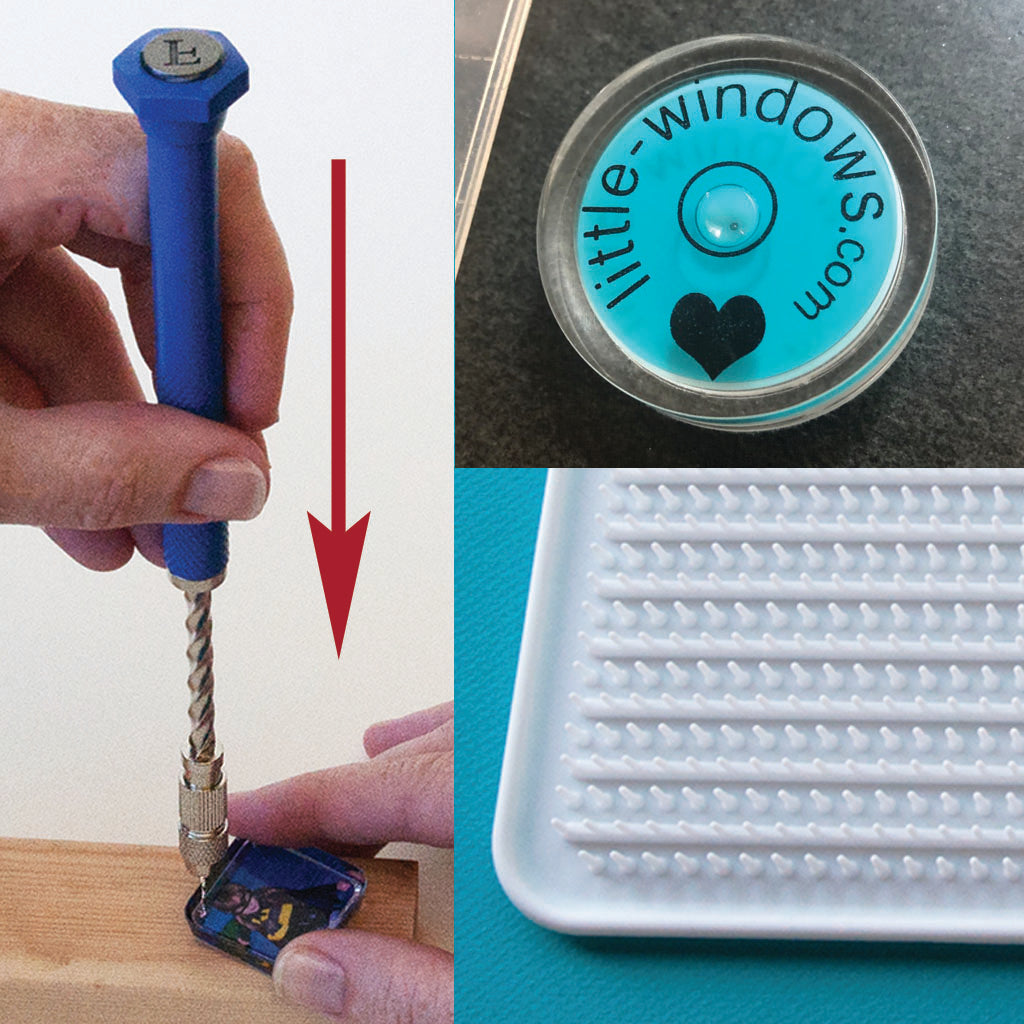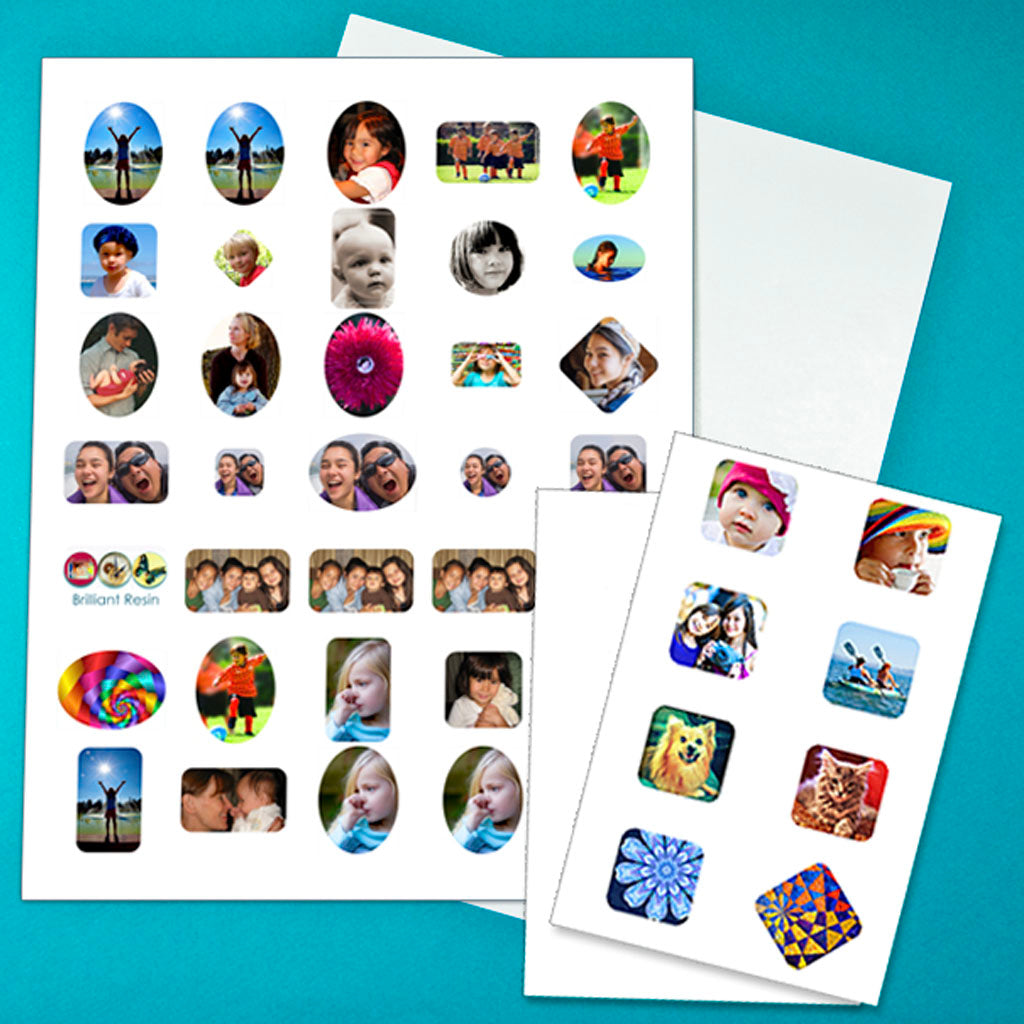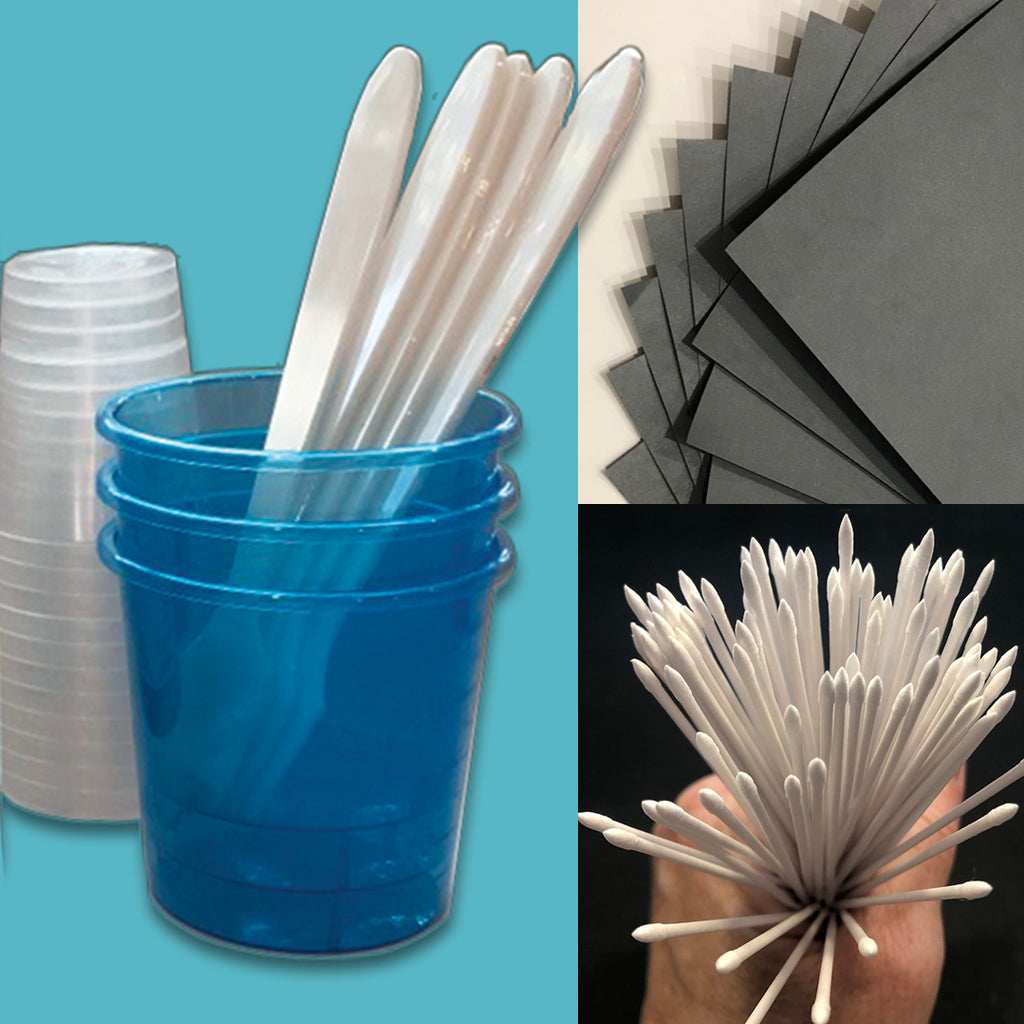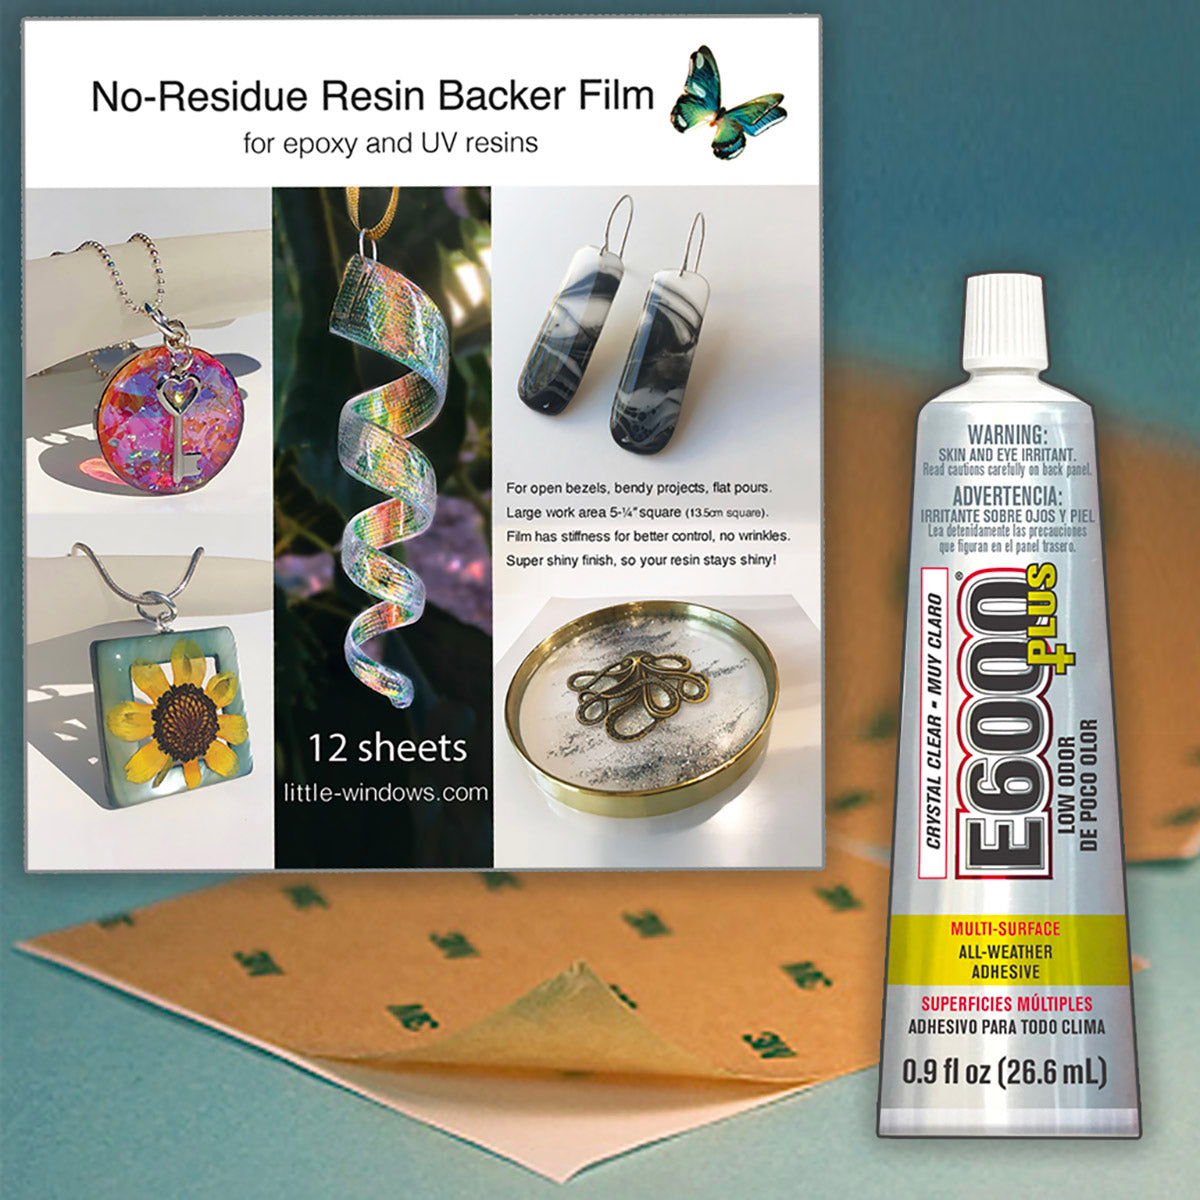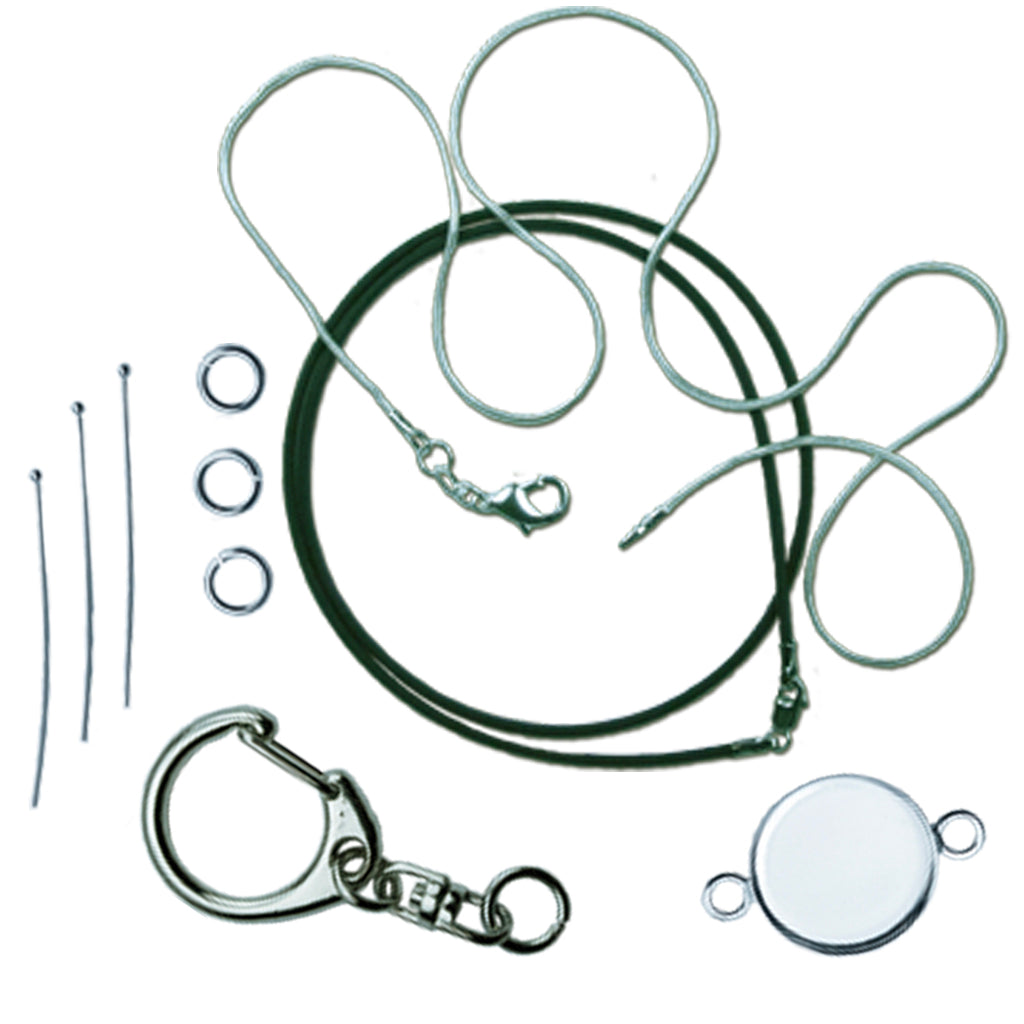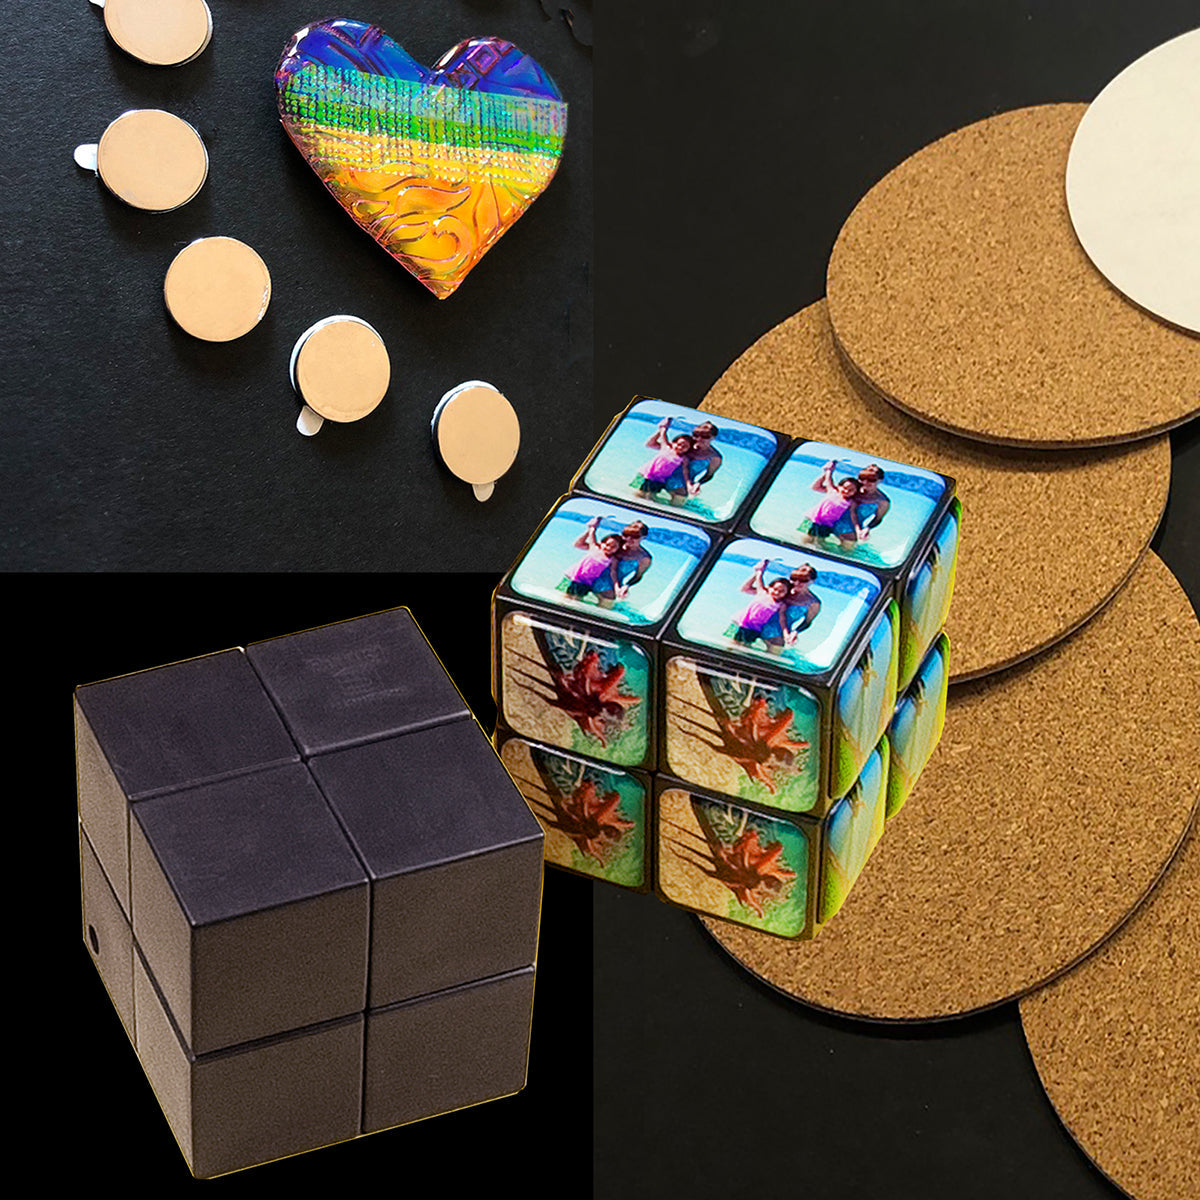


You'll also need
- An inkjet printer
- If you're not printing on Special Photo Paper for Resin, you'll need Mod Podge to seal photos. Apply 2 thin coats.
- Sharp Scissors
- Paper towels
- Cork, felt, or fun foam for the base of your dishes.
On our Amazon Recommendations Page you'll find the things we love but don't sell, like alcohol inks, curved scissors, great printers, and more fun stuff.
Please save, share, and follow us:
YouTube Channel Pinterest Facebook Instagram
The best gifts for everyone you know!
To see how I made these trinket dishes, watch the video above. These projects begin at about 20:50
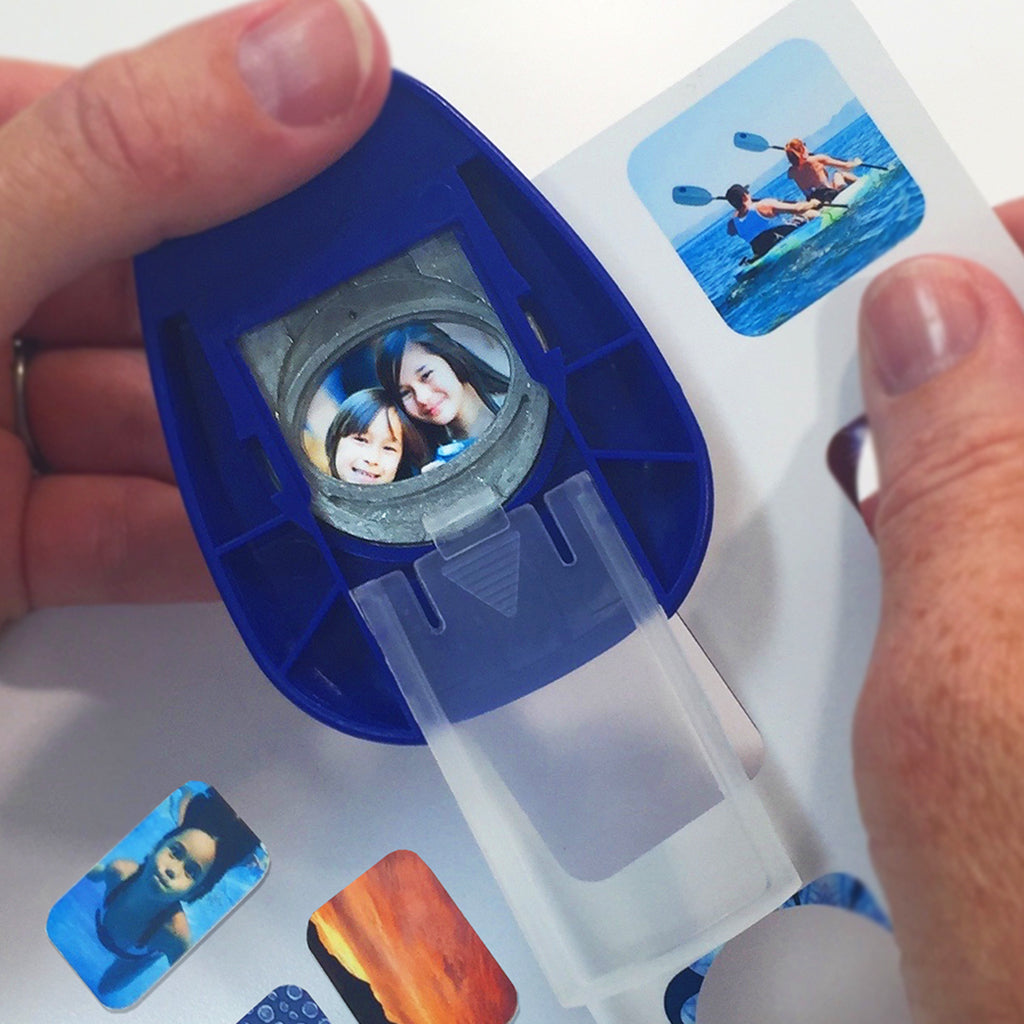
You'll need to resize your photos to fit the mold shape you want to use, and print them onto Special Photo Paper for Resin (if not, you'll need to seal them before resining).
Step 1: Cast a clear bangle to create the wall of the dish. Once attached, this clear wall will reflect the photo beneath up and around the edge, making it look like your dish has a frame around the top. If you prefer, you can add colorant or glitter to the wall, but then the photo will not reflect up through your piece.
Step 2: Apply resin to top of bangle, allow it to thicken up for about 30 minutes to an hour, then turn it upside down and push it down against your photo.
Step 3: Pour resin into the inside bottom of dish, at least 1/8" thick. Check for bubbles after 10 minutes, repeat if necessary. If you want to add any embellishments you can do this now, or allow the first layer to set up and pour another layer for your embellishment, this will create more dimension in your piece.
Step 4: Allow to set for 12 hours, then trim the excess photo around the base.
I like to apply felt or cork to the bottom of these dishes, to protect my surfaces, and to keep the dishes from sliding around.
Let me know how yours turn out!


Use these for jewelry, keys, candy, coins, pocket stuff, whatever!


 Amazing Maker Vivienne used fabric in the bottom of her trinket dish, the texture is wonderful!


Shop Our Brilliant Supplies
-
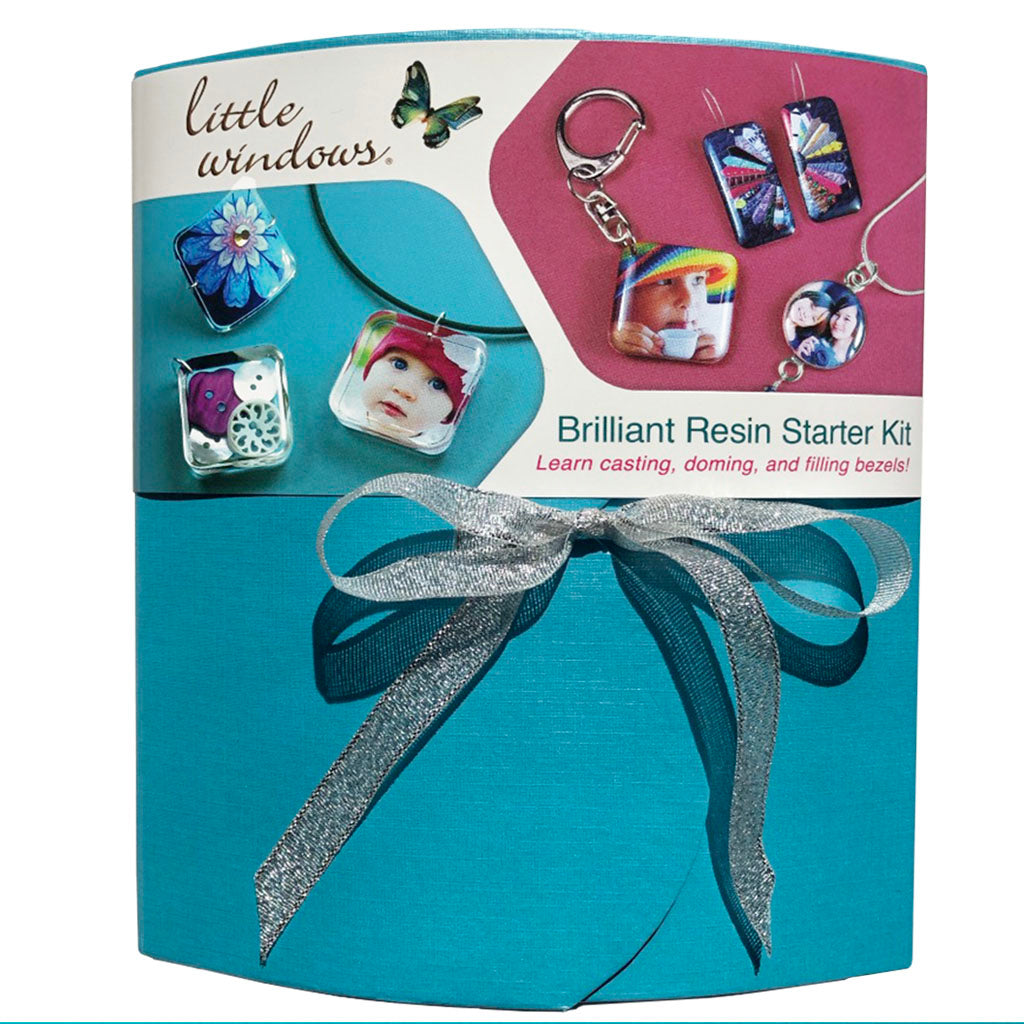
Best Resin Starter Kits
This is the best resin jewelry starter kit! Perfect for beginners, teaches...
-
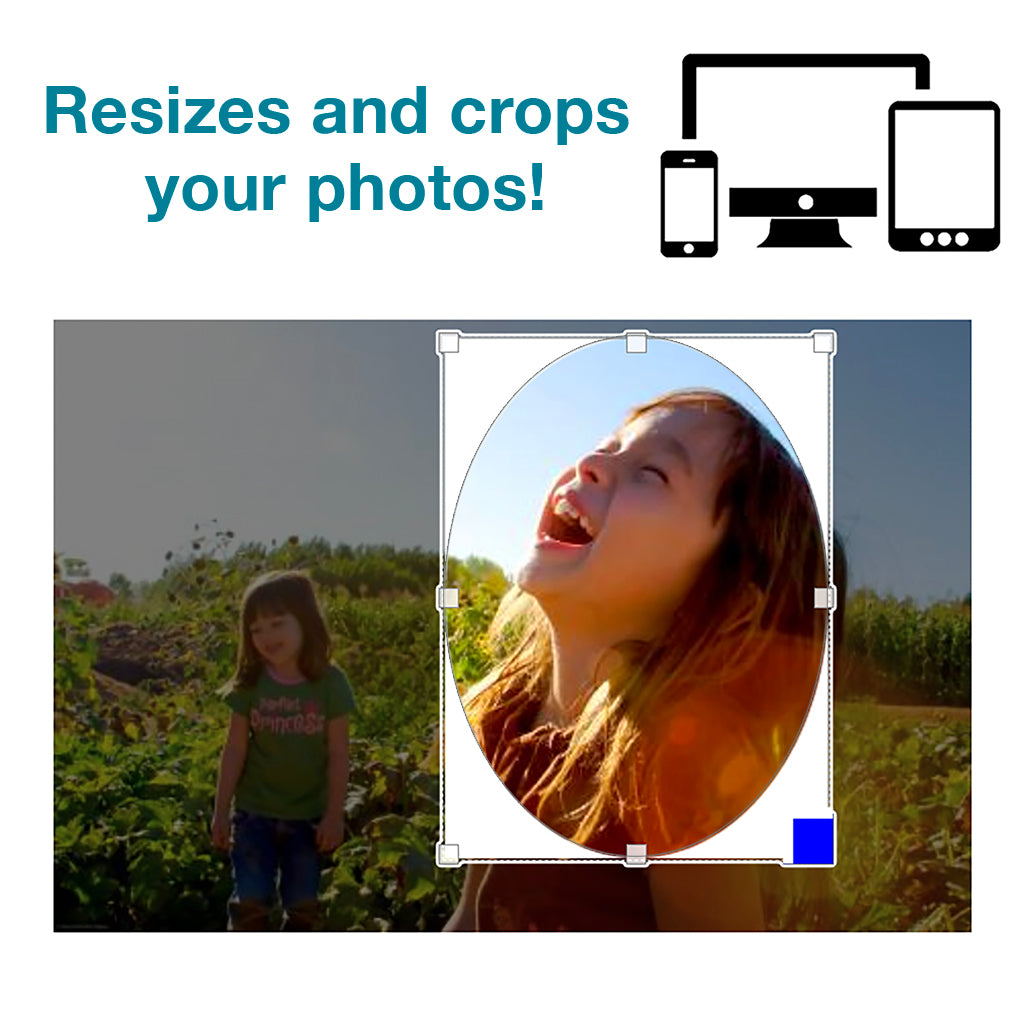
Online Photo Cropper
Access on any computer or mobile device! SCROLL DOWN TO PURCHASE Once...