You'll also need
We can customize Resin Color Film packs by color, email fran@little-windows.com if you're interested.
- Pencils, markers, something to bend your petals and leaves around and tape them while they harden
- Clear tape, Amazing Tape, or Resin Tape
- Colored wire if you plan to make the ones that use it
- Wire cutters
- Sharp scissors
- Paper Towels
Please save, share, and follow us:
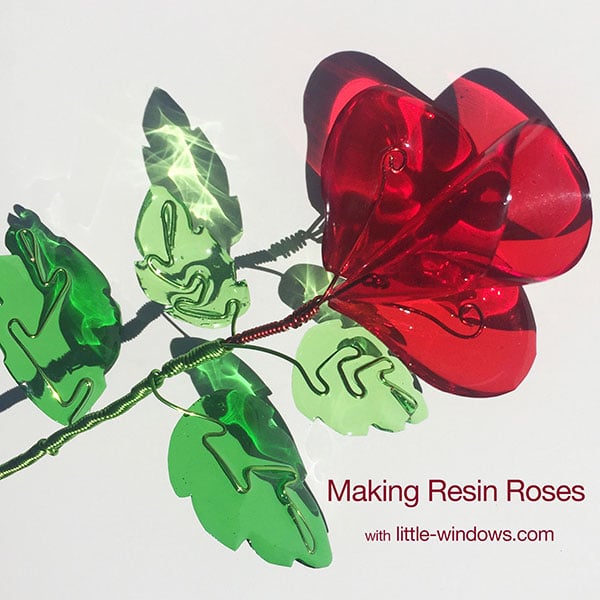
Bendy Resin Roses
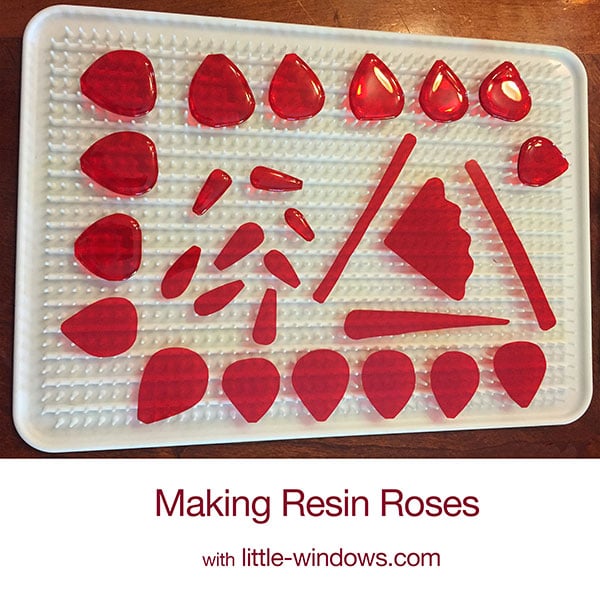
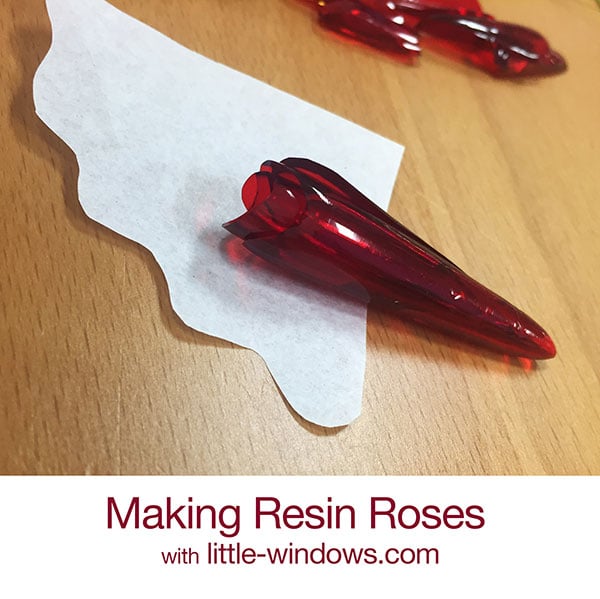
You can make beautiful, everlasting roses with Little Windows Resin Color Film, a Silicone Doming Tray and some wire. First, cut petals out and dome them with Brilliant Resin. The shapes on the top have resin applied. Ignore the long skinny pieces, those were for another experiment :)
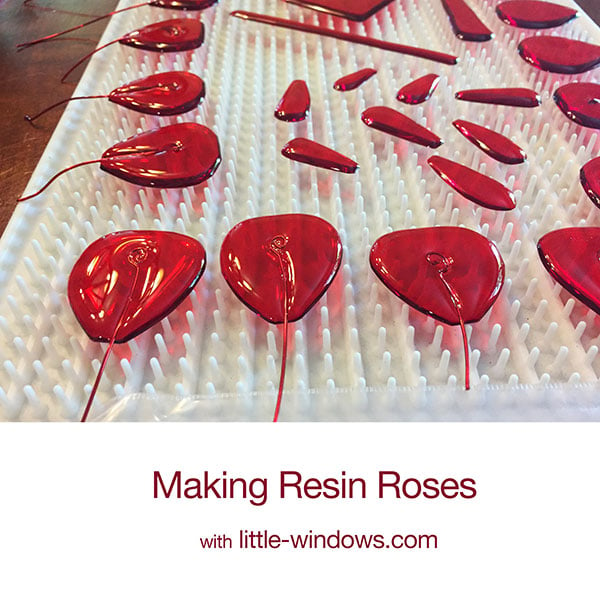
After 1-1/2 to 2 hours, when the resin is getting really goopy, insert wire shapes and let them set up. Bend the wire so it is resting on your table, to keep the pieces from tipping up as the resin sets. Pieces being domed need to stay flat.
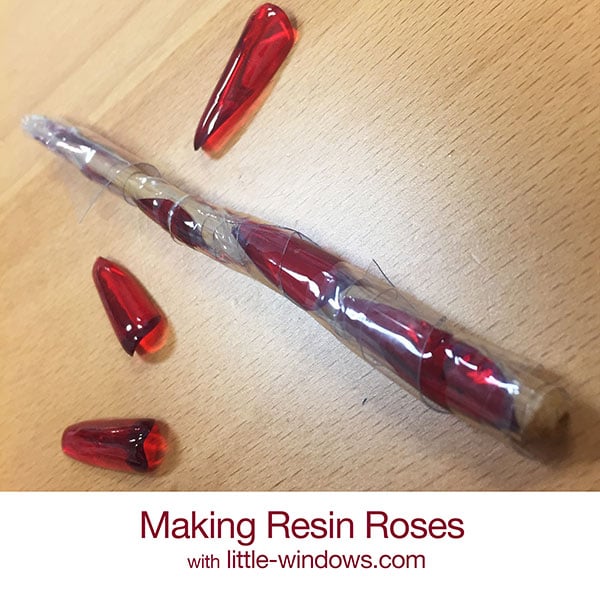
After 12 hours you can bend each petal and hold it in place with either scotch tape, Amazing Tape, or resin tape. They should be different shapes and amounts of bend, as real rose petals are. The embedded wire will help each piece retain its bend. Wrap the smallest petals around a pencil or pen. If you'd like to see how this works, have a look at these 2 videos on the Bendy Resin technique:
Here you'll see the template I used to figure out what shape I needed for the center of my rose. Roll and tape this scalloped triangle shape. This will form the center of your rose and you will attach the other petals to this base. Allow all of these shapes to harden overnight, then you can remove the tape and assemble your rose.
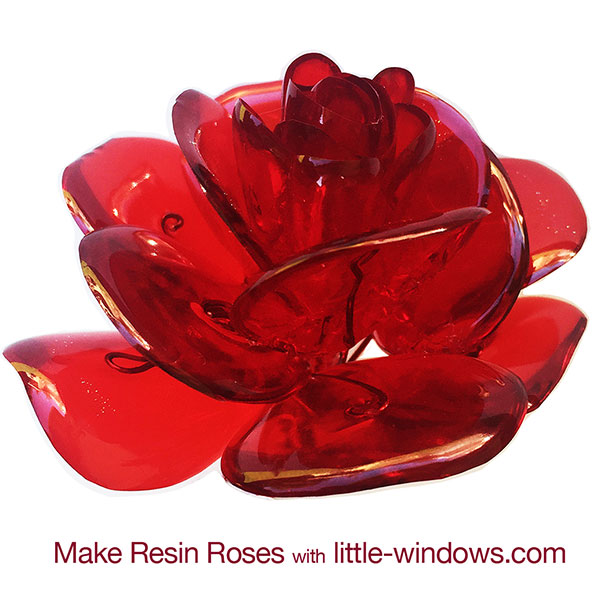
Arrange the petals one at a time into an open bloom or more of a bud, using a jewelry glue and twisting the wires into a stem. You can snip this off or wrap the stem with green wire.
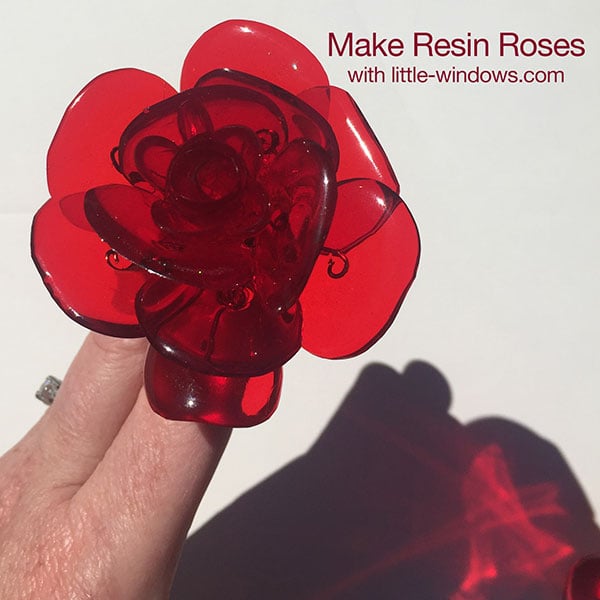
These look so gorgeous as the sun shines through the resined films!
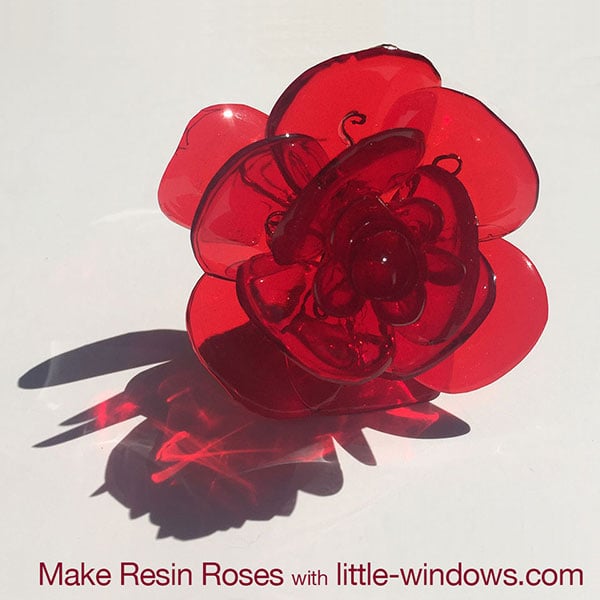
To give you a sense of scale, these are the size of an actual rose, but you can make smaller or larger ones.
Long Stemmed Resin Roses
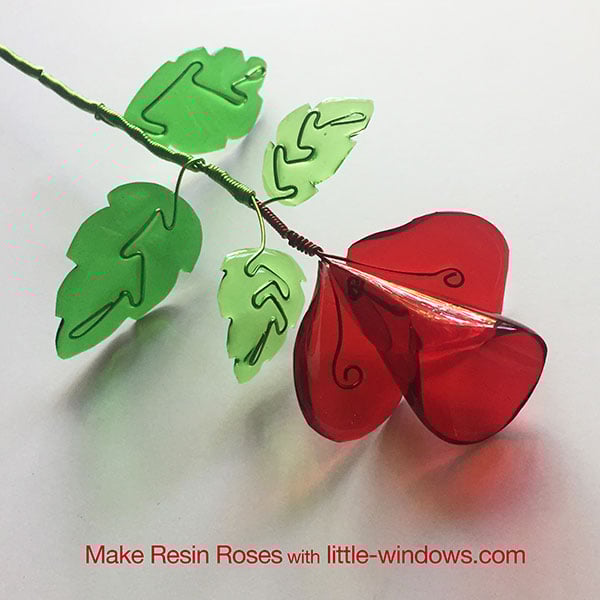
Here's a simpler look you can try. It's the same technique above, but with much longer wire pieces embedded into each shape, mine were about 12" long. The center piece is a 2" round circle cut from the Resin Color Film - seen in an image below - then wrapped into a cone shape and secured with tape for another day. No wire was imbedded into the resin on this center piece. The two outside petals and the leaves were made using the same technique described above, the embedded wire lets you shape them without tape. Once bent and hardened, cut a longish piece of wire and wrap the end around and around to create a knot, and then feed that wire through the cone shape so the ball at the end will hold the cone in place while you wrap the wire from the other petals around that stem. Wrap the wire from the leaves around the stem, then wrap green wire around the whole stem for a pleasing look.
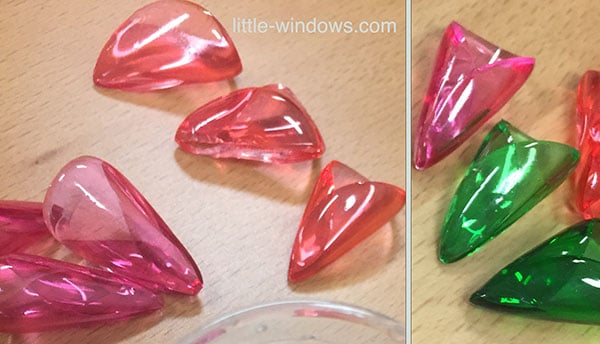
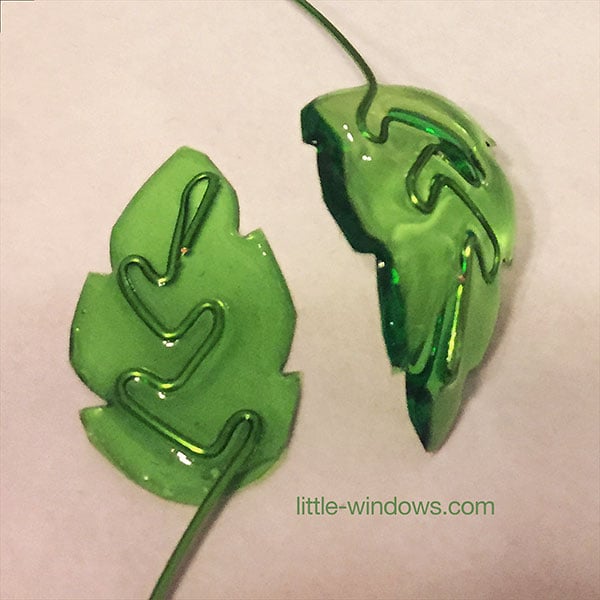
The leaf on the left is flat, the one on the right has been bent into the shape I wanted.
See how this sparkles in the sun! The clear, saturated color of our Resin Color Film is so beautiful.
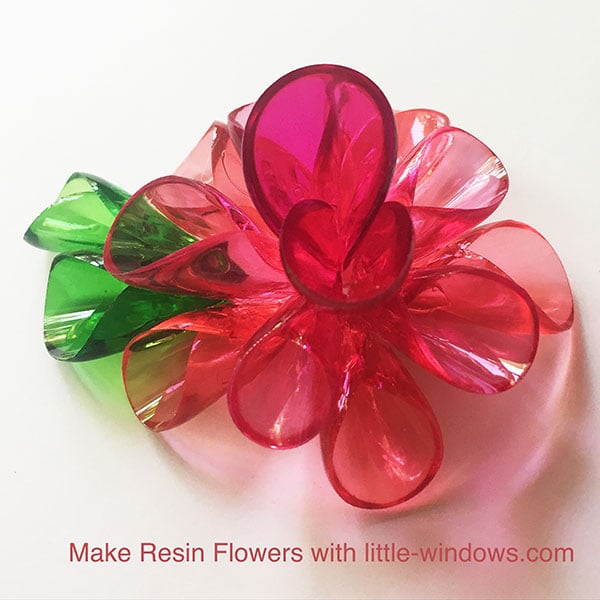
Bendy Resin Film Flowers
Here is another flower I made without wire, to show the variety you can make with this simple technique. Each of these petals started as a circle of Resin Color Film, rolled into a cone, then glued together with jewelry glue. I'd love to wear this as a pin or add it to a fancy hat, or just stare at it all day. :)
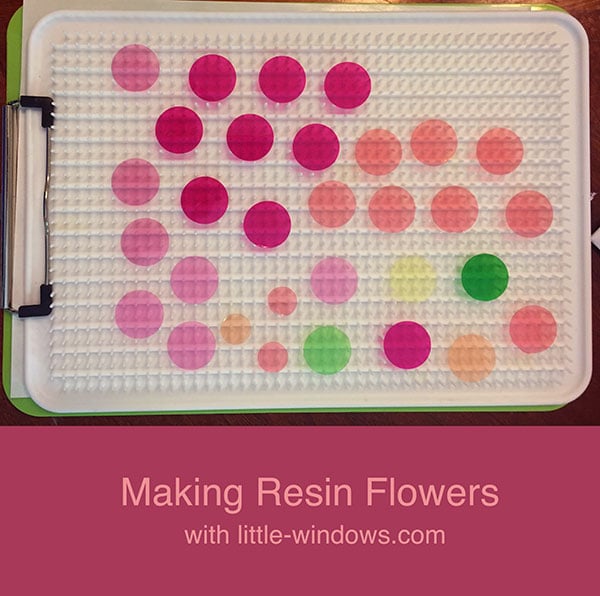
Start with a bunch of circles cut (or punched) out of our Resin Color Film. For this flower I used our
1" Circle Punch on colors from both the
Jewels and
Pale Tints Packs, the small punched circles are for another project. :)
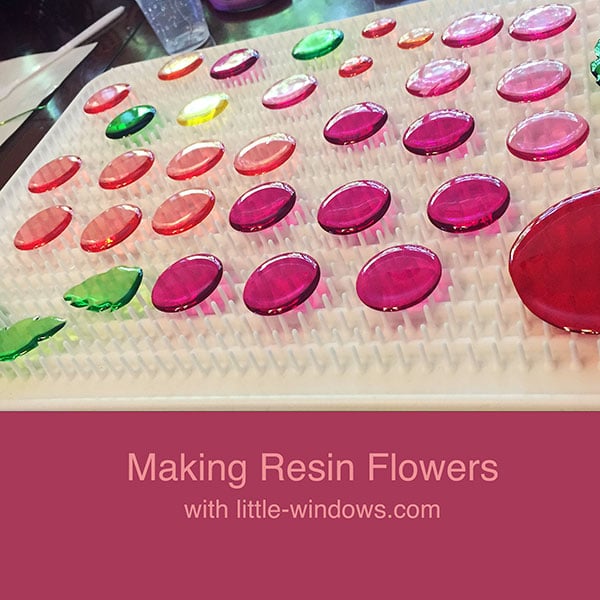
Apply resin to each piece and allow to set up for 12 hours. The large red circle and green leaves were used in the long stem rose shown above.
Wrap each circle into a cone shape and tape in place using scotch tape or Amazing Tape, and allow to harden another day. Then glue together in any configuration with E6000 or any clear jewelry glue.